CiuisCRM: Expenses

Last update: Tuesday, Sep 20, 2022
Expenses
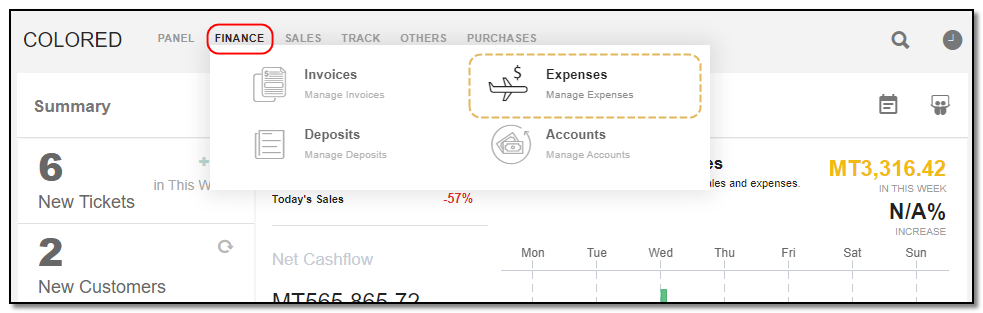
1. Expenses can be found under "Finance" in the main menu.
2. Added expenses to CRM are displayed as shown below, On the header you have some action buttons.
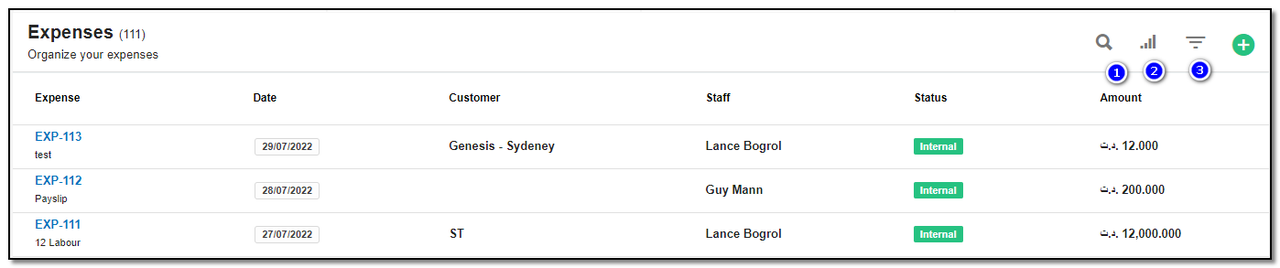
1. Search : This will help you search expense based on "expense name , Customer name, Status Paid or unpaid , and by Amount".
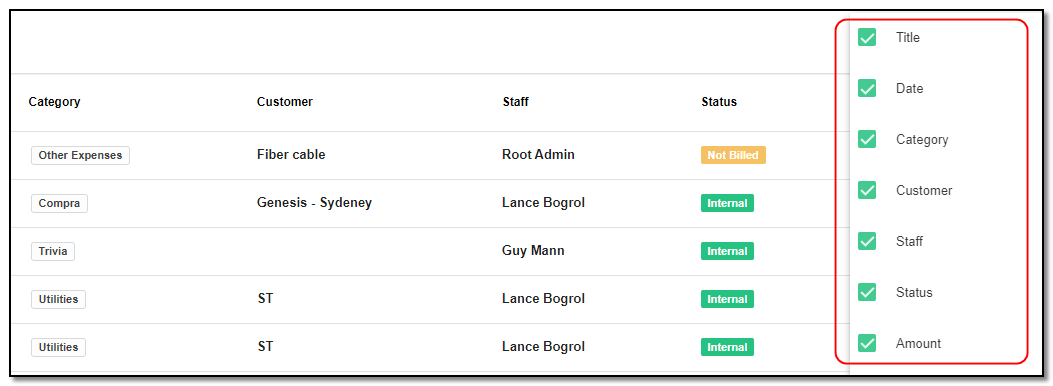
2. Filter by Column : By default, all the columns for the expense table are displayed. To manage what column needs to be displayed, click on the "Filter Column" icon, a box will appear as shown in the below image, you can "Check" or "Uncheck" the fields you want to display on your customer page.
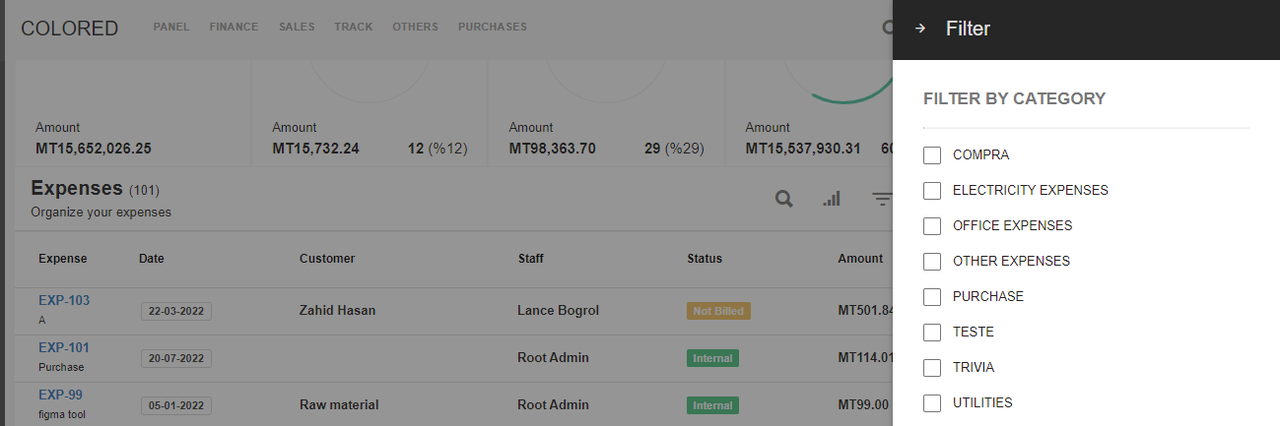
3. Filter : To filter the expense by type or country click on the icon "Filter" icon
Create Expense:
1. To create an expense click on the "+" icon from the expense header section.

2. Expense can be created in 2 ways, "Internal and External "
Internal Expense:
This is for the staff to claim compensation for the expenses they incurred on behalf of your organization.
To create an Internal Expense: While creating the expenses record "toggle ON" on the "Internal toggle" button and select the appropriate staff member from the drop-down.
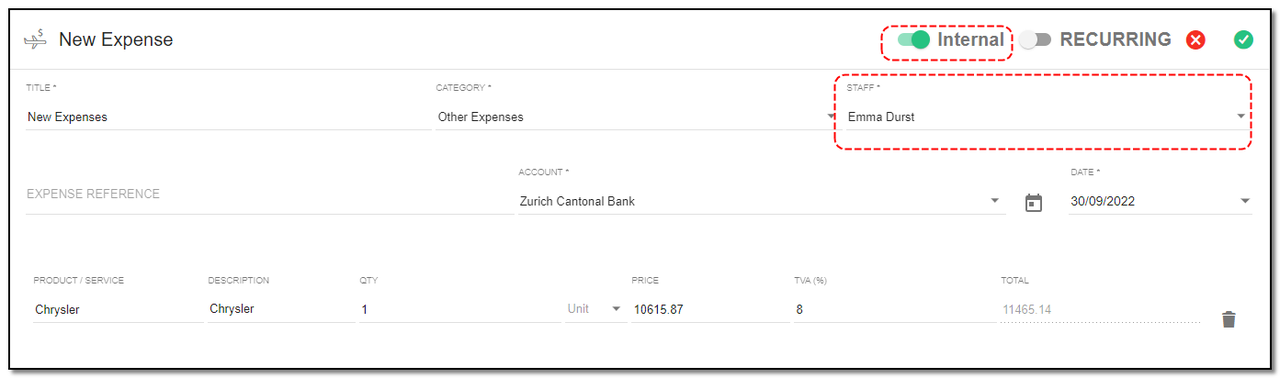
1. Title: Enter the title of the Expense
2. Category: Select which type of Expense it is from Dropdown.
3. Staff: Select the name of the staff from the Dropdown.
4. Expense Description: Enter the description for Expense
5. Account: Select the Account from the Dropdown.
6. Date: Date of Expense created.
7. Product/Service :Select the product name / Service for which the Expense from the options given
8. Amount: Enter the Amount for Expense. Click on "Save" . Your internal expense for staff is created.
External Expense
This is for your organization to claim compensation from the client/customer for expenses incurred.
1. To create an External Expense: While creating the expenses record "toggle OFF" the "internal toggle" button and select the appropriate Customer/Client from the drop-down.
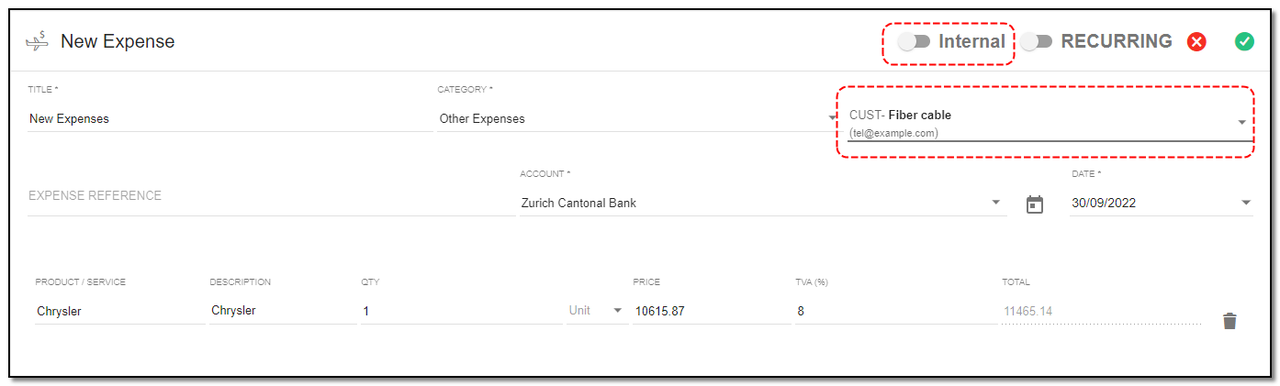
2. Enter the details and click on the "Save" icon. Your external expense for customers is created.
Create Recurring Expense:
1. Recurring : To create recurring expense follow the same step as you did to create an expense. To mark the expense as recurring toggle with "Recurring" on the top ,three new fields will be introduced . Enter their details.
2. Set the required recurring period. A expense will be created when you click on the “Save” button. Every time you run CronJob, it will check if the recurring period has elapsed after the issue date, if it has elapsed, then another expense is created and added to the email list.
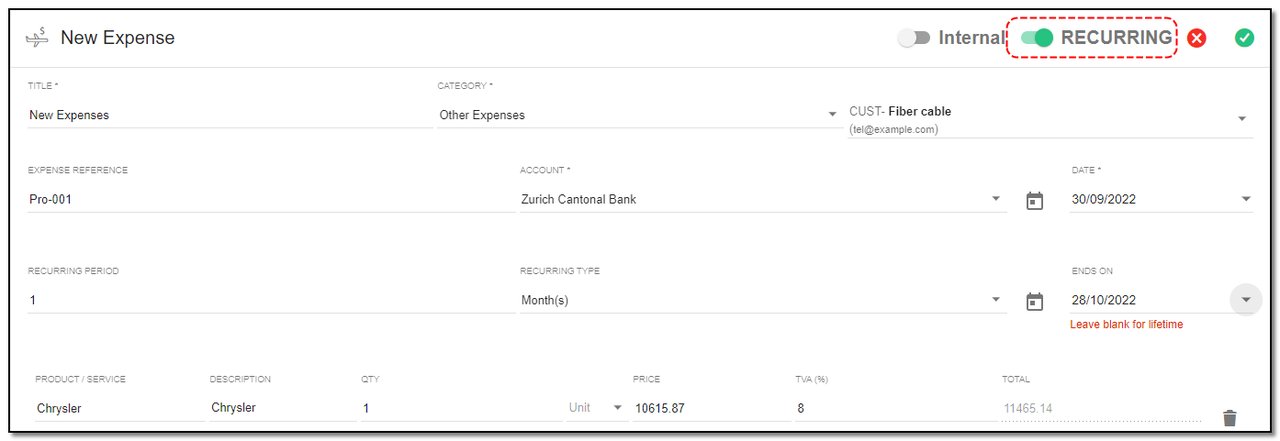
3. Please note in order to make Expense Recurring for Lifetime, Leave "Ends On" Field Blank. Your recurring expense is created.
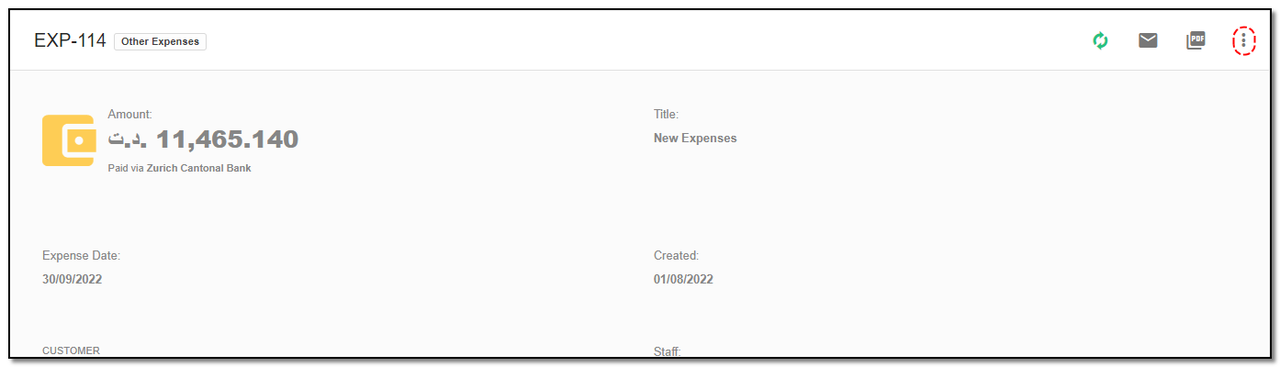
Expenses Page Details:
1. On the view page of expense you can see the details of the expense and also some actions buttons.

Options in the header section :
1. Convert: You can convert expense into invoice
2. Mail : For sending the mail to the respective contact.
3. PDF : By clicking on PDF option you can create a PDF for the expense.
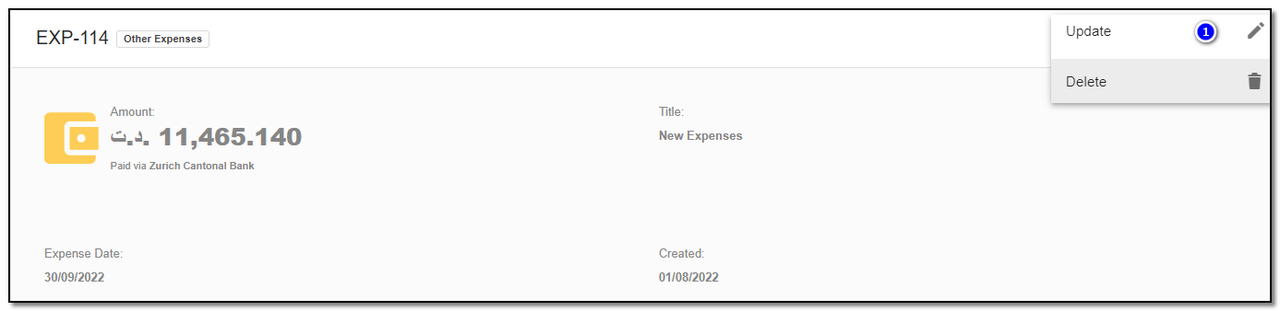
Update Expense :
1. To update the Expense details click on "More" option from the header.
2. Click on "Update" button .
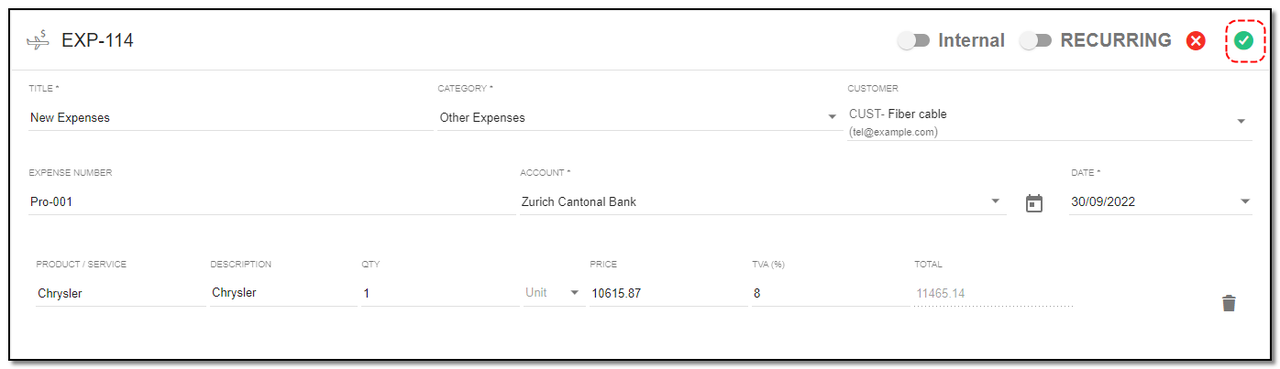
1. A update page opens, Update the details of the expense, like adding a new product to existing expense , or add the expense under recurring. Click on "Save" button.
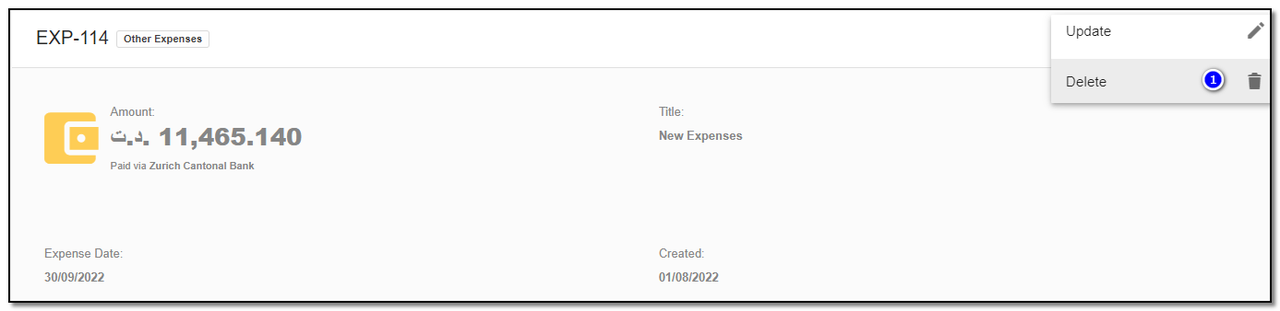
Delete Expense :
1. To delete the Expense click on "Delete" button.
Files:
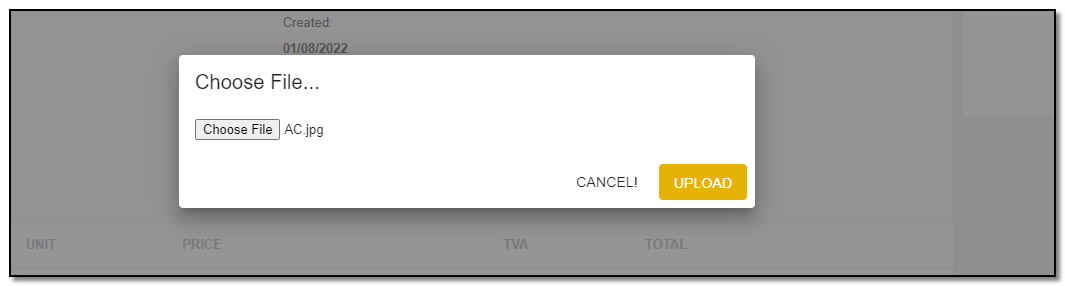
1. Files can also be added to an expense. Click on the “Add” icon to add the files related to expense.
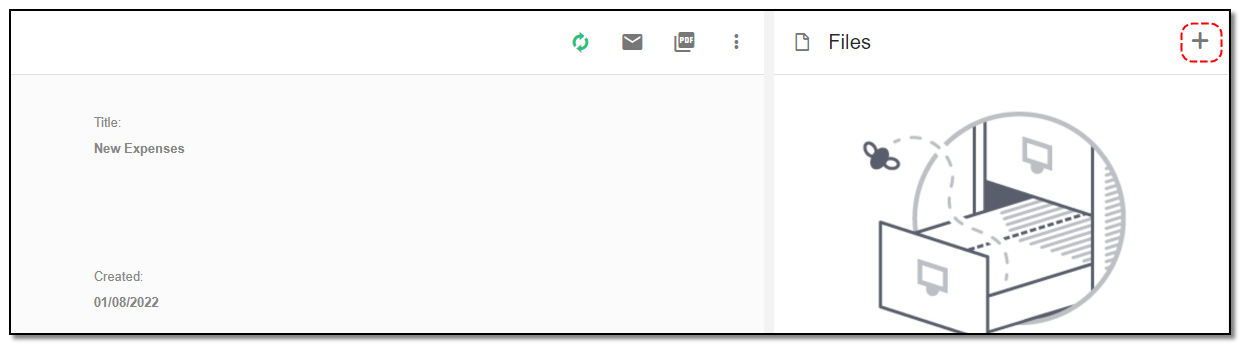
2. Browse the files to be added and click on "Upload" to save the file.
3. Your file will be added under the file tab.
Create Expenses Category:
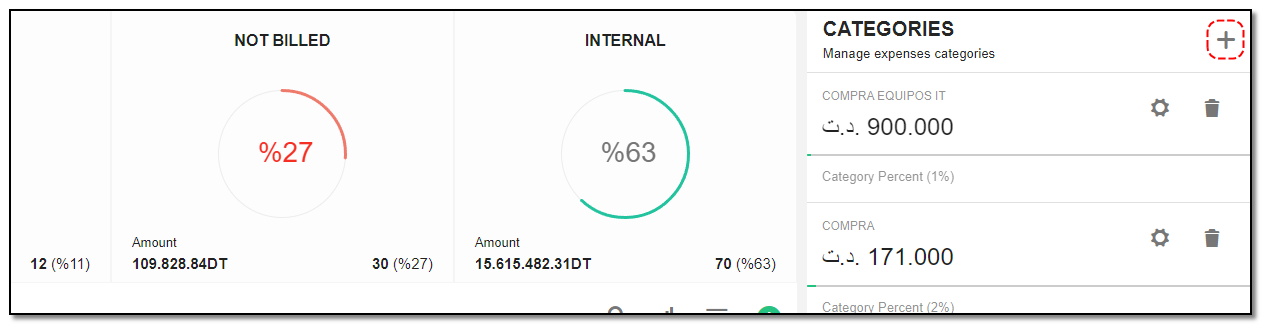
1. Create Expense Category: Click on the "Categories (+)" icon, to add a new category to the expense page.
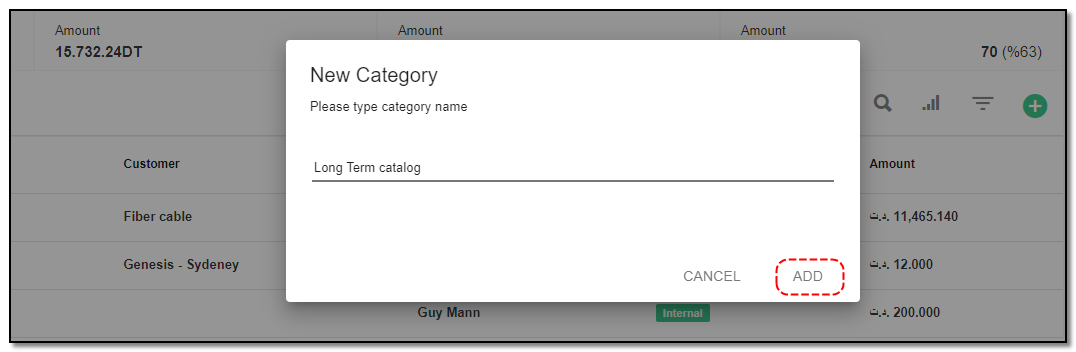
2. A popup appears on the expense page and enters the name of the category. Click on "Add" .
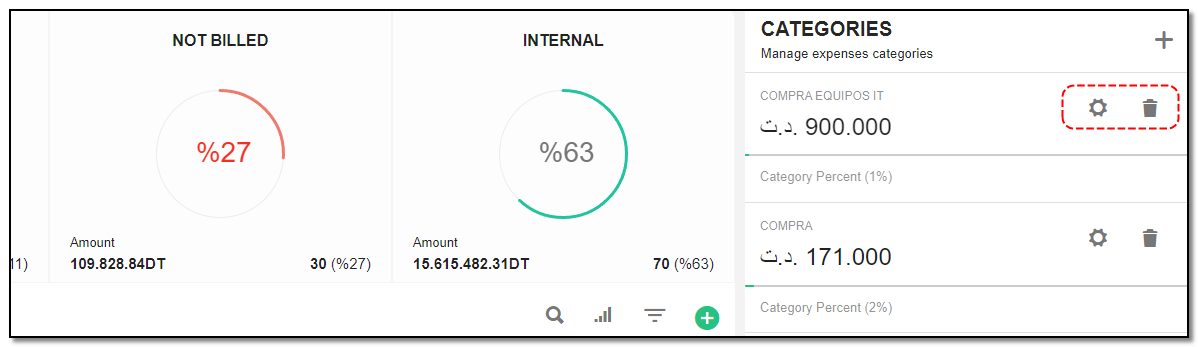
3. You can also "Edit" and "Delete" expense category by clicking on the appropriate icons.


Finance & Accounting
Manage all your Invoices, Accounts Transaction history , Expenses and Deposits
Written by Yaroslav M.