CiuisCRM: Inventory & Stock Transfer

Last update: Tuesday, Sep 20, 2022
Inventory :
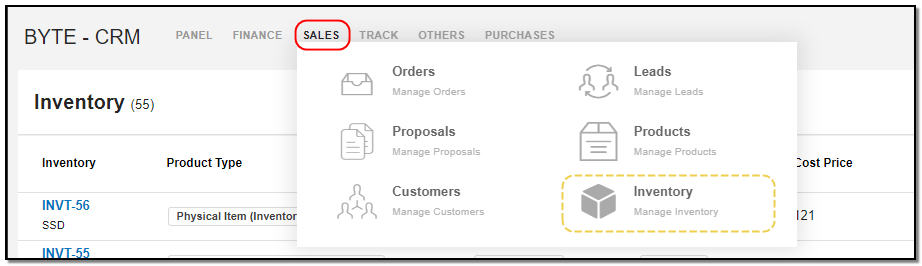
1. You can find the "Inventory" menu by hovering over "Sales" from the top header:
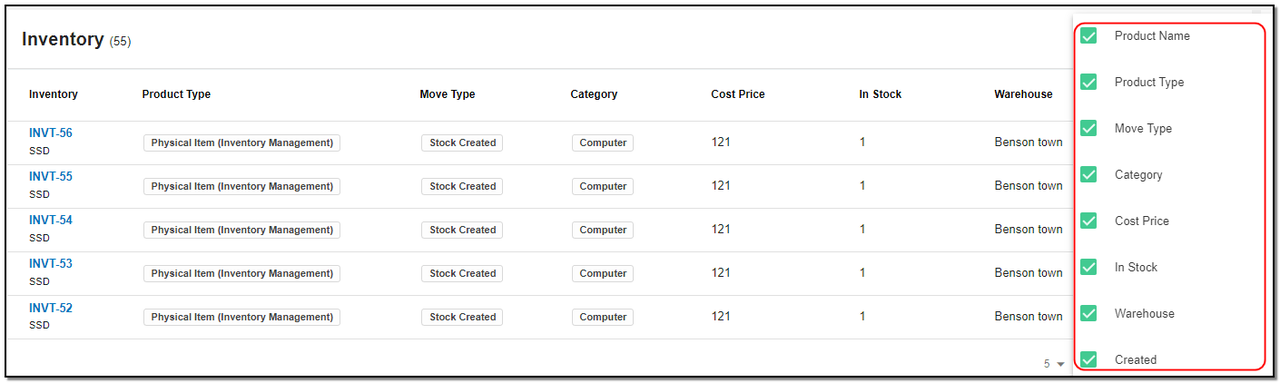
2. Added Inventories to CRM are displayed as shown below , on the header of Inventory you have some action buttons.

1. Search : This will help you search vendors based on "Inventory name,Product type, Category,warehouse.
2. Filter by Column : By default, all the columns for the Inventories table are displayed. To manage what column needs to be displayed, click on the "Filter Column" icon, after you click on the icon a box will appear as shown in the below image, you can "Check" or "Uncheck" the fields you want to display on your inventory page.
Create Inventory:
1. To create an inventory click on the "+" icon from the inventory header section.

2. A Right slider appears :
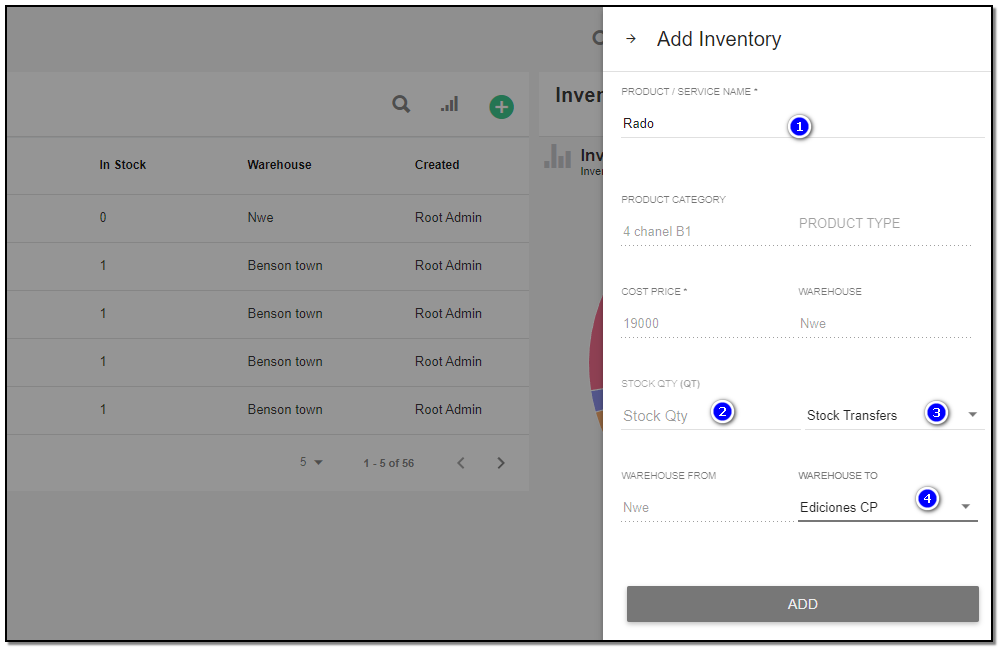
1. Product/Service : Select the products from the list , the other details of the product if present are auto-filled , Like : Category, Product type, cost price warehouse .
2. Stock : Enter the number of stocks.
3. Stock Selection : Based on the status of stock , whether it is "Removed or Shipped". You can select those from the drop-down list.
4. Stock Transfer : When you select option from stock drop-down you will have 2 more fields where you need to select the warehouse name form the list to where the stock is getting transferred. Click on "Add" to add an inventory.
Move type:
There are 8 move type :
These options can be selected while adding the products into inventory and can also be updated.
1. Stock Created: To add new stock to the warehouse.
2. Stock Removed: To remove stock from the warehouse.
3. Stock Transfer : When you select option from stock drop-down you will have 2 more fields where you need to select the warehouse name form the list to where the stock is getting transferred. Click on "Add" to add an inventory.
4. Stock reversal: To reverse the stock from the warehouse.
5. Stock shipped: To mark the stock as shipped.
6. Stock shipped reversal: To reverse the shipped stock in the warehouse.
7. Stock purchase: To mark the stock as purchased.
8. Stock purchase reversal: To reverse the purchased stock in the warehouse.
Update Inventory :
1. To update the inventory , click on the particular inventory you want to update.

1. Click the "Update" button from the header.
2. A right slider appears : Update the products and try changing the stock types.
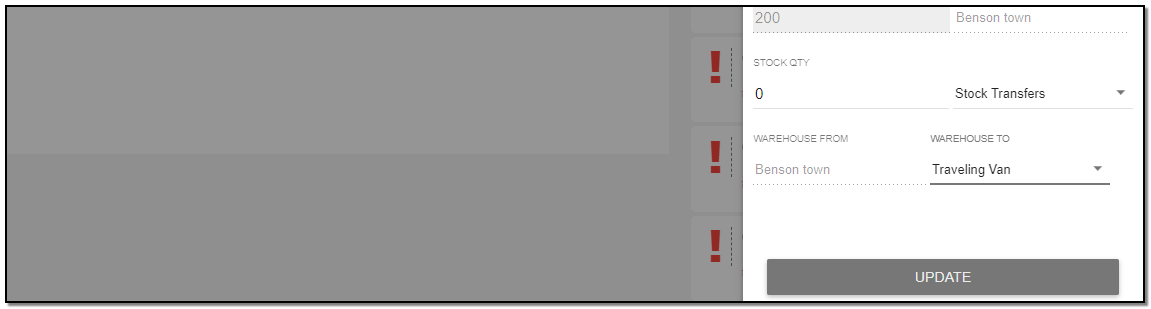
3. Click on "Update" button to update the inventory.
Delete Inventory :
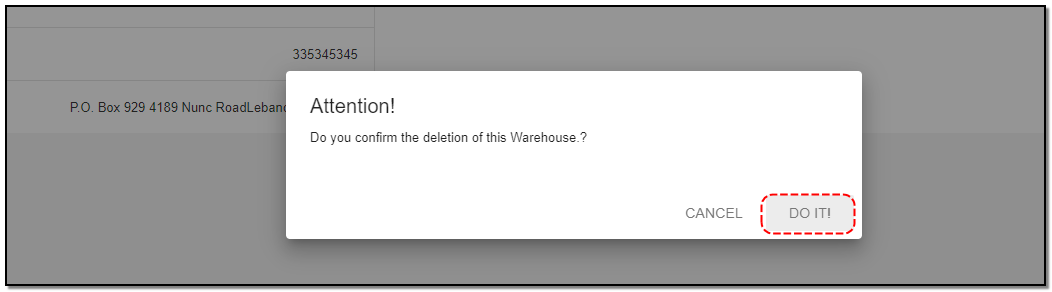
1. To delete the inventory click on "Delete" button from the inventory header.

2. A small pop up appears to confirm the deletion of warehouse click on "Do it" if you want to delete, else click on "cancel" .


Inventory Management
Written by Yaroslav M.