CiuisCRM: Customers

Last update: Tuesday, Sep 20, 2022
Customer
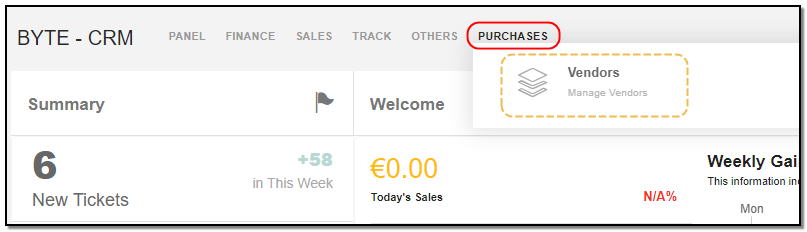
1. You can find the "Customer" menu by hovering over "Sales" from the top header:
2. Added Customer to CRM are displayed as shown below , on the header of customer you have some action buttons.

3. Search : This will help you search vendors based on"Customer name, customer group.
4. Filter by Column : By default, all the columns for the Customer's table are displayed. To manage what column needs to be displayed, click on the "Filter Column" icon, after you click on the icon a box will appear as shown in the below image, you can "Check" or "Uncheck" the fields you want to display on your customer page.

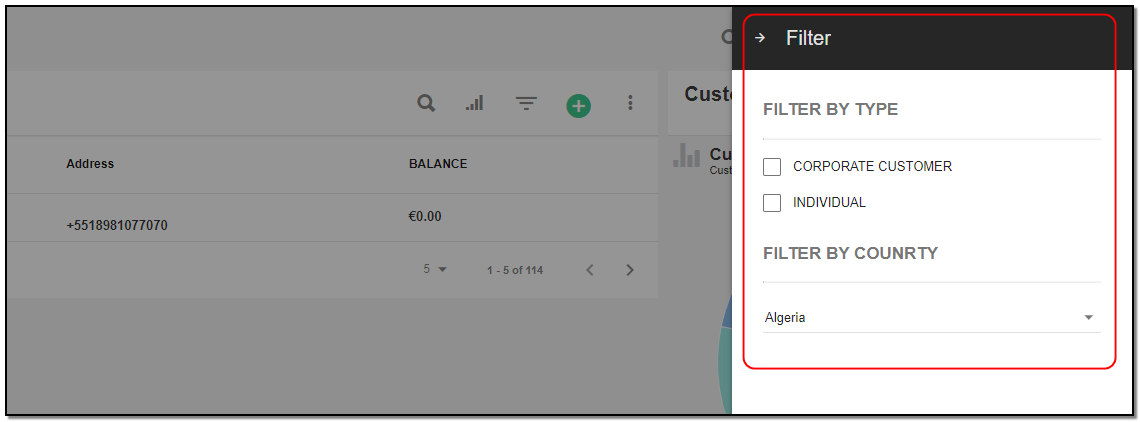
5. Filter: To filter the vendors by type or country click on the icon "Filter" icon.
Create Customer:
1. To create a customer click on the "+" icon from the customer header section.

For Customer without Contact:
1. By default, the toggle button is set to "Customer without Contact".
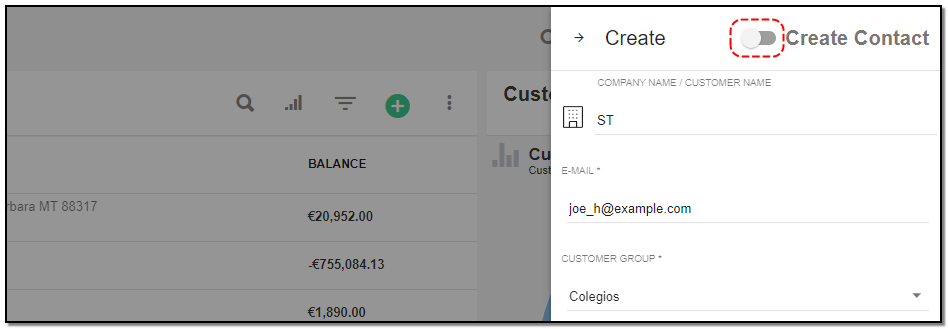
A right slider pops. Enter the basic details
1. Company Name: Enter customer's company name.
2. Email: Enter the email.
3. Customer Group: Select the Customer group from the drop-down.
4. Default payment method : Select the payment method from the drop-down.
5. Risk : Slide to the add the Risk .Fill in all the basic fields of customer service like address and tax office details.
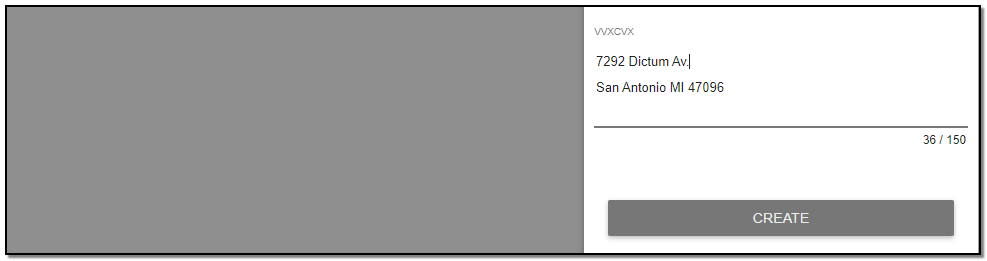
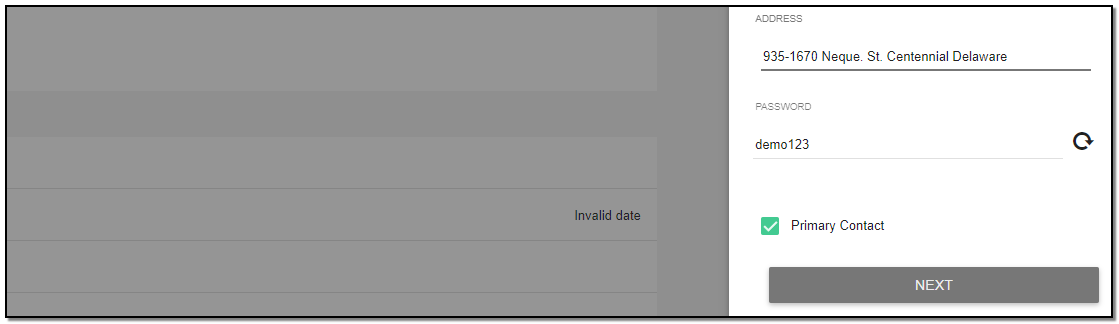
For Customer with Contact:
1. To add a "Customer with Contact", toggle the button toward "Create Contact". Customer Contact is used to store details of the Customer. While creating a customer with contact, an account is created for the customer, using which they can log in using the Client/Customer area.
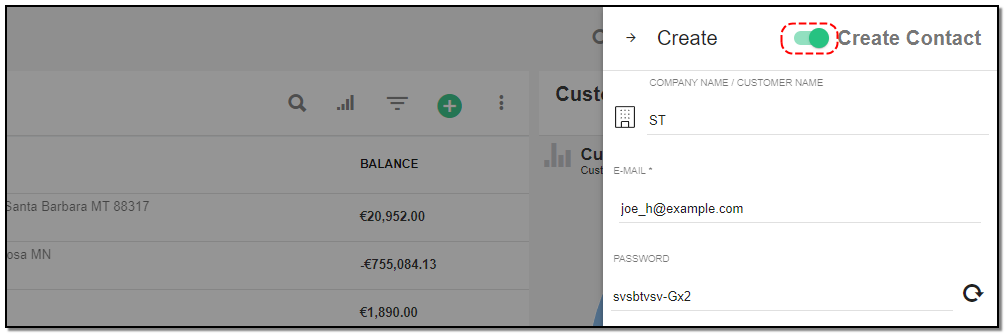
2. Password : this field appears when you are creating customer with contact.
3. After filling all the customer details click on "Create" button at the bottom.
Customer Page Details:
1. All the details you created for customer are displayed under information section on left side.
Tabs :
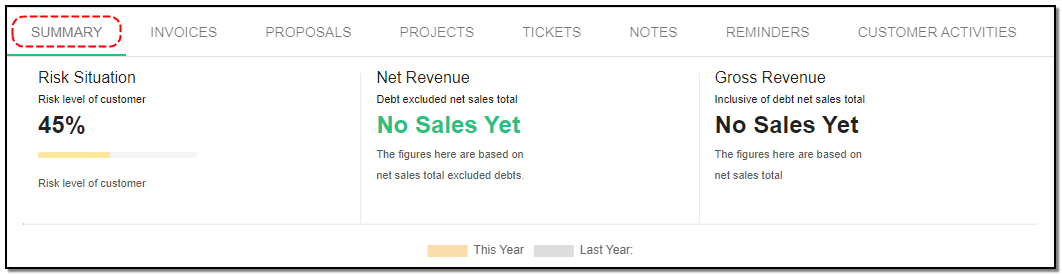
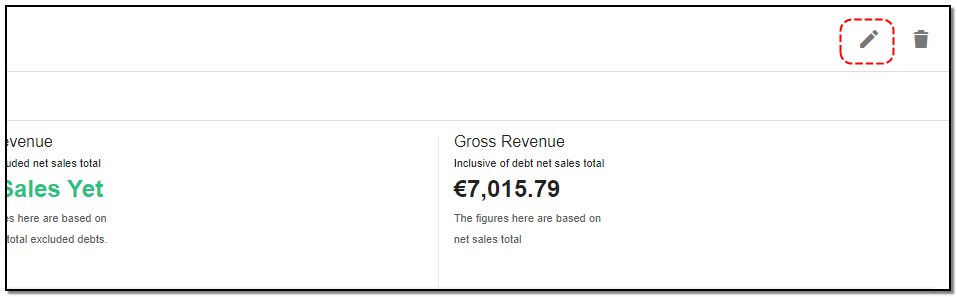
1. Summary Tab :This tab displays all the transactions made by the customer.
2. Invoice Tab :This tab displays all the invoice pertaining to the customer.

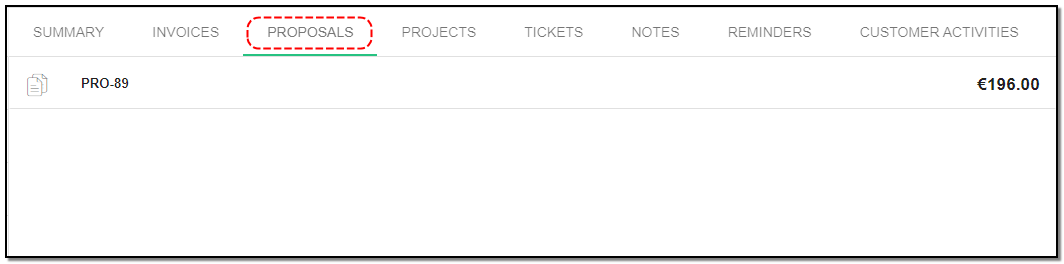
3. Proposal Tab : This tab displays all the proposals sent to the customer.
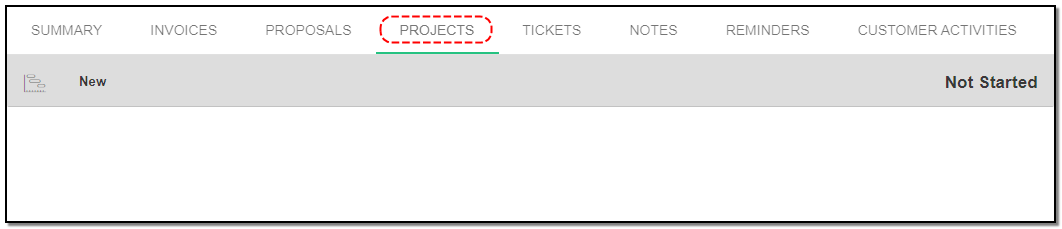
4. Project Tab: This tab displays all the projects pertaining to this customer.
5. Tickets : This tab displays all the tickets pertaining to the customer.

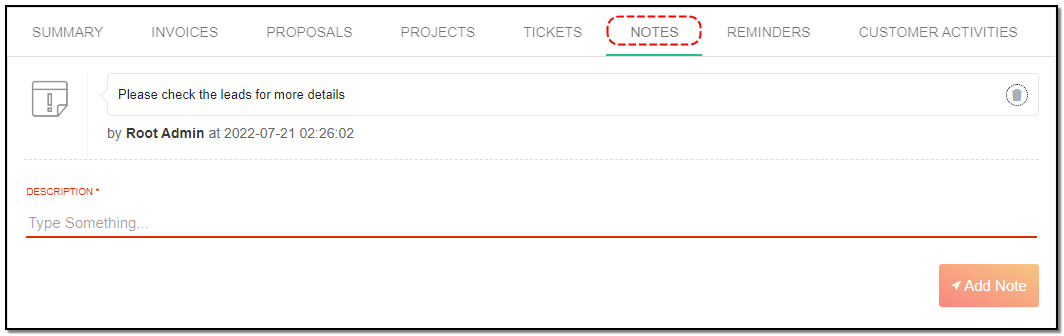
6. Notes : Enter the Details or small short point in Description section related to customer and click on "Add Note" button.
7. Reminders Tab: This will help set reminders for the lead.
1. Select the date : the date you want to reminder to trigger.
2. Set reminder to : Select from the drop-down to whom you want reminder to trigger.
3. Description : Enter the description for the reminder.
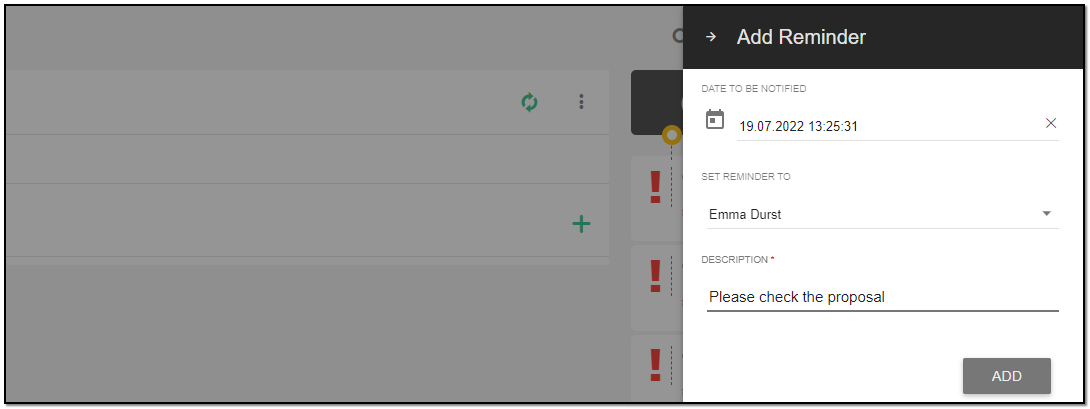
4. Click on "Add" button to add the reminder.
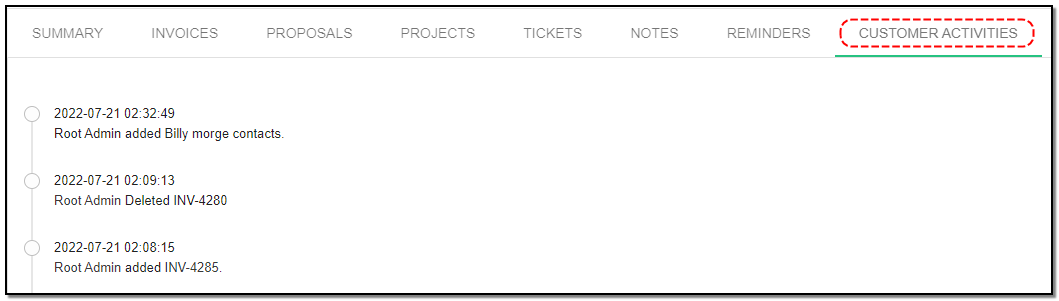
8. Customer Activity Log: This tab displays all the customer activities in timeline form.
Update Customer :
1. To update the customer details click on the particular customer you want to update. Click the "Update" button from the header.
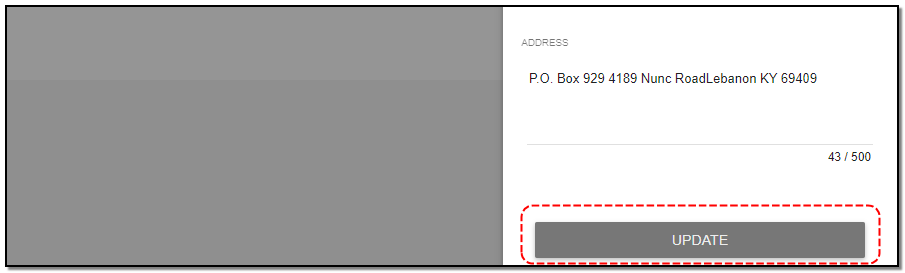
2. A rightslider appears : Update the customer details like address of the customer the name or you can update the group of the customer..
3. Active toggle : Enable or disable the Active button to activate or deactivate the customer. Once you have updated the customer details click on "Update".
Delete Customer:
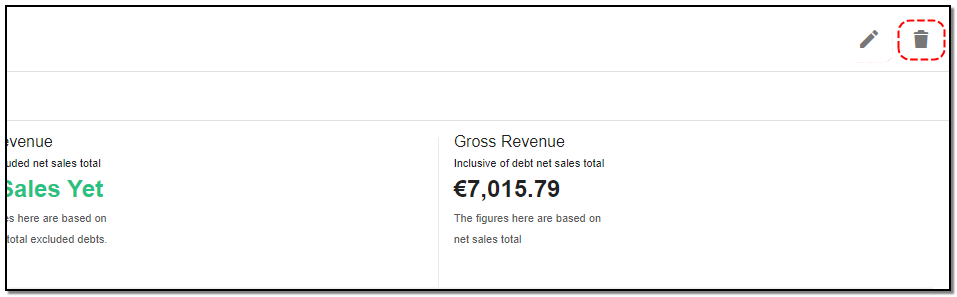
1. To delete the vendor click on "Delete" button from the customer header.
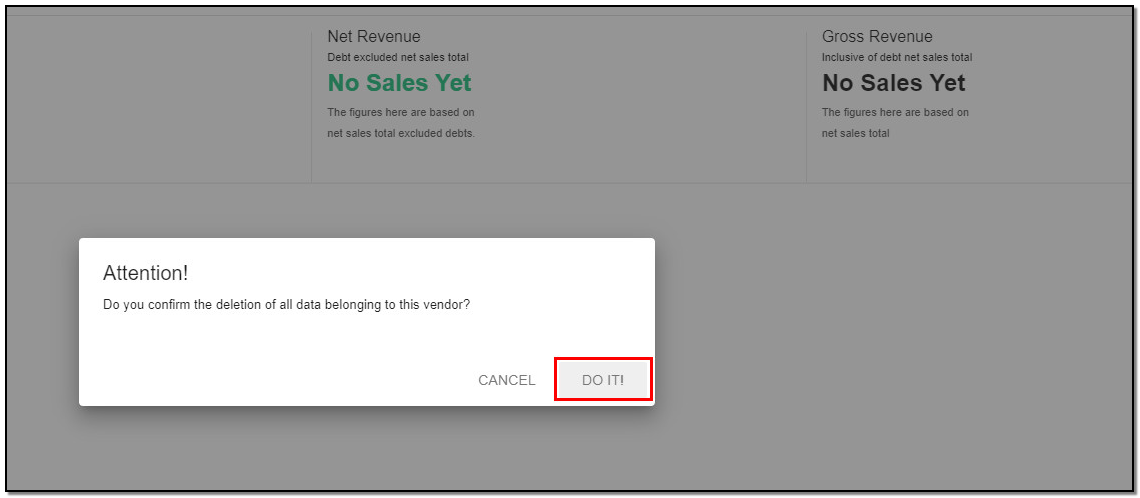
2. A small pop up appears for confriming the deletion of customer click on "Do it" if you want to delete else click on "cancel" .
Add Customer Contact :
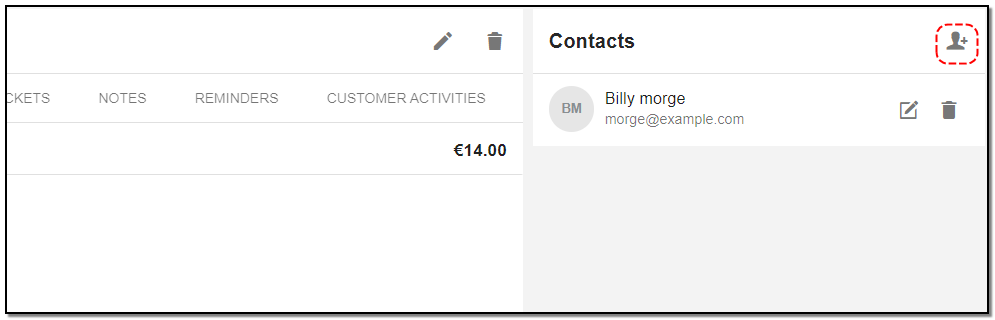
1. To add an contact click on "Add contact" button.
A right slider will appear:
1. Enter the details : Contact name , Contact Address and all the relevant data anch Click on "Next" .
2. Privileges Tab : Give access to the pages the contact can use.
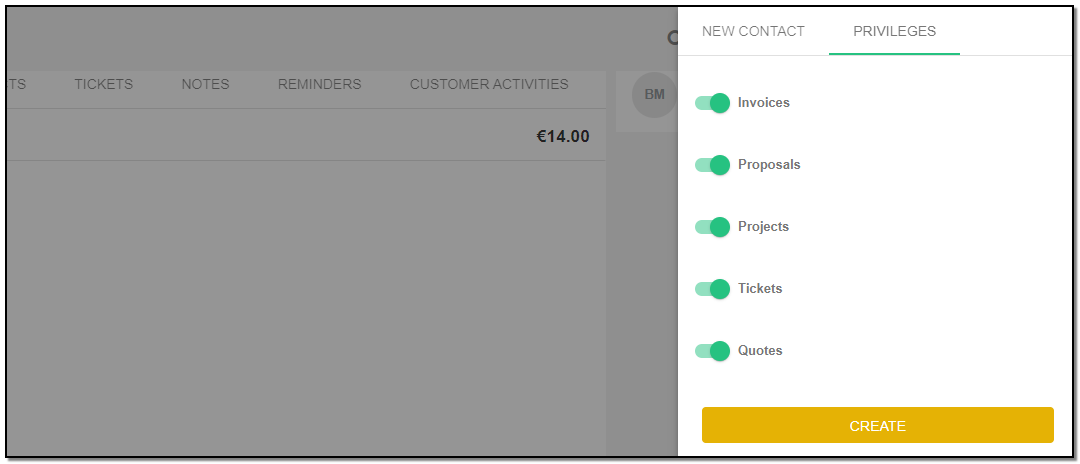
3. Click on "Create" button to create a contact.
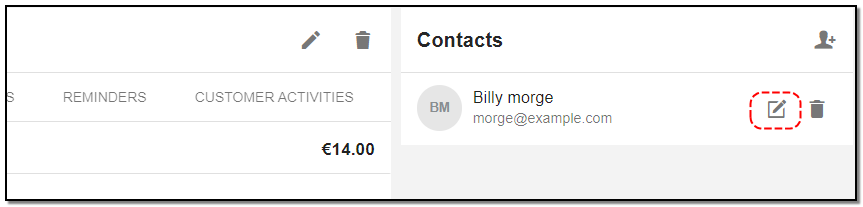
Edit Customer Contact:
1. Click on the contact to be edited.
2. Contact Tab : All the details of the contact are displayed in the pop-up window.
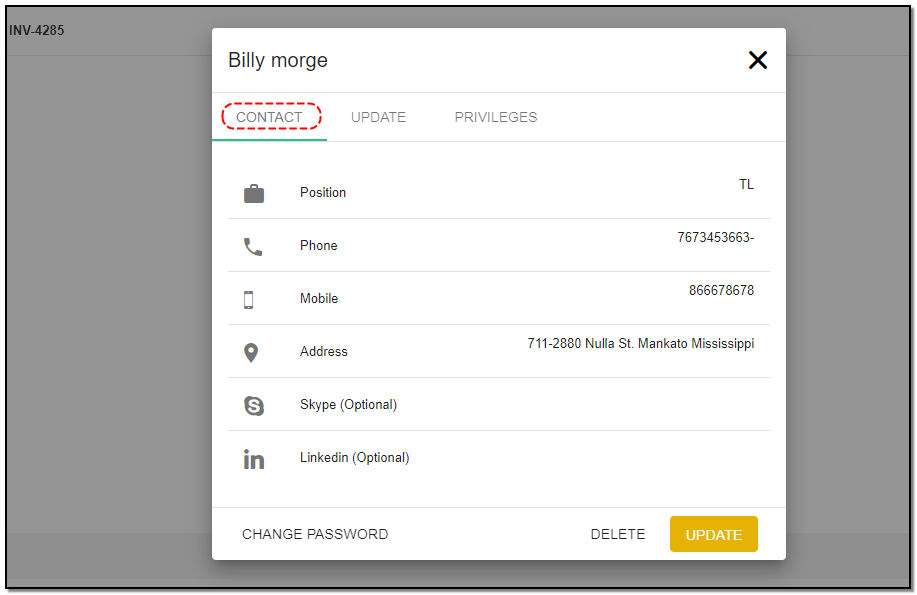
3. Update Tab : Click on the "Update" Tab to change the details.

4. Privileges Tab : Give access tothe pages the contact can use.
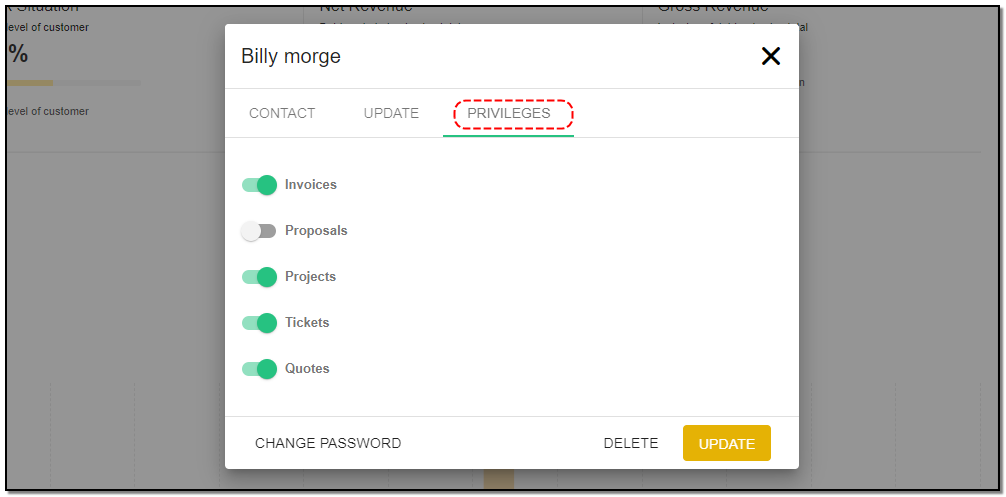
1. Change Password : You can click on change password and update it with new password. Once you have added new details to existing contact click on "Update" button.
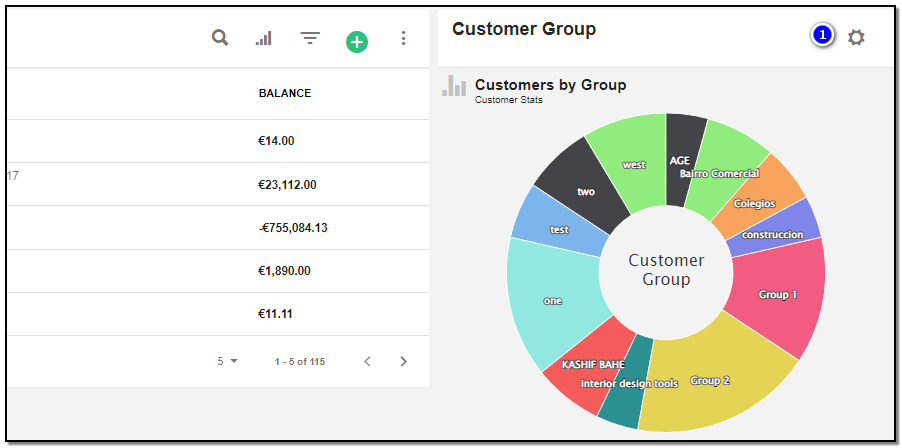
Customer Group :
1. Click on the "Customer Group Option" icon to add the category for the customer, from the index page of customer.
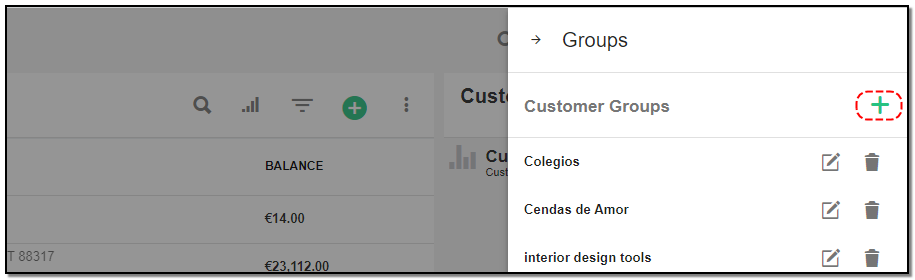
2. Create Customer Category: Click on the "Create Customer(+)" icon, to add a new category to the customer's page.
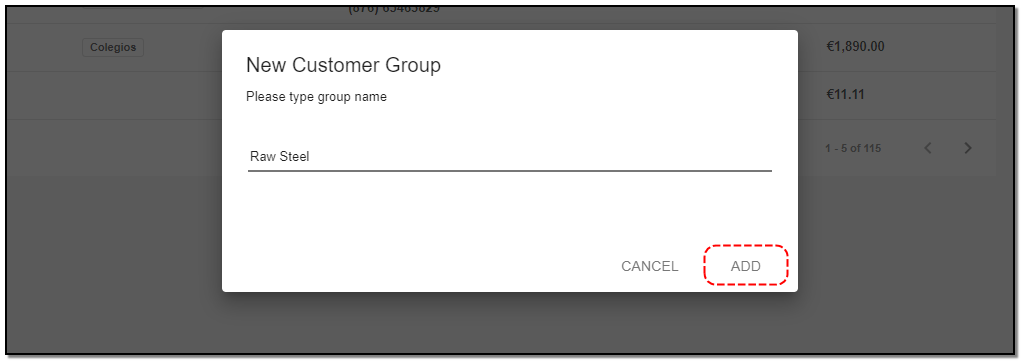
3. A popup appears on customer page enter the name of the group. Click on "Add" .
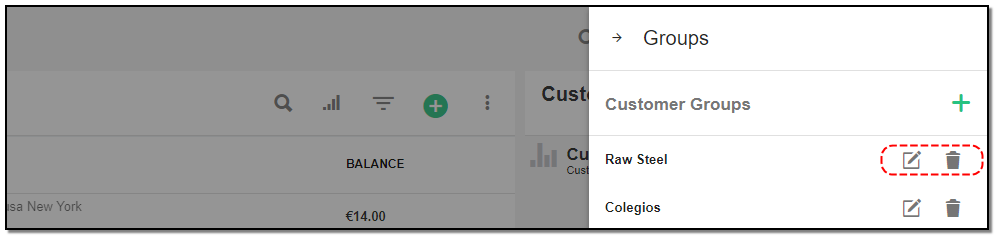
4. You can also "Edit" and "Delete" customer groups by clicking on the appropriate icons.
Customer Import, Customer Export:
Import Customer :
1. Click on "More Option" from the customer index/overview page.

2. Click on "Import Customer" option.

3. A right-slider appears.
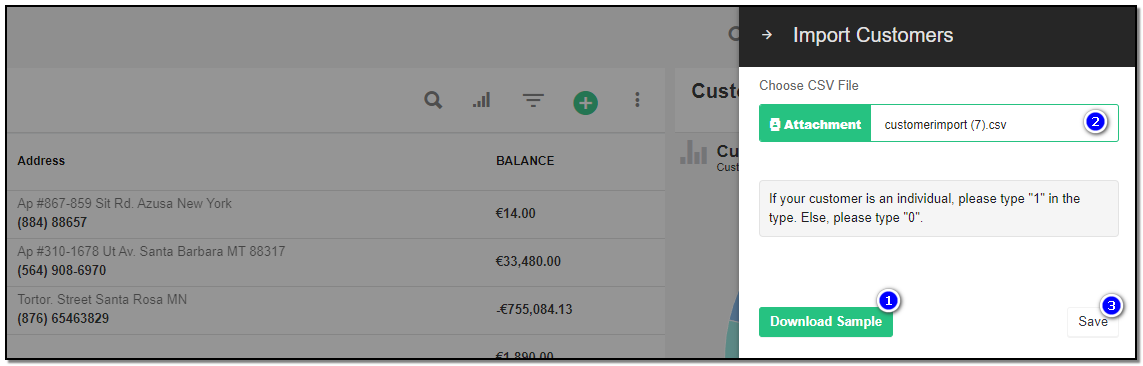
1. Download Sample : To see the format to import kindly download the sample and import the file referring to the sample. Create the .csv file by referring to the sample given. And save the file locally.
2. Drag & drop the file or browse the file to upload.
3. Click on "Save" the customers will be imported.
Export Customers :
1. Click on "More Option" from the customer index/overview page.

2. Click on "Export Customer" option.
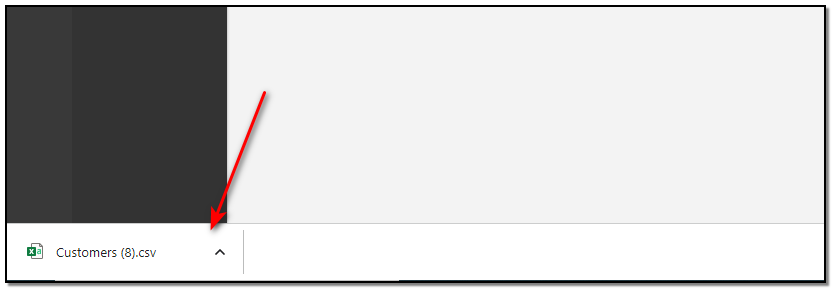
3. All the customers stored on the CRM will be stored in a .csv file and downloaded onto the local system automatically.


Master Data
Manages your customers , products and all your vendors .
Written by Yaroslav M.