CiuisCRM: Product Master

Last update: Tuesday, Sep 20, 2022
Products
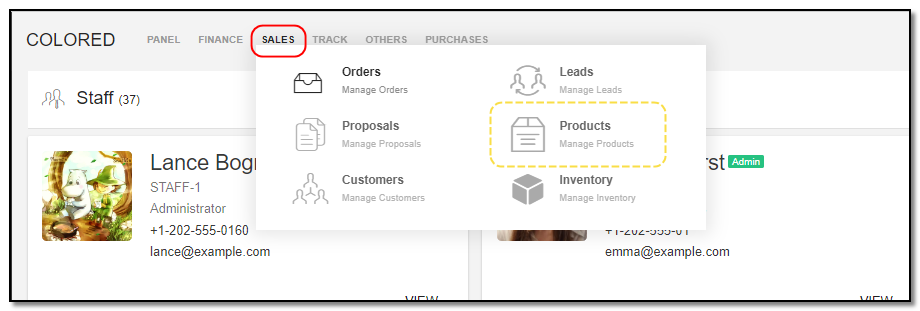
1. You can find the "Products" menu by hovering over "Sales" from the top header:
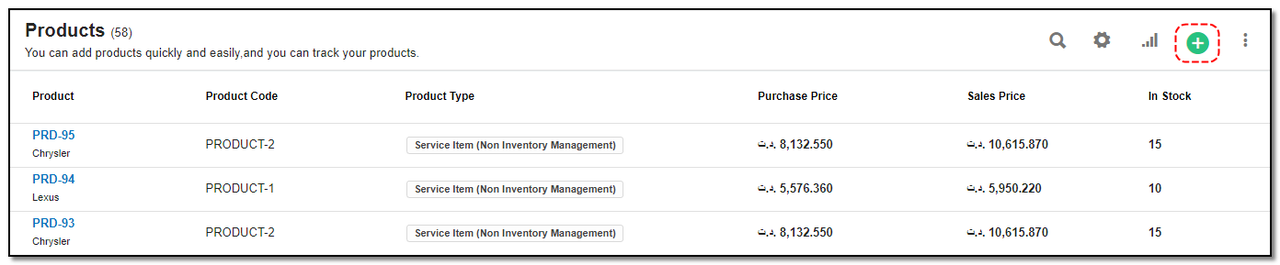
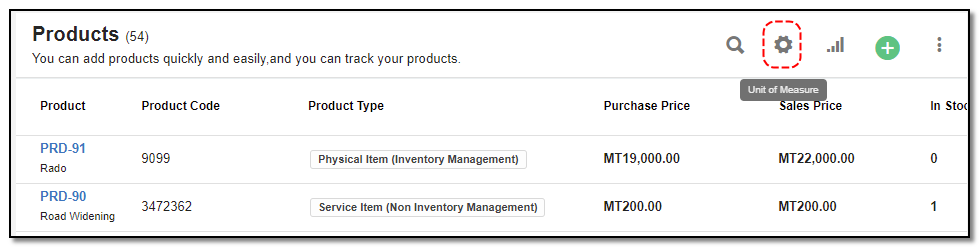
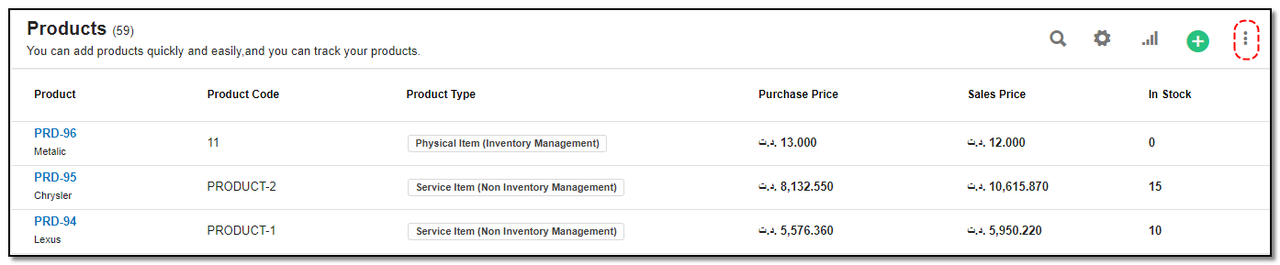
2. Added products to CRM are displayed as shown below . On the header of products you have some action buttons.

1. Search : This will help you search for products based on "product name , product type, product category, & warehouse.
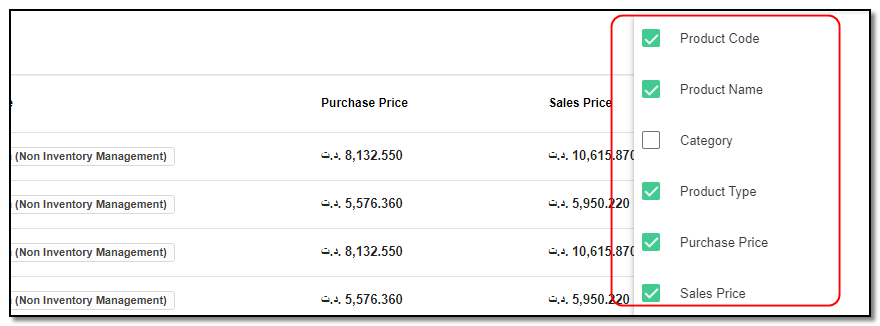
2. Filter by Column : By default, all the columns for the product table are displayed. To manage what column needs to be displayed, click on the "Filter Column" icon . After you click on the icon, a box will appear as shown in the image below . You can "Check" or "Uncheck" the fields you want to display on your product page.
Create Product:
1. To create a product click on the "+" icon from the product header section.
Enter the details:
1. Product/Service name: Name of the product / service name.
2. Unit of Measure: Unit of measure of product.
3. Product Type: Enter the product type.
4. Warehouse: Enter the place the product is from.
5. Purchase Price: Enter the price you purchased the product
6. Sale Price: Enter the price you want to sell the product.
7. Description: Enter the description of product.
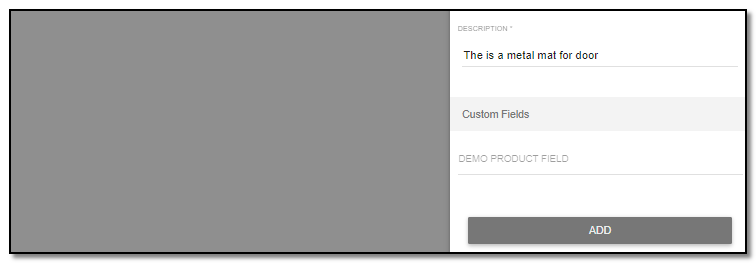
8. Click on "Add" button.
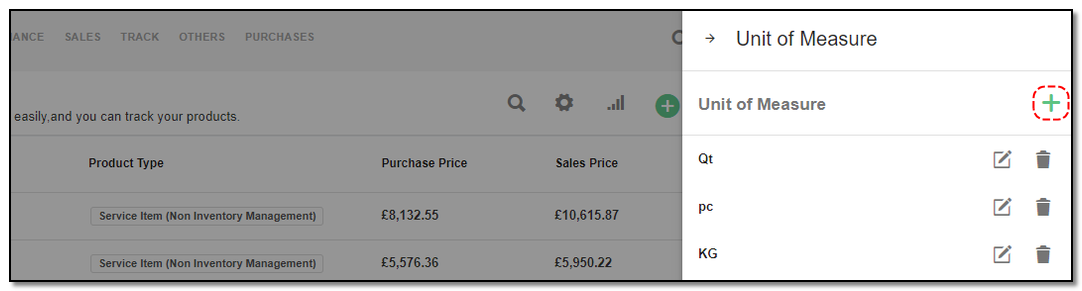
Unit of Measure:
1. By clicking from the product header to add "Unit of measure" for product.
2. You can create the unit of measure by clicking on "+" icon.
3. A pop-up appears, enter the name of unit of measure.
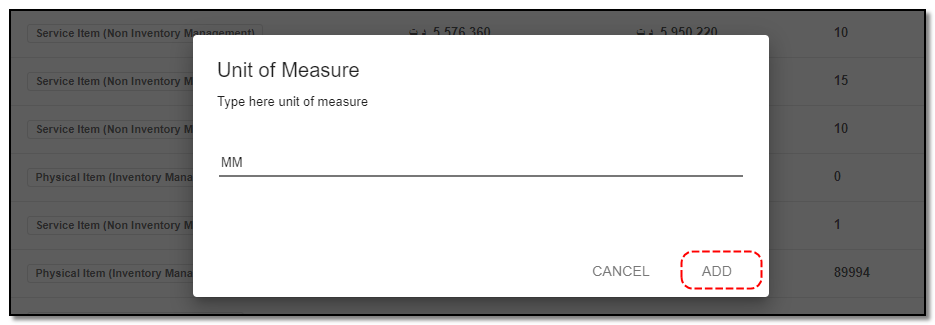
4. Click on "Add" and it is saved
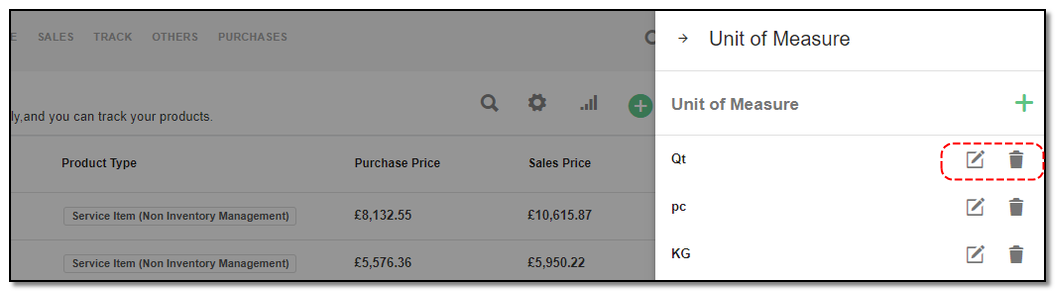
5. You can also "Edit" and "Delete" product by clicking on the appropriate icons.
Update product:
1. To update the product details click on the particular product you want to update.
2. Click the "Update" button from the header.
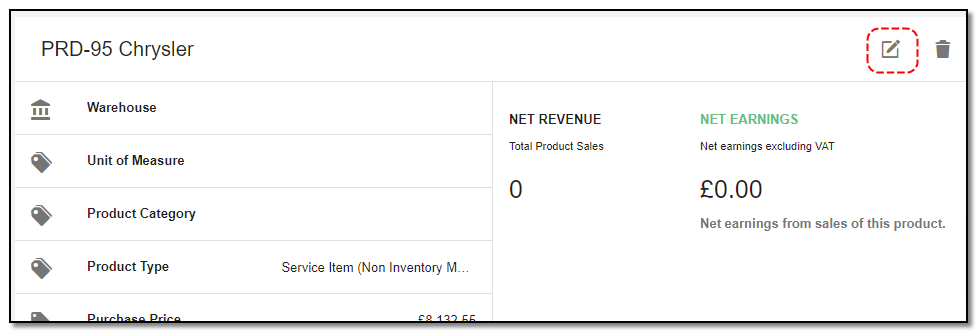
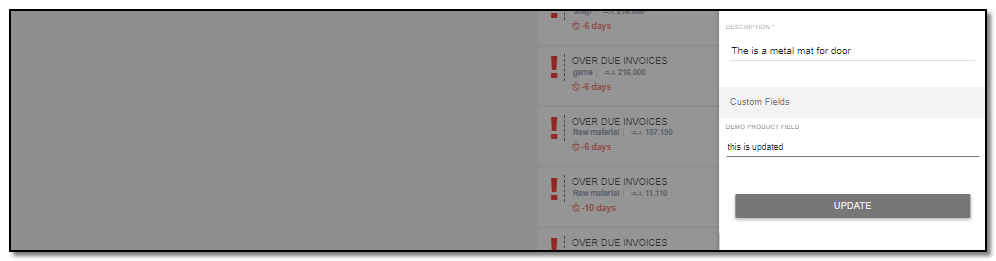
3. A right-side appears : Update the product details like
4. Once you have updated the product details click on "Update".
Delete product:
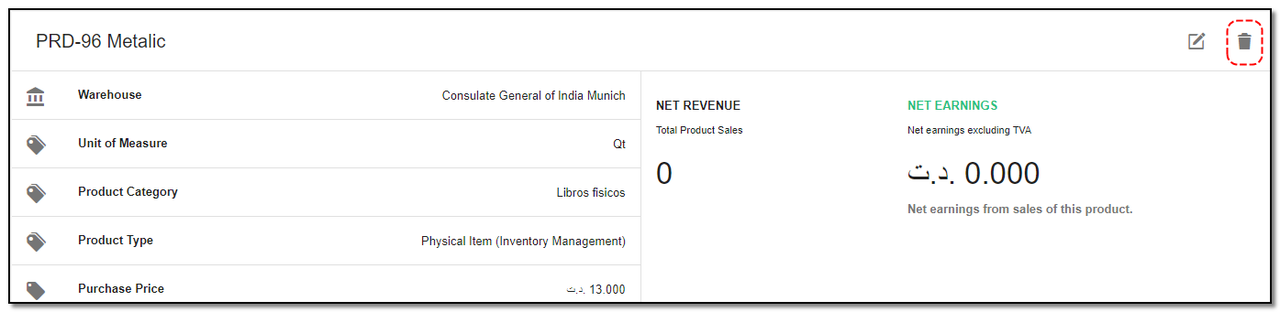
1. To delete the product click on "Delete" button from the product header.
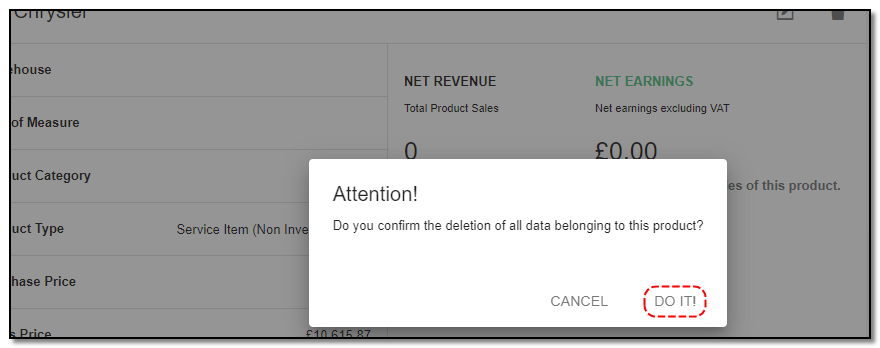
2. A small pop up appears to confirm the deletion of product . Click on "Do it" if you want to delete else click on "cancel"
Create Product Category:
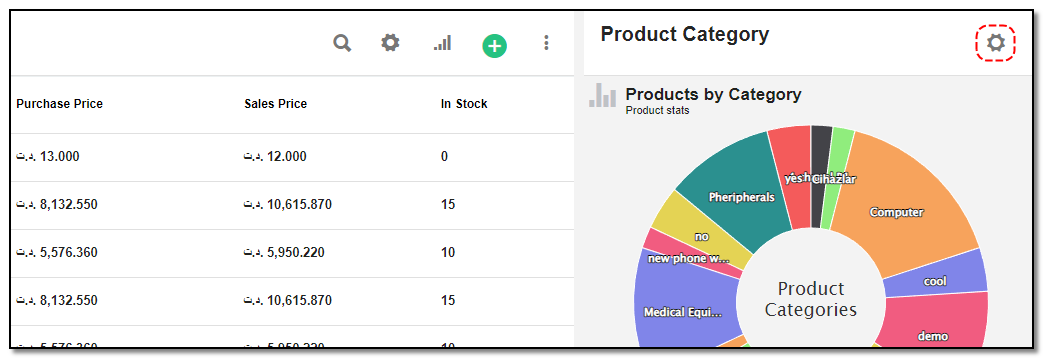
1. Click on the "product Group Option" icon to add the category for the product from the index page of product category.
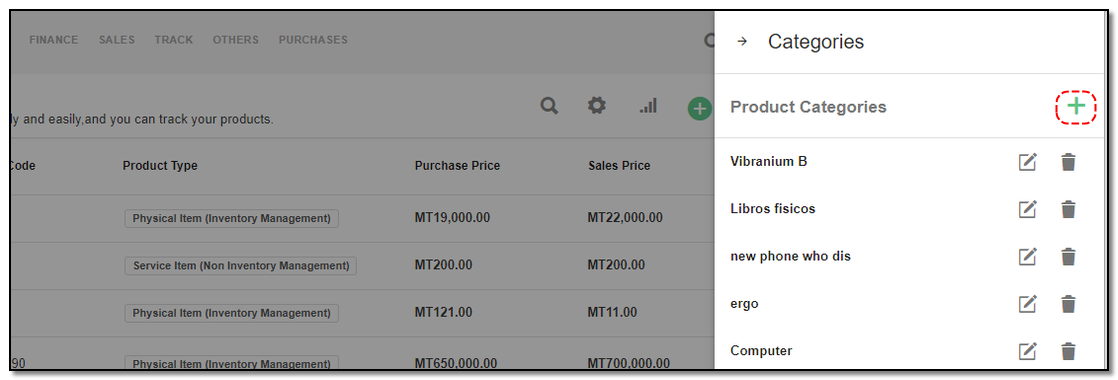
2. Create product Category: Click on the "Create product(+)" icon, to add a new category to the product's page.
3. A popup appears on the product page and enters the name of the group. Click on "Add" .
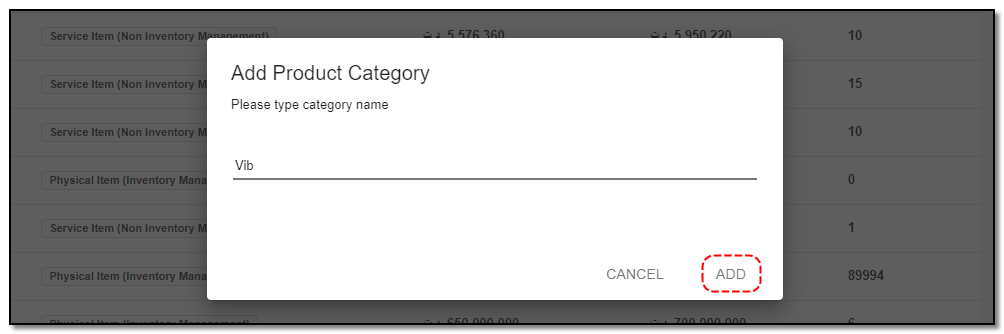
4. Select the file, click on "save"
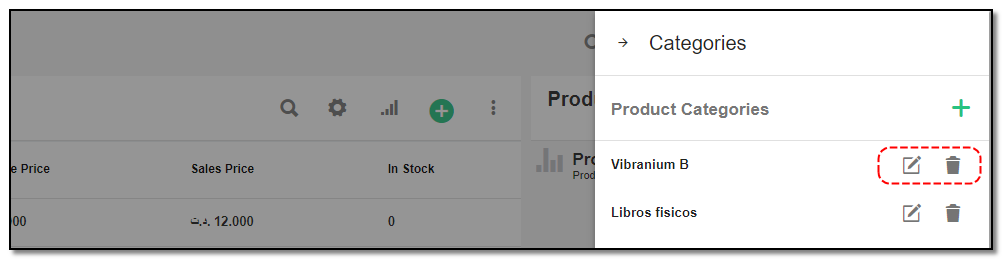
5. You can also "Edit" and "Delete" product by clicking on the appropriate icons.
Product Import and Product export
Import Product:
1. Click on "More Option" from the product index/overview page.
2. Click on "Import Customer" option.
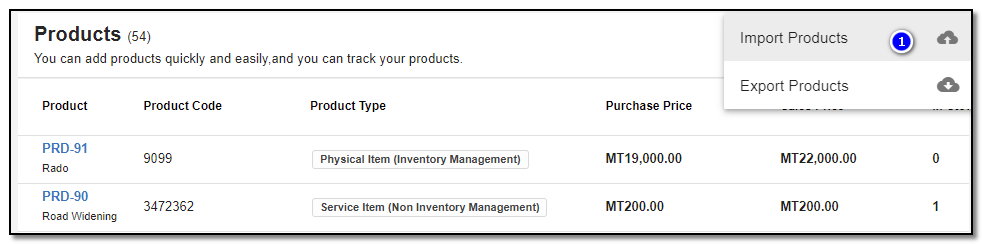
3. A right-slider appears.
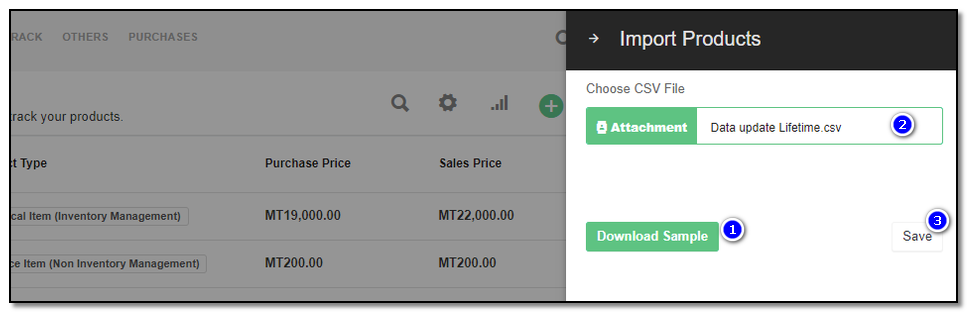
1. Download Sample : To see the format to import kindly download the sample and import the file referring to the sample. Create the .csv file by referring to the sample given. And save the file locally.
2. Drag & drop the file or browse the file to upload.
3. Click on "Save" and the product will be imported.

NOTE: If there are any errors in the .csv file created, those entries will be skipped and their line numbers will be displayed in the error.
Export Product:
1. Click on "More Option" from the product index/overview page.
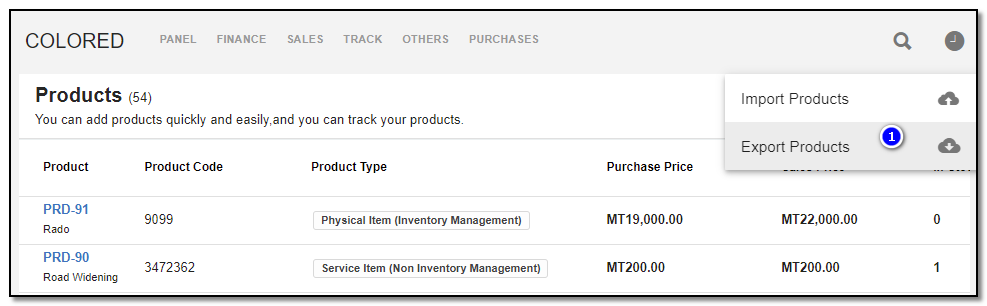
2. Click on "Export Customer" option.
3. All the products stored on the CRM will be stored in a (.CSV) file and downloaded onto the local system automatically.


Master Data
Manages your customers , products and all your vendors .
Written by Yaroslav M.