CiuisCRM: Purchasing

Last update: Tuesday, Sep 20, 2022
Purchasing
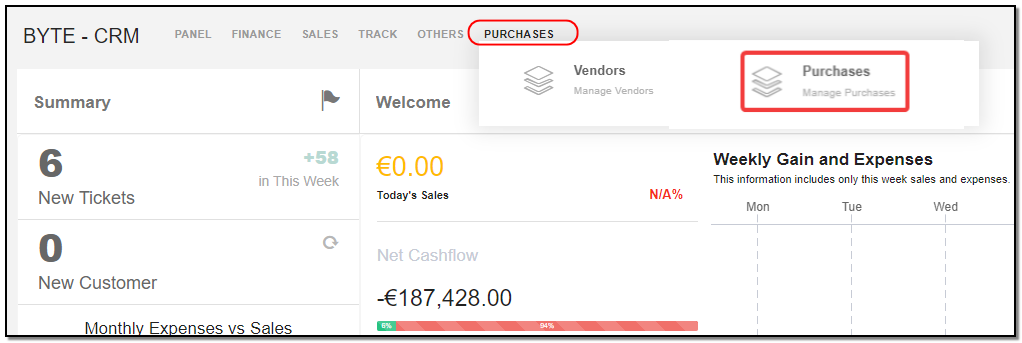
1. You can find the "Purchases" menu by hovering over "Purchases" from the top header:
2. Added purchases to CRM are displayed as shown below , on the header of purchase you have some action buttons.
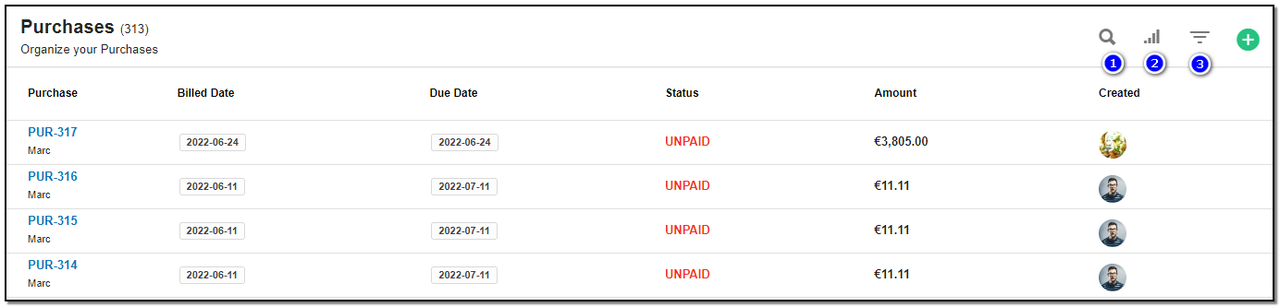
1. Search : This will help you search purchases based on"Purchase name , Customer name, Status Paid or unpaid , and by Amount".
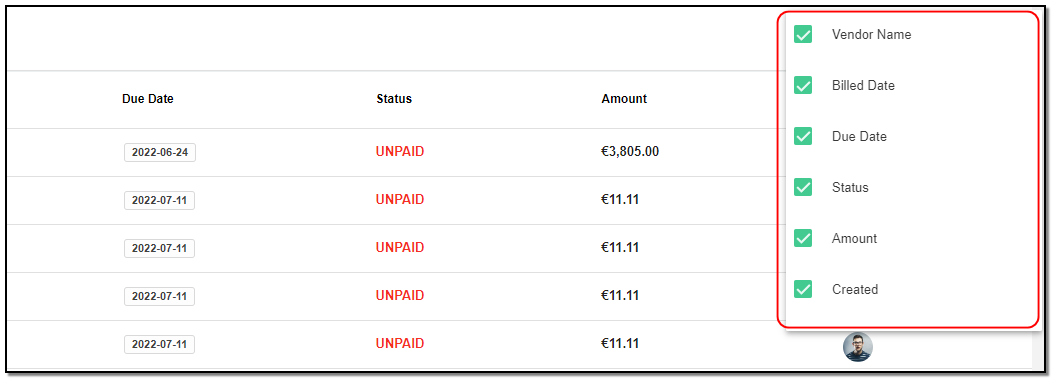
2. Filter by Column : By default, all the columns for the purchase table are displayed. To manage what column needs to be displayed, click on the "Filter Column" icon . After you click on the icon a box will appear as shown in the image below . You can "Check" or "Uncheck" the fields you want to display on your purchase page.
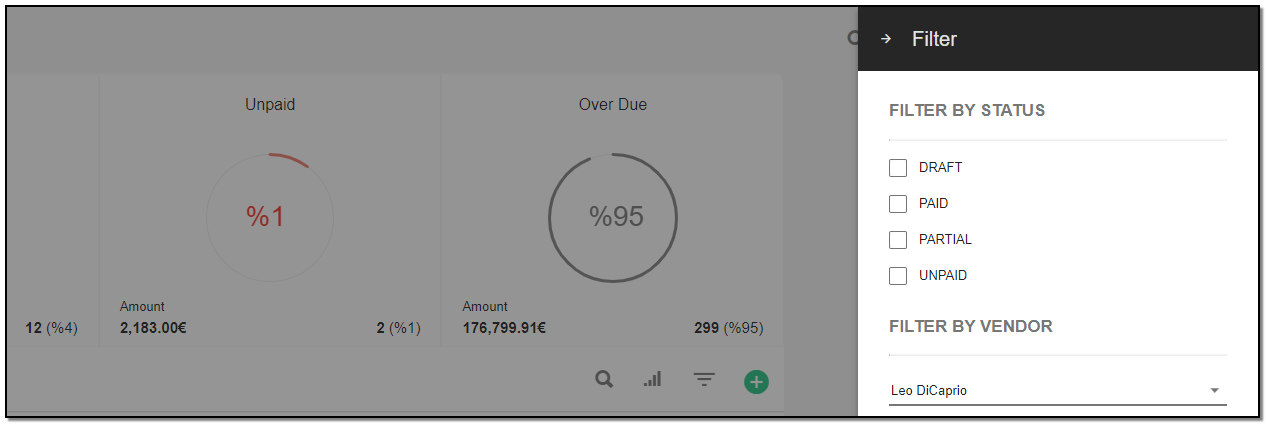
3. Filter: To filter the purchase by Status or by Vendor .Click on the "Filter" icon.
Create Purchase:
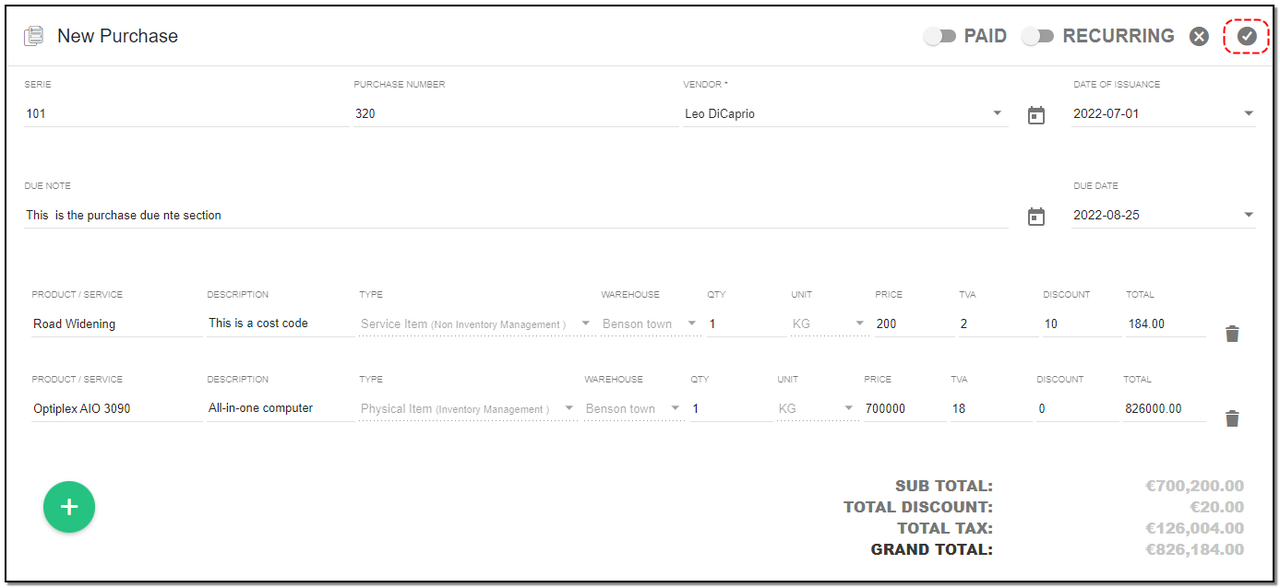
1. To create a purchase click on the "+" icon from the purchase header section.
A create page opens Enter the :
1. Series : Series of the purchase
2. Purchase Number : Enter the purchase number.
3. Choose Vendor : Select the vendor from the drop-down.
4. Date of Issuance : Select the valid purchase date issued on.
5. Due date : End date of purchase.
6. Due Note : enter any small or descriptive type note if required.
7. Product/Service : Select the products purchased. After filling all the Click on "Save" on the top right. Your purchase will be created.
Create Recurring Purchase:
1. Recurring : To create recurring purchase follow the same step as you did for creating a purchase. To mark the purchase as recurring toggle on "Recurring" on the top ,three new fields will be introduce,enter the details.
2. Set the required recurring period. A purchase will be created when you click on the “Save” button. Every time you run the CronJob, it will check if the recurring period has elapsed after the issue date, if it has elapsed, then another purchase is created and added to the email list.
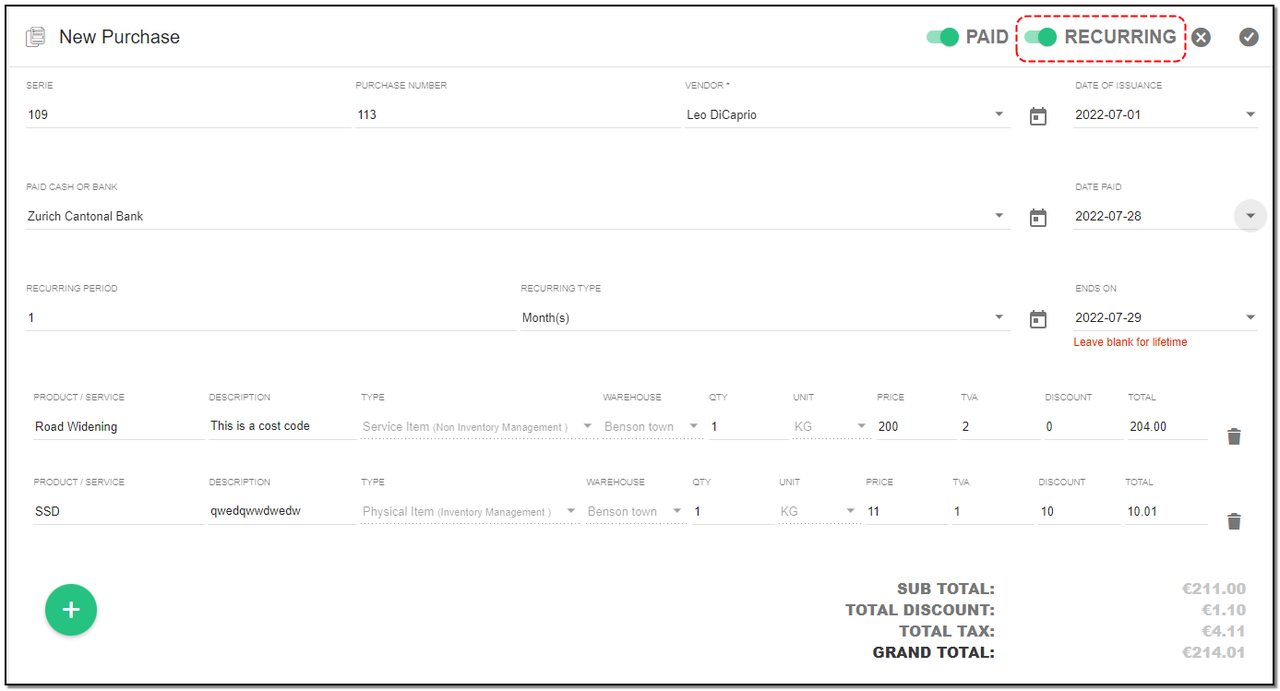
3. Please note in order to make Purchase Recurring for Lifetime, Leave "Ends On" Field Blank. Your recurring purchase is created.
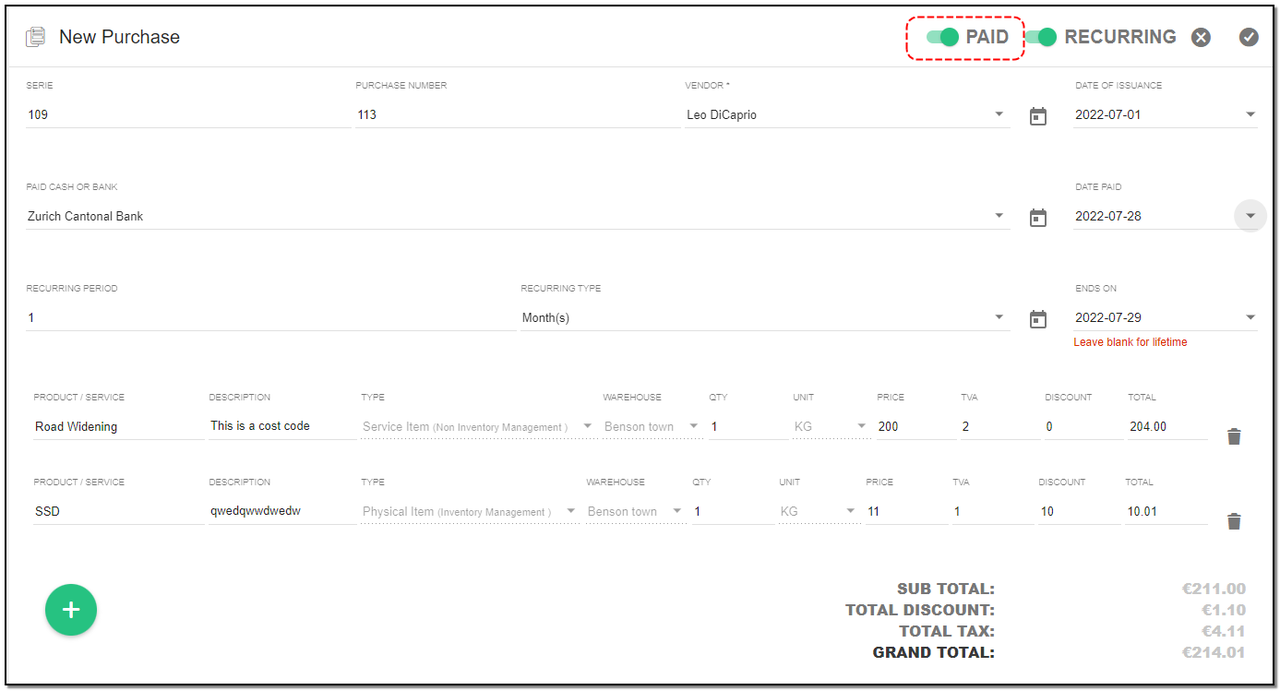
4. Paid : To mark the purchase as Paid, toggle to "Paid" button on the top. New fields will be introduce . Choose the account from the drop-down , Set the Paid date and click on "Save".
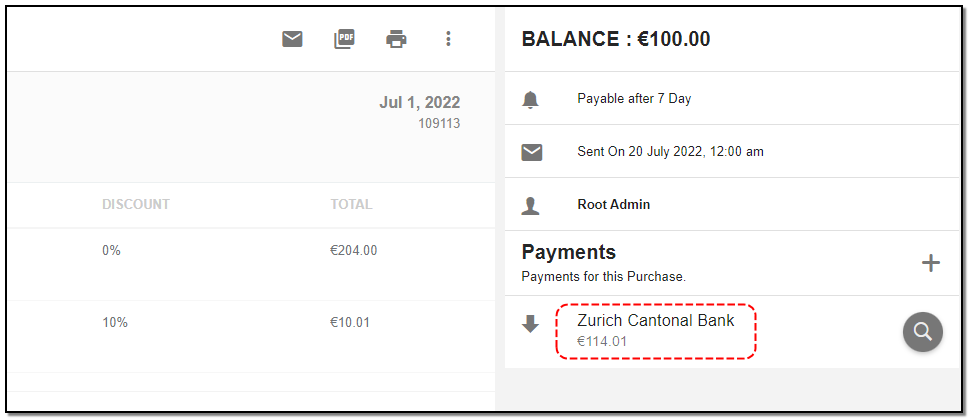
Purchase Page View:
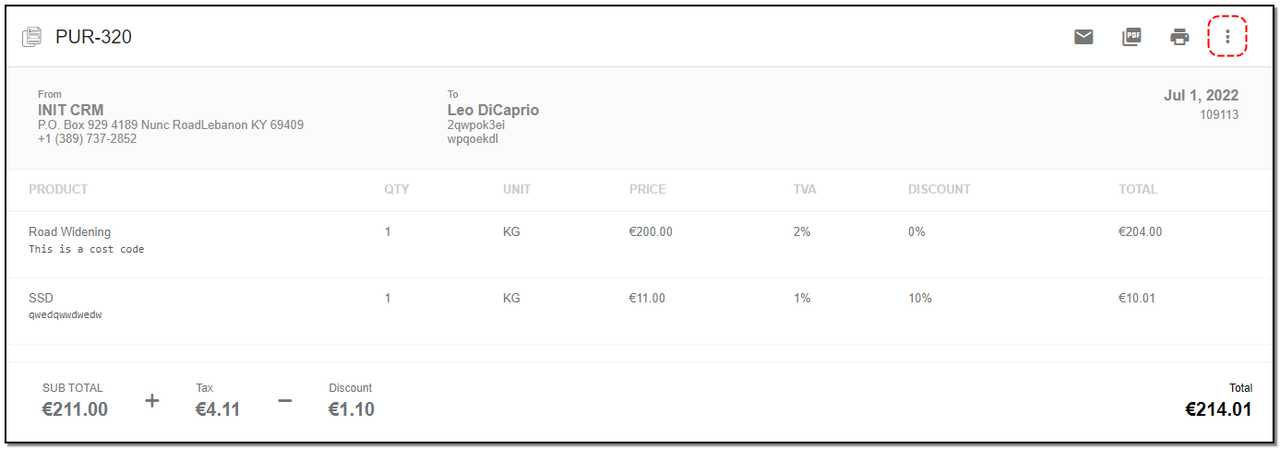
On the view of purchase page you can see the details of the purchase and also some actions buttons .
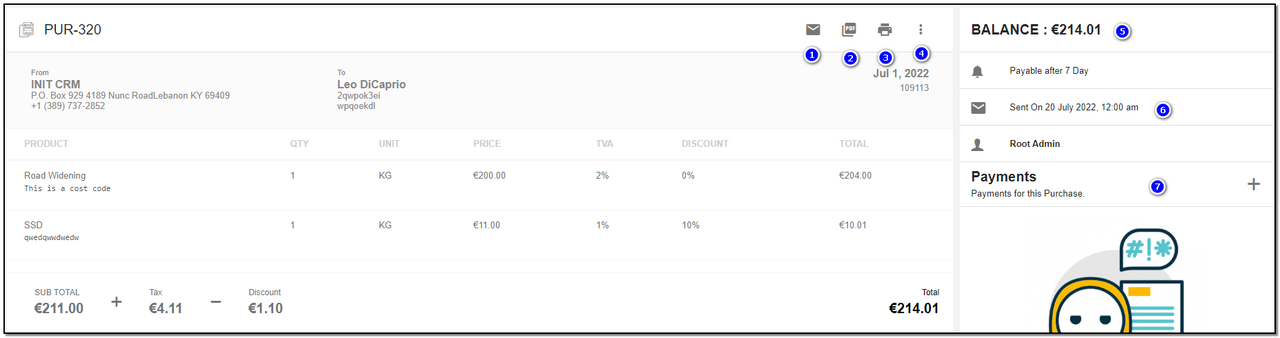
1. Mail : By clicking on Mail option you can send the purchase mail to the vendor.
2. PDF : By clicking on PDF option you can create a PDF for the purchase.
3. Print : By clikcing the Print option you can print the purchase.
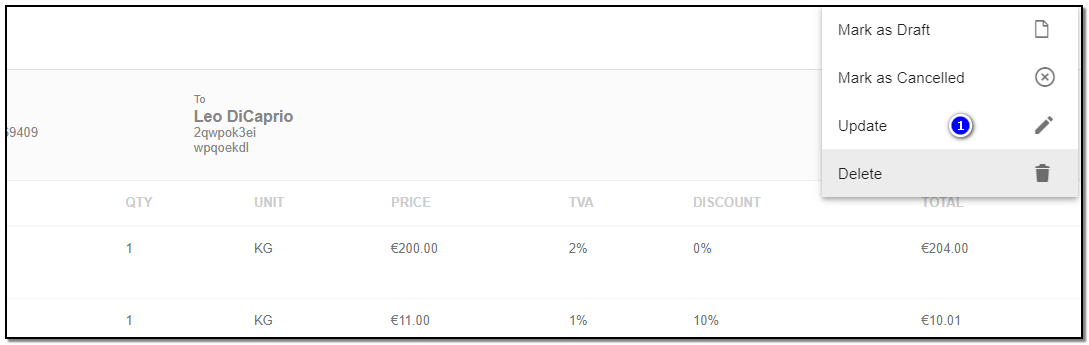
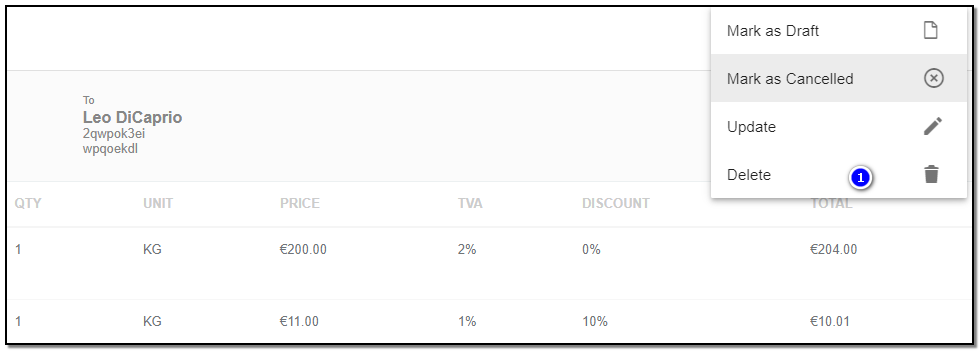
4. More option : these options consist Update , Delete , Mark purchase as draft and Mark purchase as Cancelled.
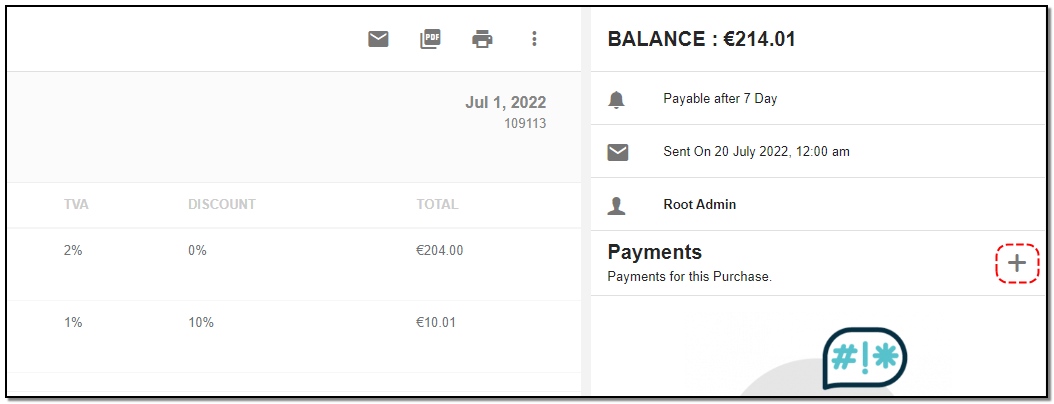
5. Balance: On your right side you can see the balance of the purchase.
6. Mail details : When you click on Mail option the sent details of the mail are displayed .
7. Payment : You can add the payments for the purchase.
Update Purchase:
1. To update the purchase details click on "More" option from the header.
2. Click on "Update" button .
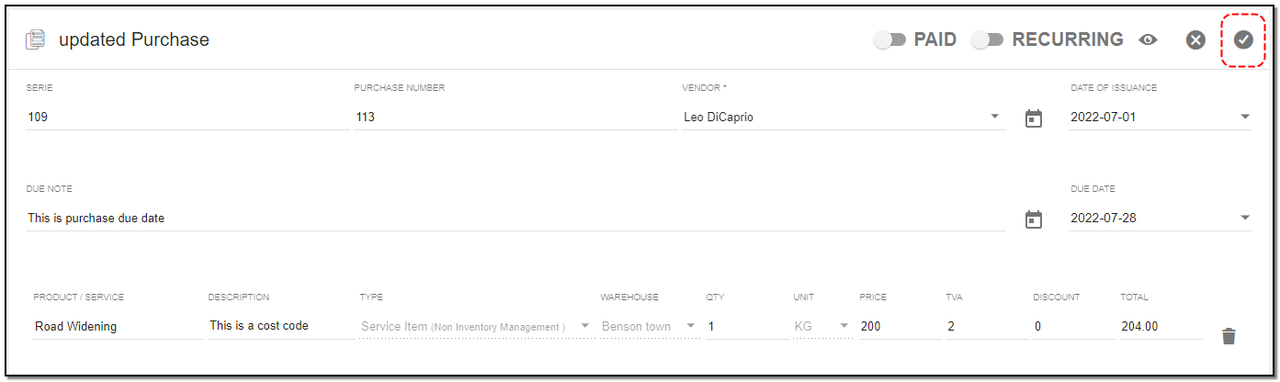
3. A update page opens , Update the details of the purchase like Add a new product to existing purchase. Click on "Save" button.
Purchase Delete :
1. To delete the purchase click on "Delete" button.
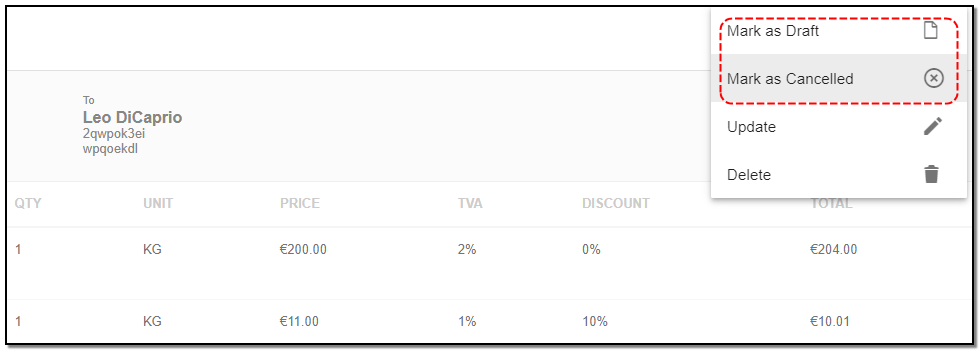
Mark Purchase as Draft or Cancelled:
1. Click on "More" option to find option of "Mark as Draft " or Mark as Cancelled".
Purchasing Payment :
1.All the payments made for this purchase are listed on the right side under the "Payment" section.
Add Payment :
1. To Add the payment Click on "+" icon. A screen appears from the right .
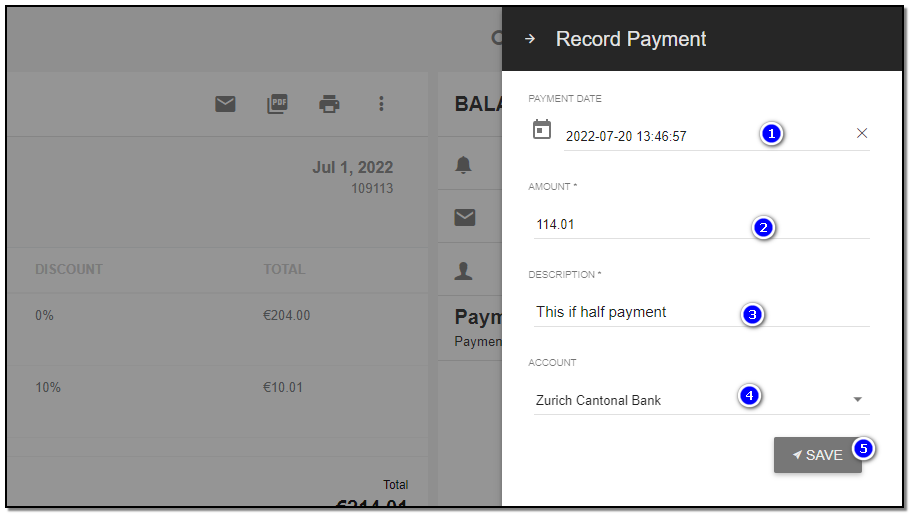
1. Choose the date : date of the payment getting added.
2. Amount : Enter the amount
3. Description: Enter the description.
4. Account : Select the account from the drop-down.
5. Click on "Save" button. The payment is listed below and the Balance is updated.
6. When you click on the search button it will redirected to expenses page.


Master Data
Manages your customers , products and all your vendors .
Written by Yaroslav M.