CiuisCRM: Vendors

Last update: Tuesday, Sep 20, 2022
Vendor:
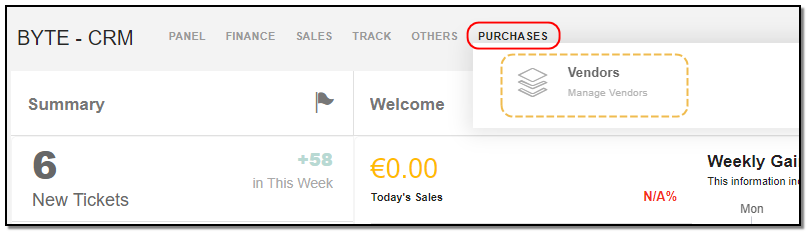
1. You can find the "Vendor" menu by hovering over "Purchases" from the top header:
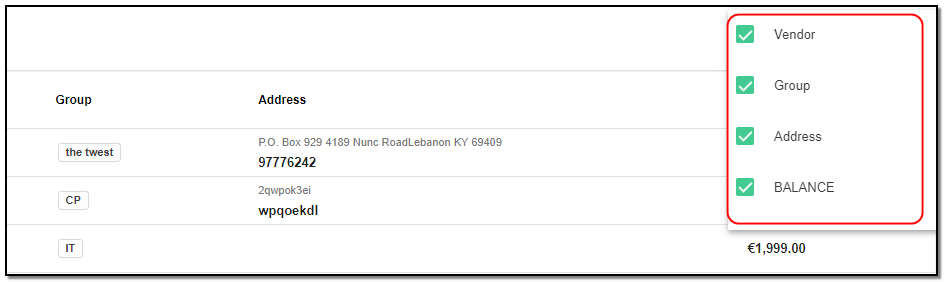
2. Added vendors to CRM are displayed as shown below , on the header of vendor you have some action buttons.

1. Search : This will help you search vendors based on "vendor name, vendor group.
2. Filter by Column : By default, all the columns for the vendor's table are displayed. To manage what column needs to be displayed, click on the "Filter Column" icon, after you click on the icon a box will appear as shown in the below image, you can "Check" or "Uncheck" the fields you want to display on your vendor page.
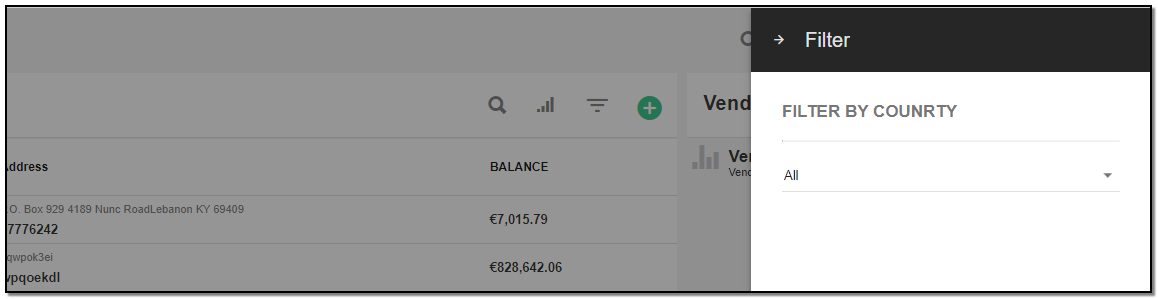
3. Filter: To filter the vendors by type or country click on the icon "Filter" icon.
Create Vendor:
To create a vendor click on the "+" icon from the vendor header section.

A right slider pops. Enter the lead basic details
1. Vendor name: Enter vendor name.
2. Vendor Group: Select the Vendor group from the drop-down.
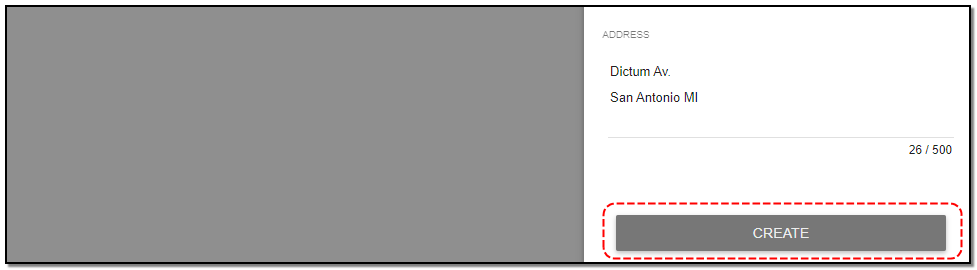
3. Email: Enter the email. Fill all the basic fields of vendor like address and tax office details.
4. After filling all the vendor details click on "Create" button at the bottom.
Vendor Page Details:
1. All the details you created for vendor are displayed under information section on left side.
Tabs :
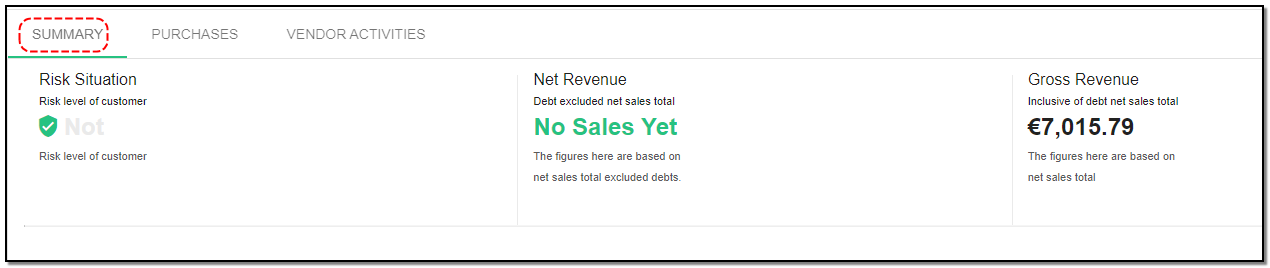
1. Summary Tab :This tab displays all the transactions made by the vendor.
2. Purchase Tab :This tab displays all the purchases pertaining to the vendor.

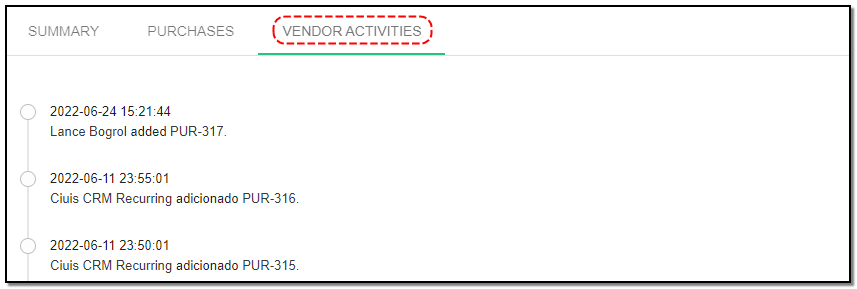
3. Vendor Activity Log: This tab displays all the vendor activities in timeline form.
Update Vendor:
1. To update the vendor details click on the particular vendor you want to update. Click the "Update" button from the header.

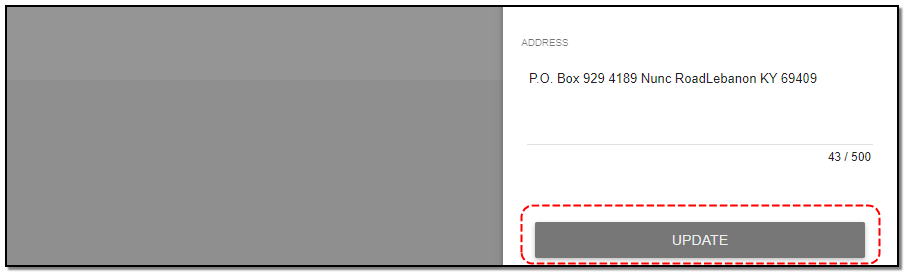
2. A rightslider appears : Update the vendor details like address of the vendor or the name or you can update the group of the vendor .
3. Active toggle : Enable or disable the Active button to activate or deactivate the vendor. Once you have updated the vendor details click on "Update".
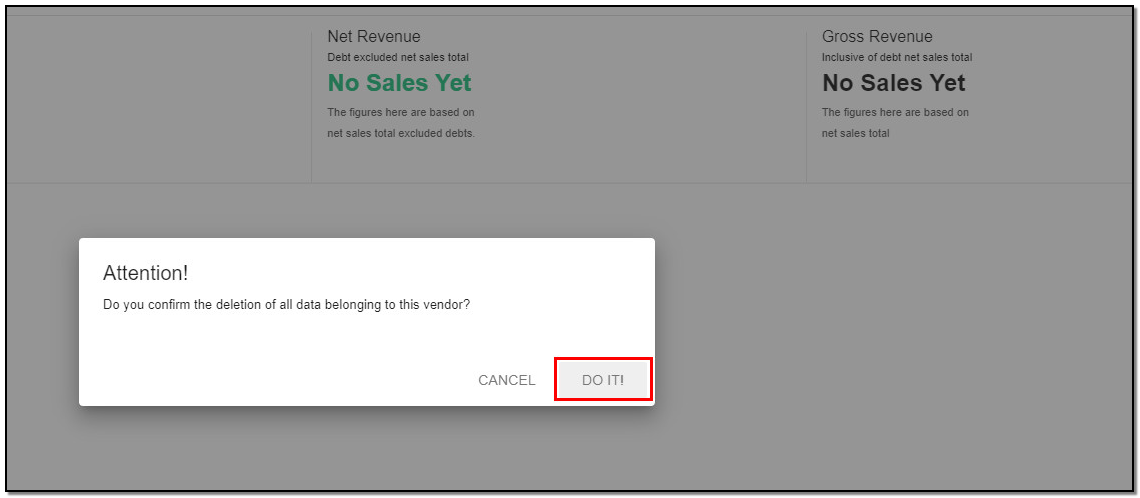
Delete Vendor:
1. To delete the vendor click on "Delete" button from the vendor header.
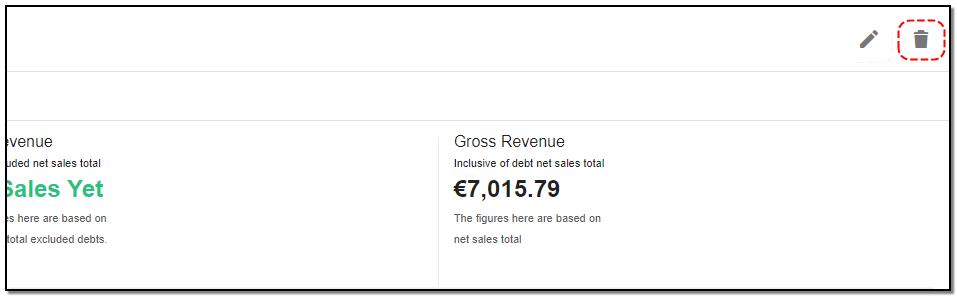
2. A small pop up appears for confirming the deletion of vendor click on "Do it" if you want to delete else click on "cancel" .
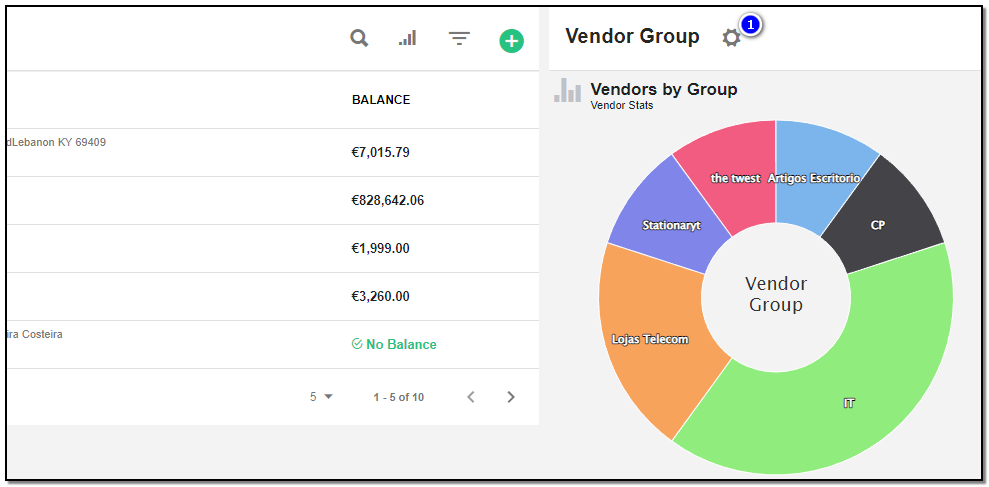
Create Vendor Group :
1. Click on the "Vendor Group Option" icon to add the category for the vendor, from the index page of vendor .
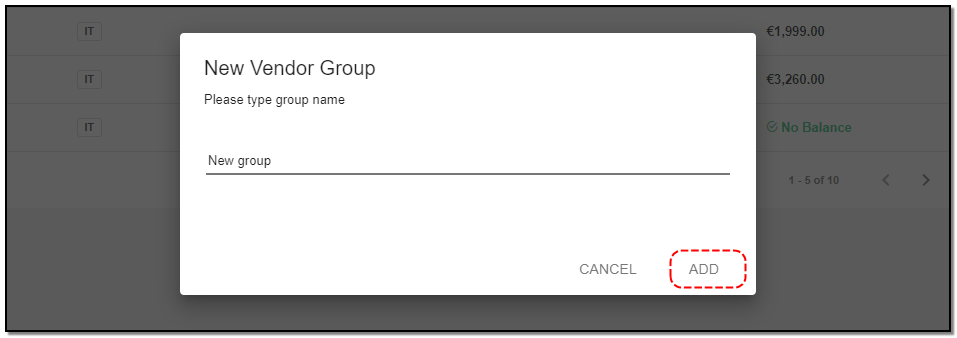
2. Create Vendor Category: Click on the "Create Vendor(+)" icon, to add a new category to the vendor's page.

3. A popup appears on vendor page enter the name of the vendor. Click on "Add" .
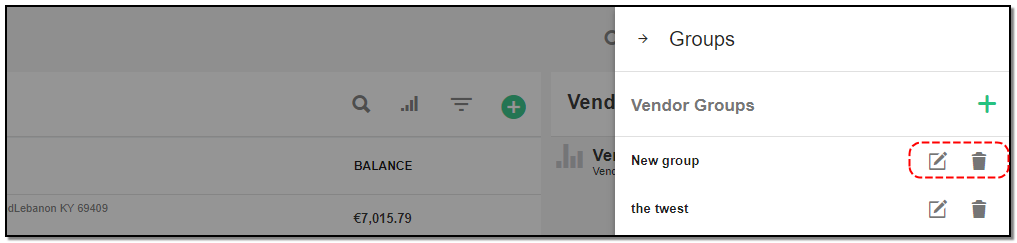
4. You can also "Edit" and "Delete" vendor groups by clicking on the appropriate icons.


Master Data
Manages your customers , products and all your vendors .
Written by Yaroslav M.