CiuisCRM: User Staff

Last update: Tuesday, Sep 20, 2022
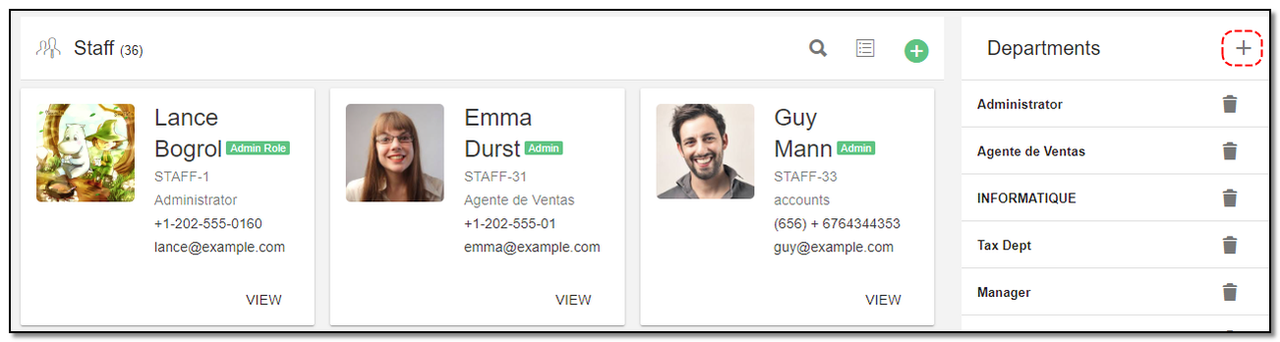
Staff
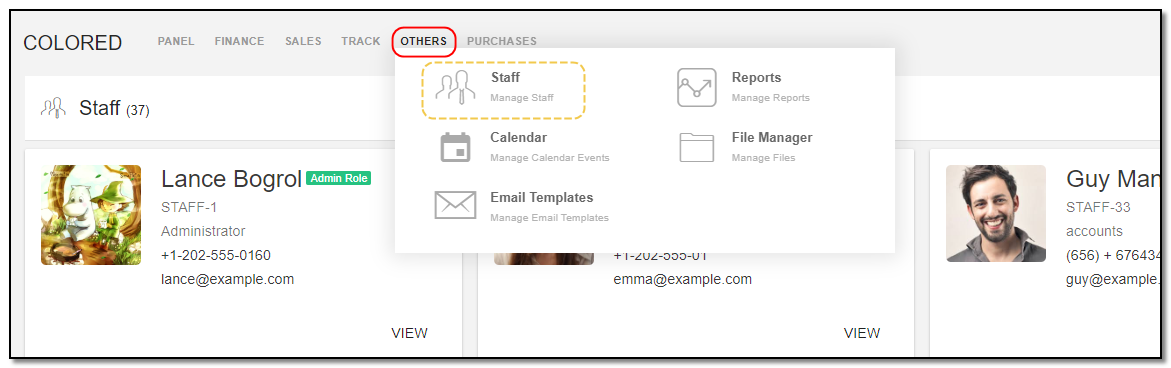
1. You can find the "Staff" menu by hovering over "Others" from the top header:
2. Staff details are added into CRM and are displayed as shown below . On the header of purchase you have some action buttons.
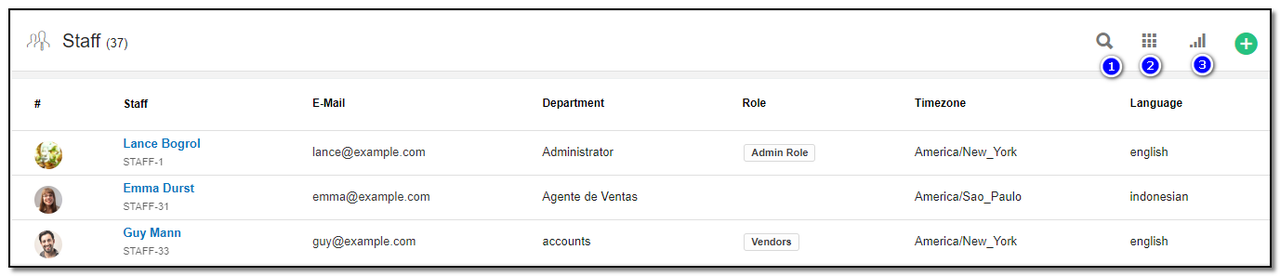
1. Search : This will help you search for staff members based on" Name , Id, or by post"
2. See List : To change the view of staff layout from list to Kanban and vice-versa click the see-list icon, and change the view.
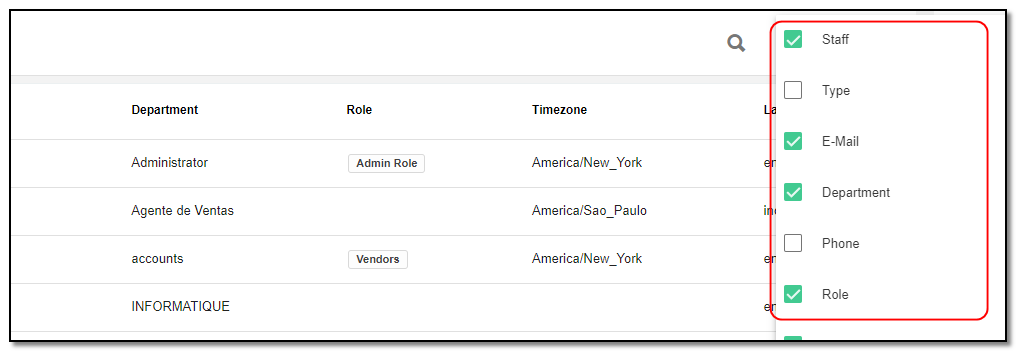
3. Filter by Column : By default, all the columns for the staff table are displayed. To manage which staff needs to be displayed, click on the "Filter Column" icon . After you click on the icon, a box will appear as shown in the image below . You can "Check" or "Uncheck" the fields you want to display on your staff page.
Create Staff
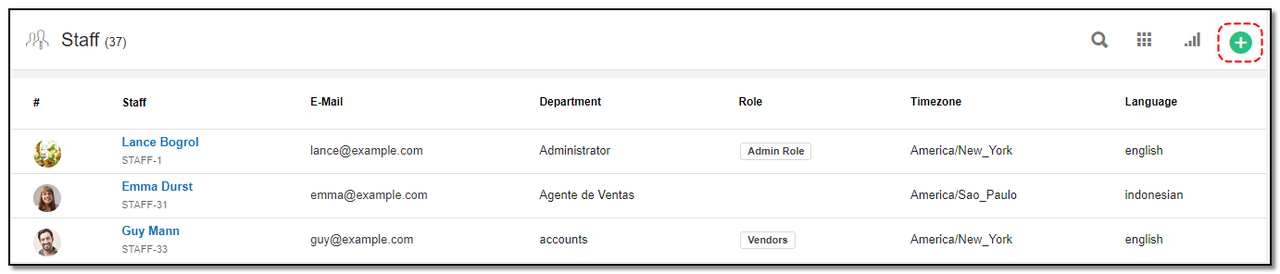
1. To create a staff member, click on the "+" icon from the staff header section.
Enter the details:
1. Name: Enter your name.
2. Email: Enter your email address
3. Password: Set your password.
4. Phone No: Enter your Phone number.
5. Staff Department: Select the department from dropdown.
6. Language: Select your language from dropdown.
7. Roles: Select the role you want
8. Address: Enter your address.

9. Click on "Add" and it's created.
Staff Page Details:
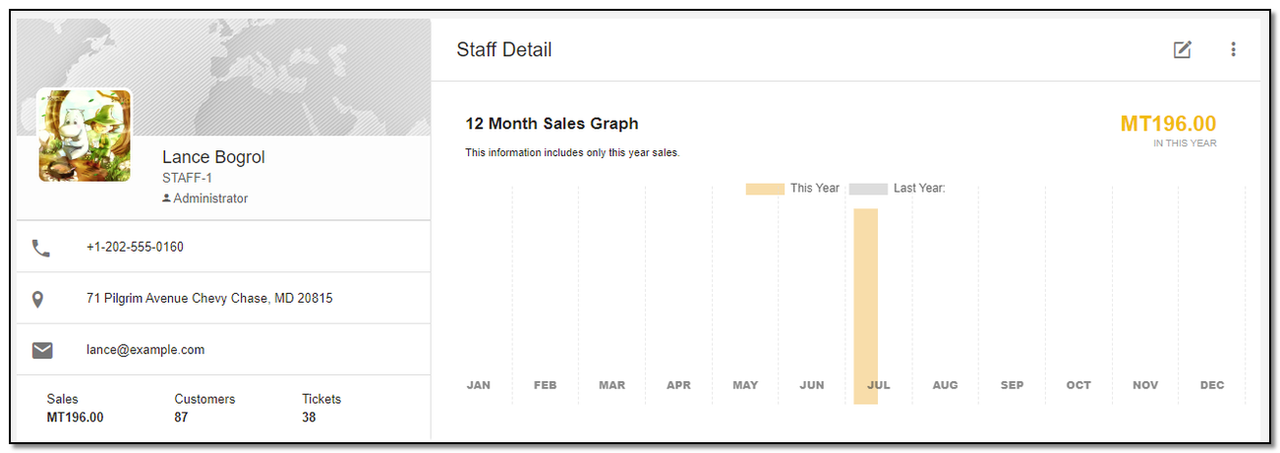
Update Staff :
1. You can update the staff details by changing staff email address, contact, department and staff role.
2. Active toggle : Enable or disable the Active button to activate or deactivate the staff.
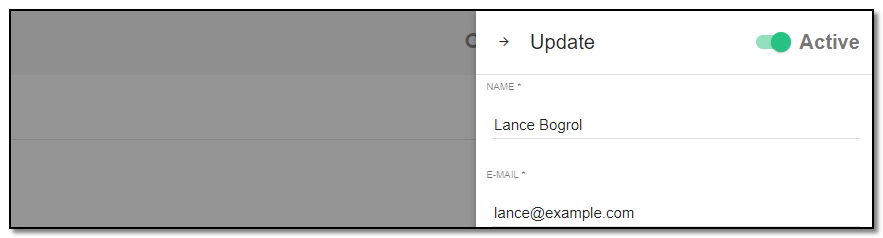
3. Once you have updated the staff details click on "Update".
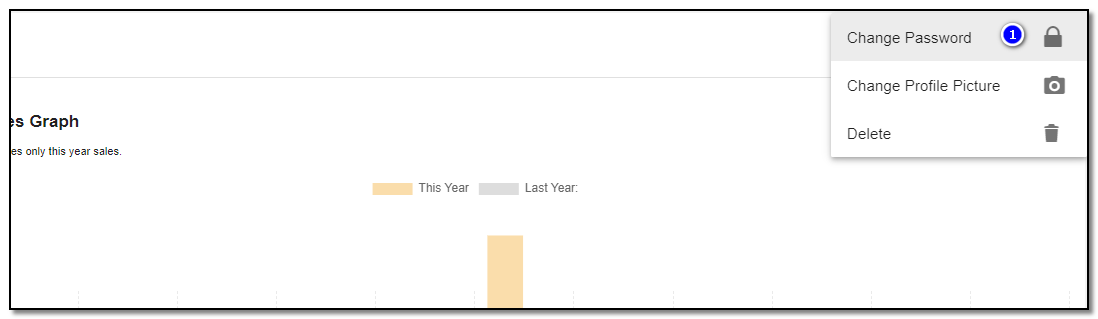
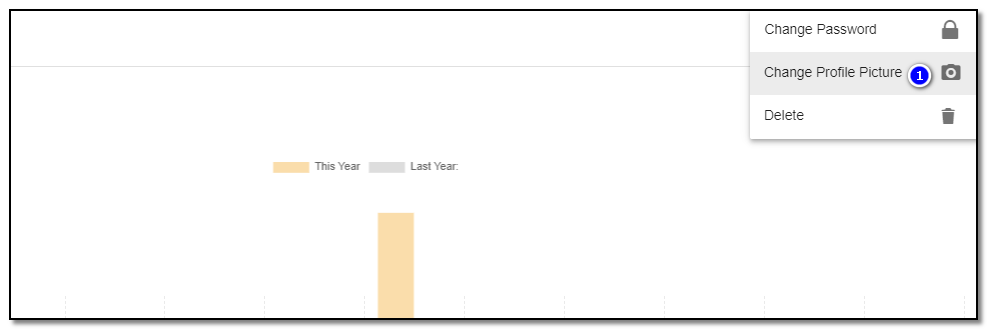
4. More options : these options consist of "Change password, change profile picture and delete"
Change password:
1. you can change the password with the existing one.
Enter as follows:
1. Old password: Enter the old password.
2. New password: Enter the new password.
3. Confirm password: Confirm with the new password.
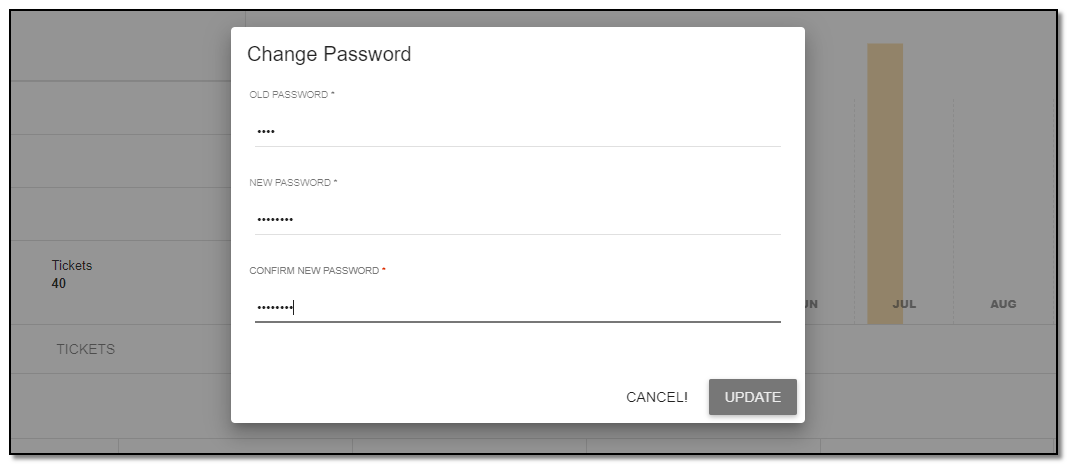
5. Click on "Update" Your password will be updated.
Change Profile Picture:
1. Click on "Change Profile Picture" a pop-up appears on the screen.
2. Browse the profile image to be added and click on "Upload" to save the file.
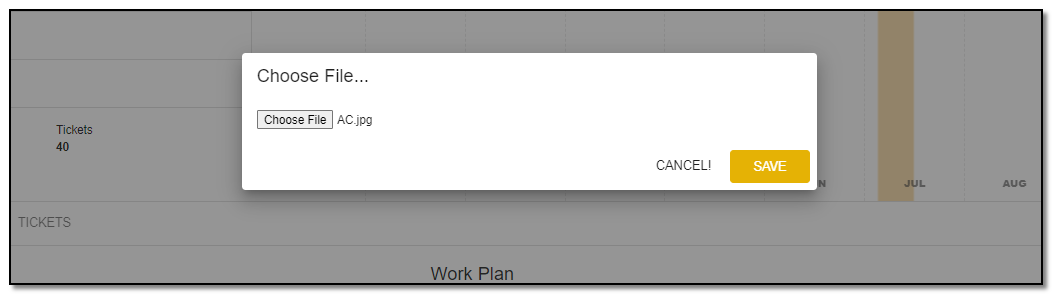
3. Click on "save".
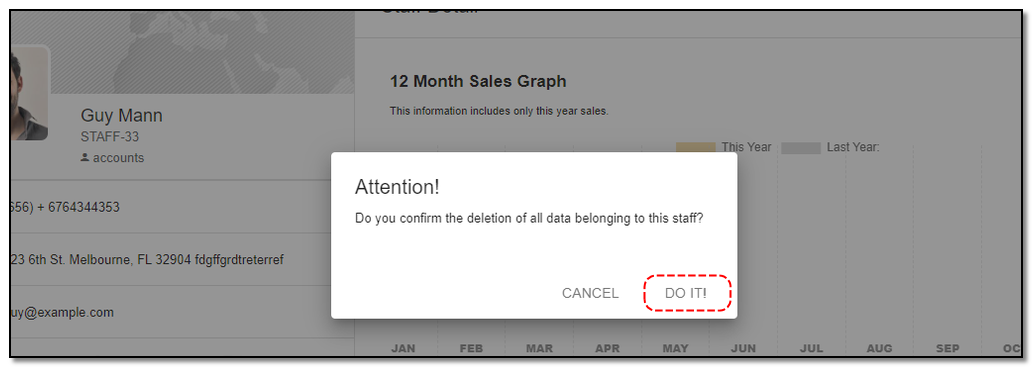
Delete Staff:
1. To delete the staff click on "Delete" option hovering "more" option.
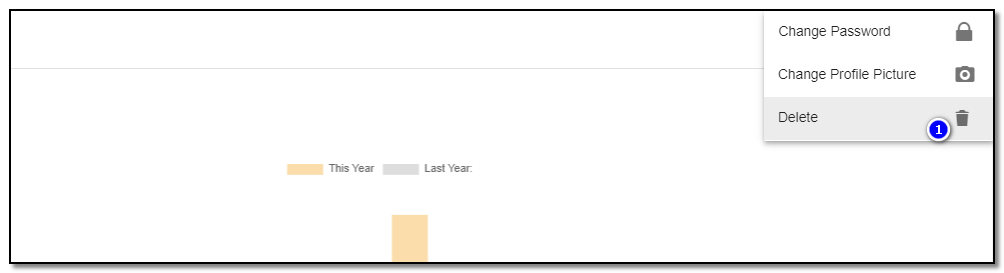
2. A small pop up appears to confirm the deletion of customer click on "Do it" if you want to delete else click on "cancel"
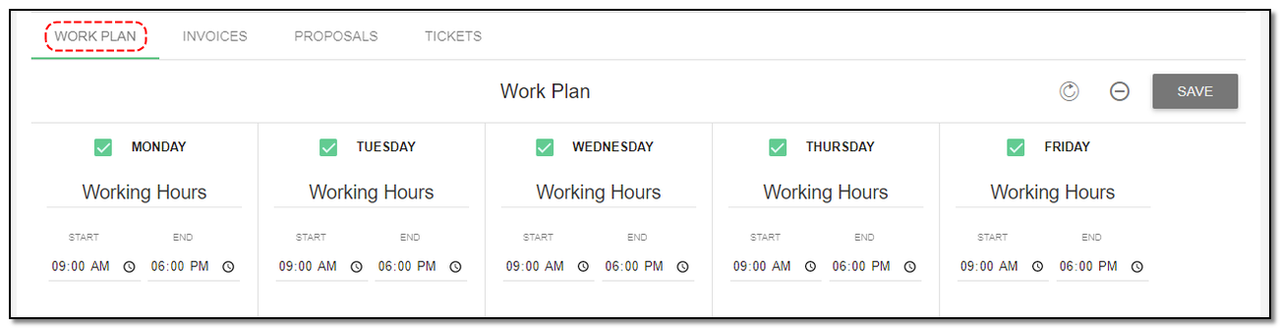
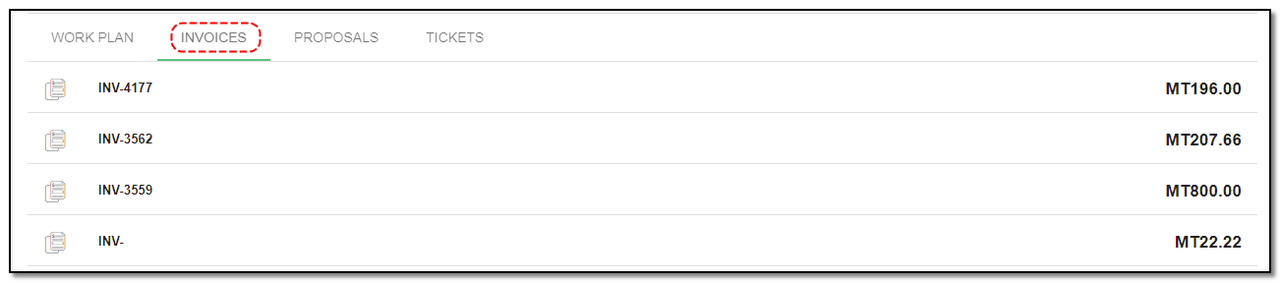
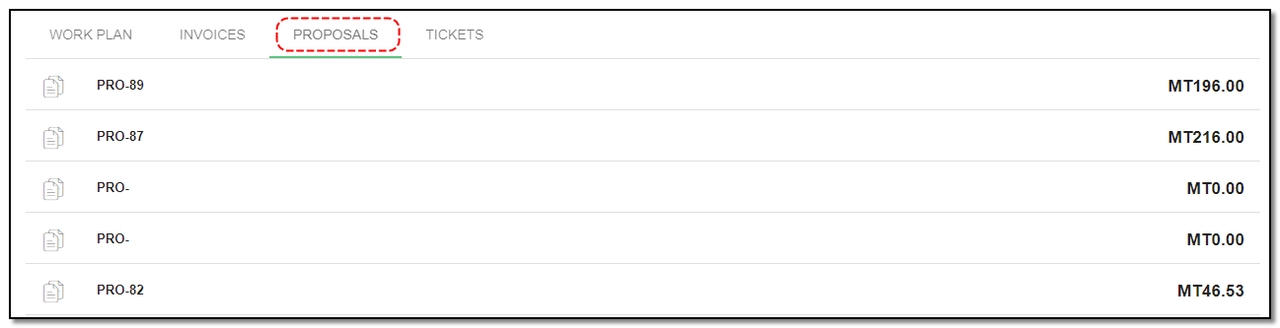
Tabs:
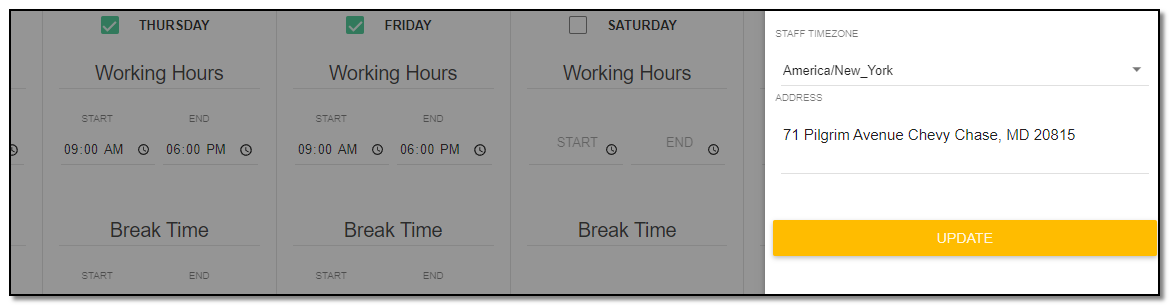
1. Working Tab: This displays the work plan for the staff. If needed, you can make some changes and save them.
2. Invoice Tab :This tab displays all the invoice pertaining to the staff.
3. Proposals Tab: This tab displays all the proposals sent to the staff.
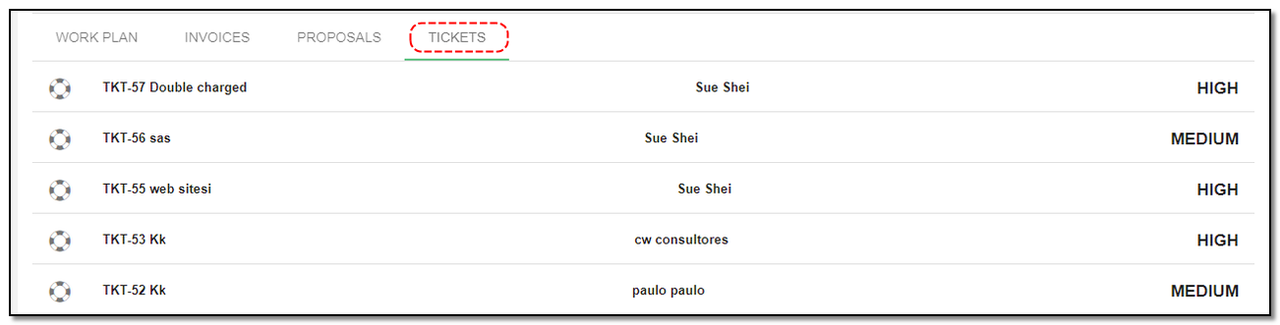
4. Tickets Tab: This tab displays all the tickets pertaining to the staff.
Create new department:
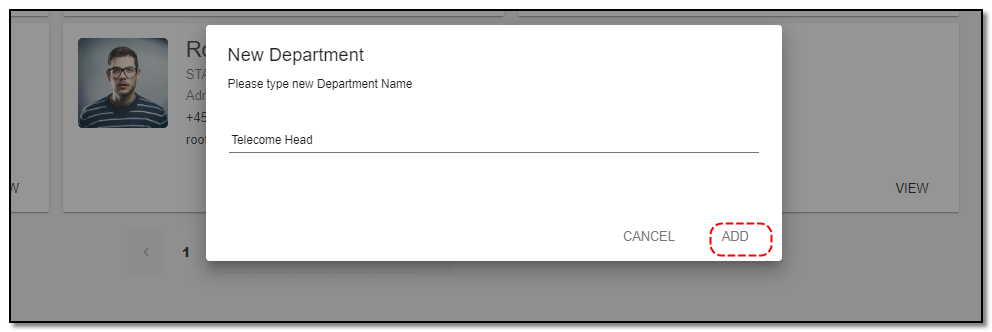
1. To create a department click on the "+" icon from the department header section.
2. A pop-up appears, enter the "Department Name" and click on "add".
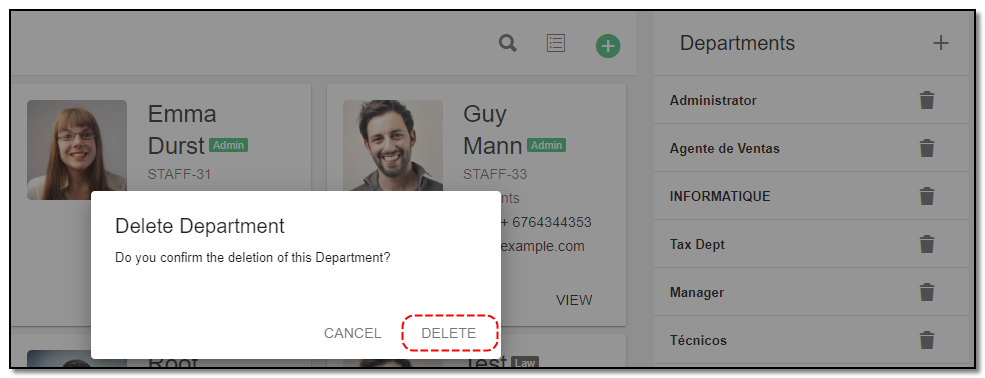
Delete Departments :
1. To delete the department click on "Delete" button.
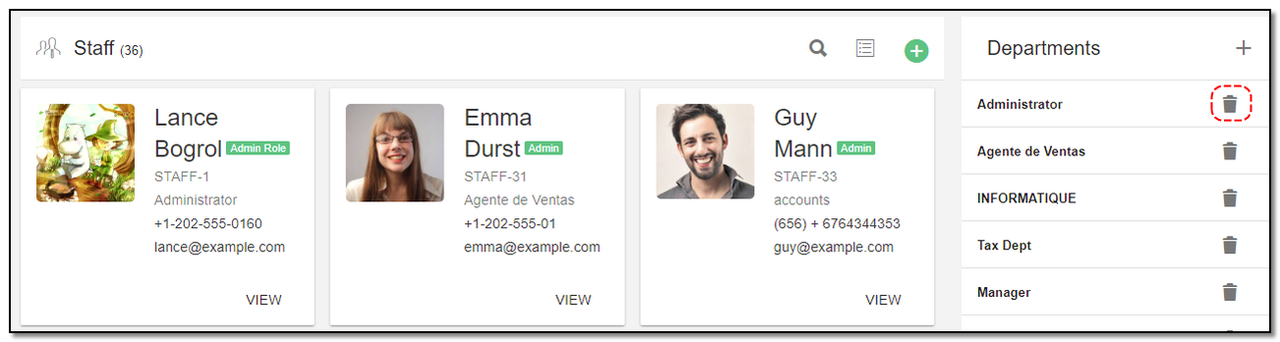
2. A small pop up appears for confirming the deletion of customer click on "Delete" if you want to delete else click on "cancel" .


User staff & Roles
Manage yoru Staff , reports and other functiionlities
Written by Yaroslav M.