CiuisCRM: Tasks

Last update: Tuesday, Sep 20, 2022
Task
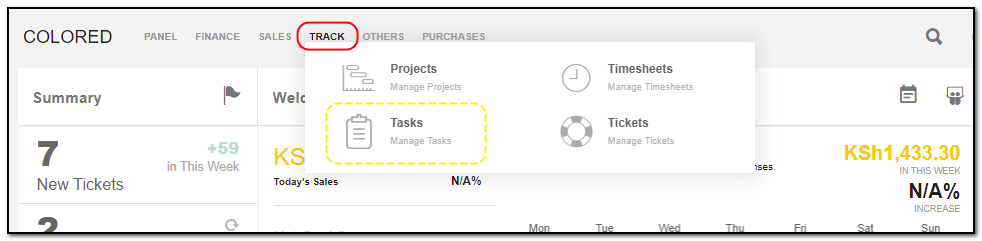
1. You can find the "Task " menu by hovering over "Track" from the top header:
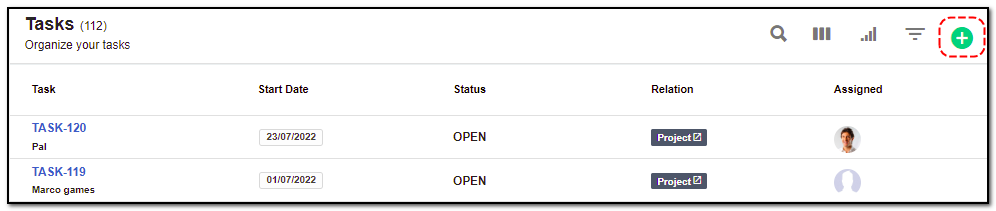
2. Added task's to CRM are displayed as shown below . On the header of task you have some action buttons.
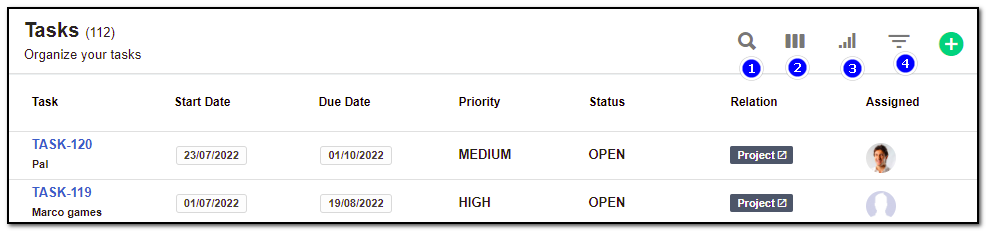
1. Search : This will help you search tasks based on "Task name".
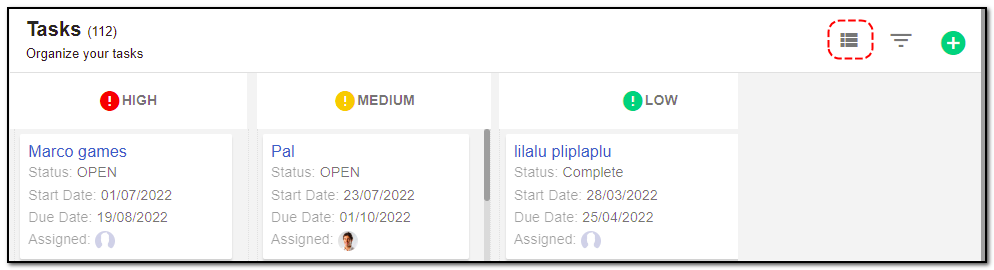
2. See List : To change the view of task layout from list to kanban and vice-versa click the see-list icon, and change the view. To go back to list view from kanban view click the "List-view" icon.
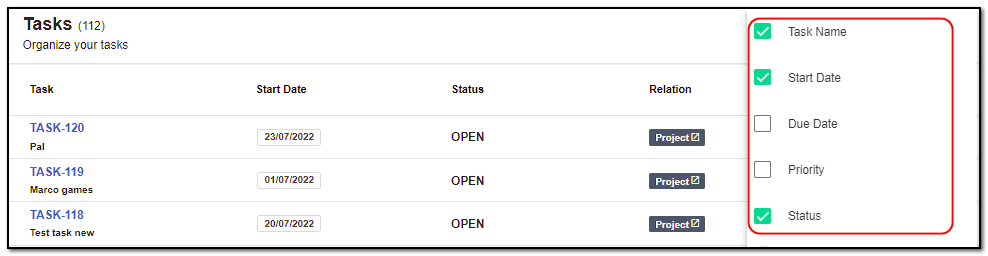
3. Filter by Column : By default, all the columns for the task's table are displayed. To manage what column needs to be displayed, click on the "Filter Column" icon, after you click on the icon a box will appear as shown in the below image, you can "Check" or "Uncheck" the fields you want to display on your task page.
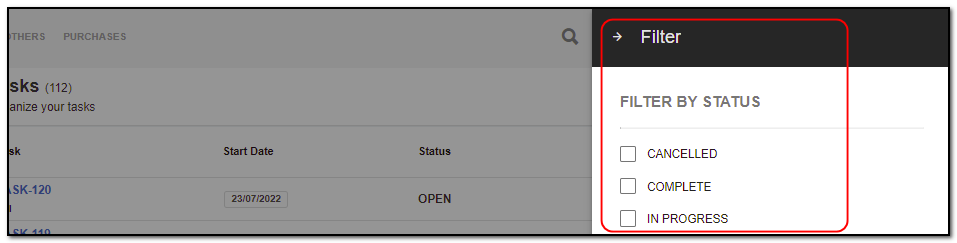
4. Filter: To filter the task by status click on the icon "Filter" icon.
Create Task:
1. To create a task click on the "+" icon from the task header section.
The right slider appears ,Enter the task basic details
1. Name : Name of the task.
2. Hour rate : enter the amount for working per hour.
3. Start date : start date of the project
4. End date: end date of the project
5. Assigned : select from the drop-down which staff will handle this task.
6. Priority: the task priority whether high, medium, or low.
7. Milestone: select the milestone if any created from the drop-down.
8. You can create a task public or private, billable or non-billable, visible or not using the toggle bars.
9. After filling in all the task details click on "Create" button at the bottom.

Update Task:
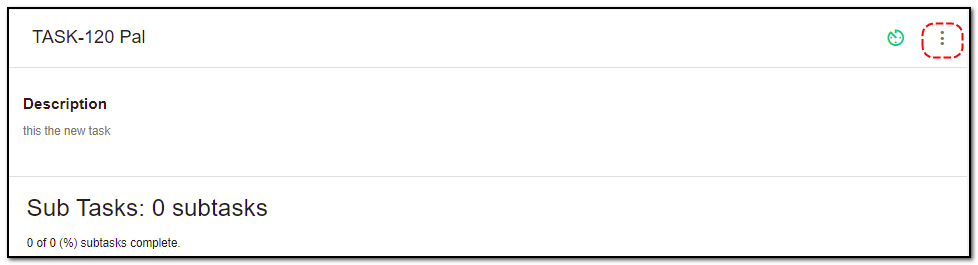
1. To update the task details click on the particular task you want to update. Click the "More option" button from the header.
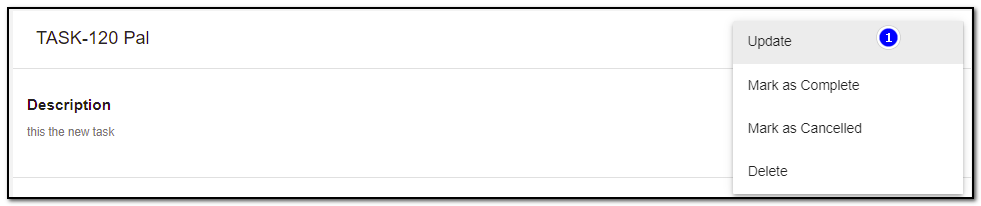
2. Then click on "Update" button.
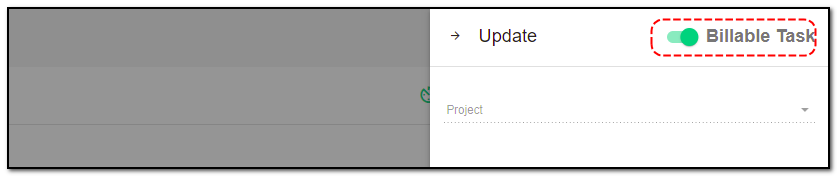
3. A rightslider appears : Update the task details like updating the task prioirty, changing the task milestone.
4. Billable task : Enable or disable the Billable button if you want get billed for the task .or deactivate the billable task.
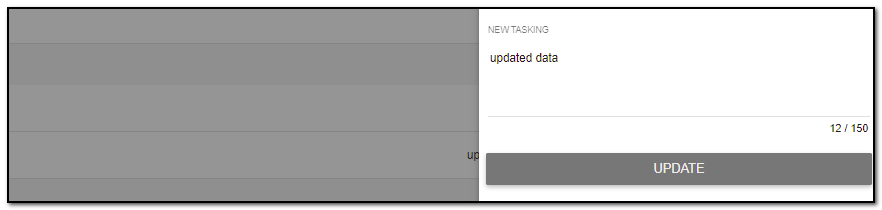
5. Once you have updated the task details click on "Update".
Delete task:
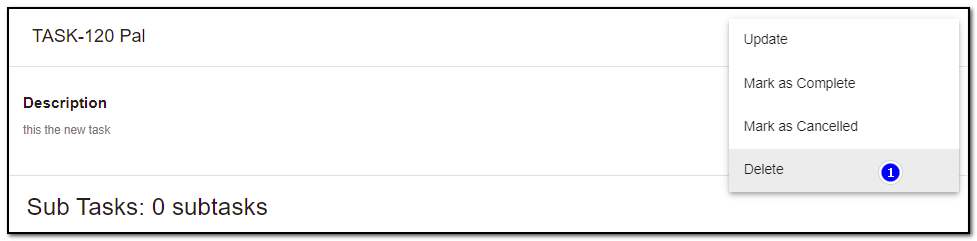
1. To delete the task click on "Delete" button from the task header. After you clicked on "More option".
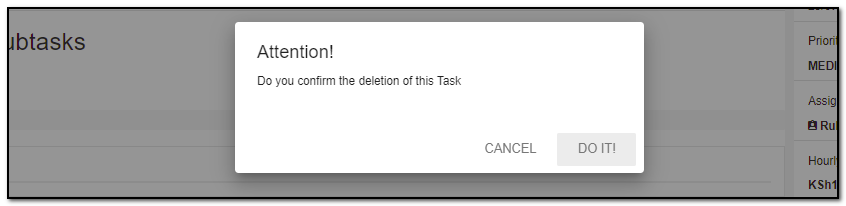
2. A small pop up appears to confirm the deletion of task . Click on "Do it" if you want to delete else click on "cancel" .
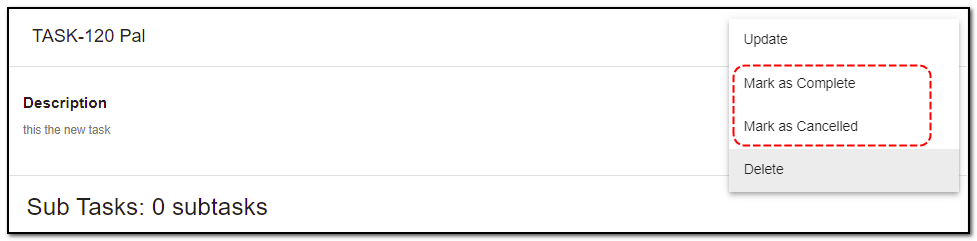
Mark task as Completed or Cancelled:
1. Click on "More" option to find option of "Mark task as completed " or Mark task as cancelled".
Add Sub-task :
1. Navigate to the task where the new subtask has to be added. Click on the area shown and type in the name of the subtask.

2. Sub-task can be marked as completed or deleted as shown.


Project Management ,Task Management , Ticketing
Manage you team task and project including timesheet
Written by Yaroslav M.