CiuisCRM: Ticketing

Last update: Tuesday, Sep 20, 2022
Ticketing
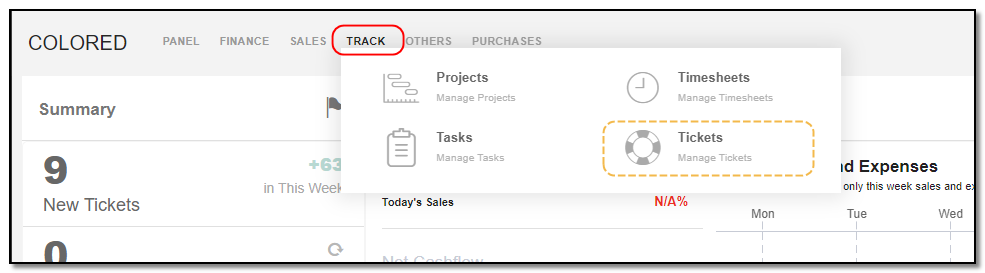
1. You can find the "Tickets" menu by hovering over "Track" from the top header:
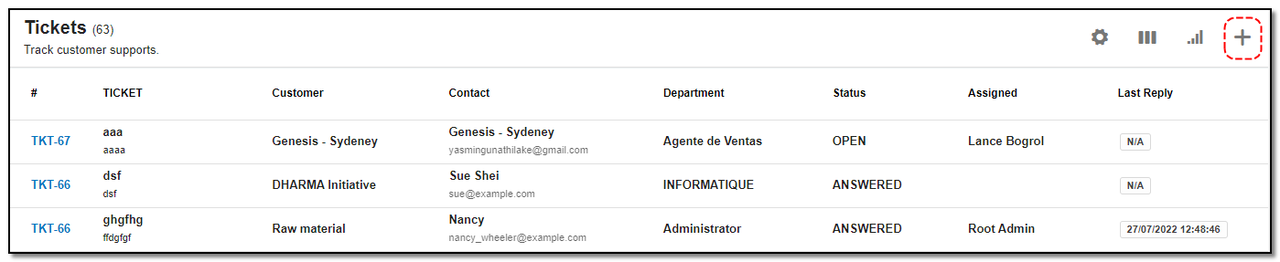
2. Added tickets to CRM are displayed as shown below . On the header of tickets you have some action buttons.
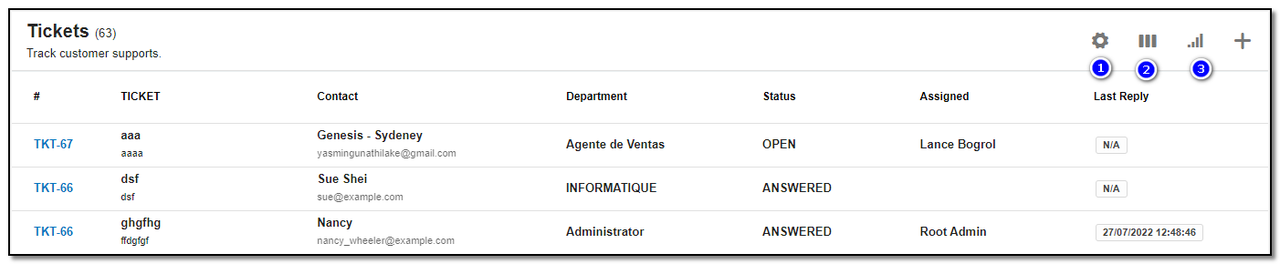
1. Ticket Status: This will help you add new status to your tickets.
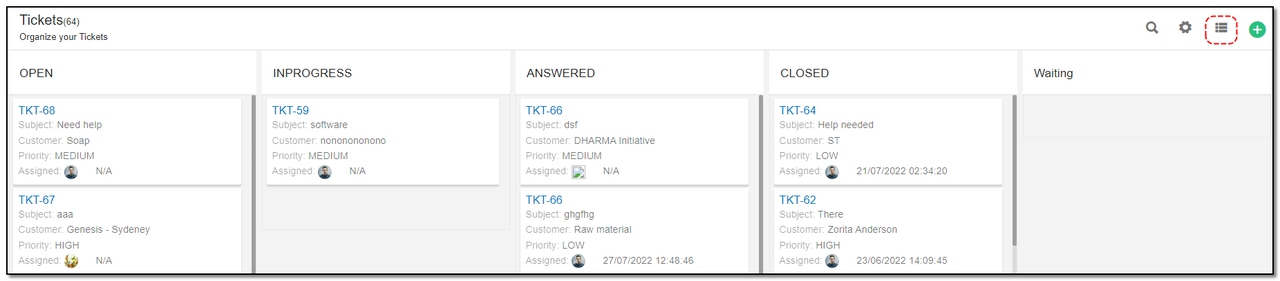
2. See Kanban view : Tickets can be viewed from two different views. Click on the “Kanban" button to view the tickets in the kanban (list) view.
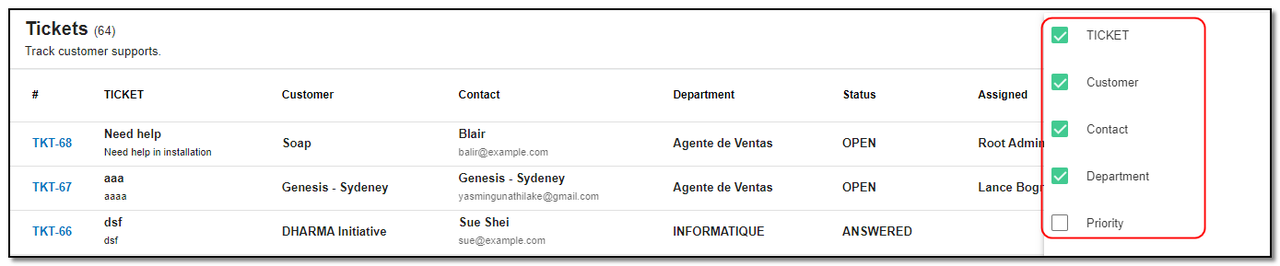
3. Filter by Column : By default, all the columns for the ticket table are displayed. To manage what column needs to be displayed, click on the "Filter Column" icon . After you click on the icon, a box will appear as shown in the image below . You can "Check" or "Uncheck" the fields you want to display on your tickets page.
Create Ticket:
1. Click on "+" icon to add icon:
A right slider pops. Enter the basic details
1. Subject: Enter the subject for tickets.
2. Customer Name: Enter the name of customer.
3. Contact: Select the contact from the drop-down.
Note: If the customer has the contact then it default select from the drop down and if the customer does not have the contact then it will not take a contact
4. Department: you can select the department for ticket from the dropdown.
5. Priority: Select the priority from the dropdown to "High, medium or low"
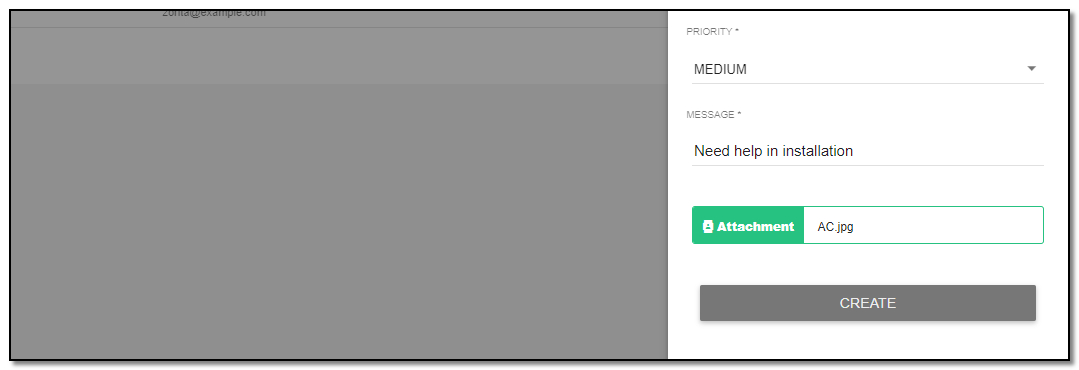
6. Click on "Create" button to create the ticket.
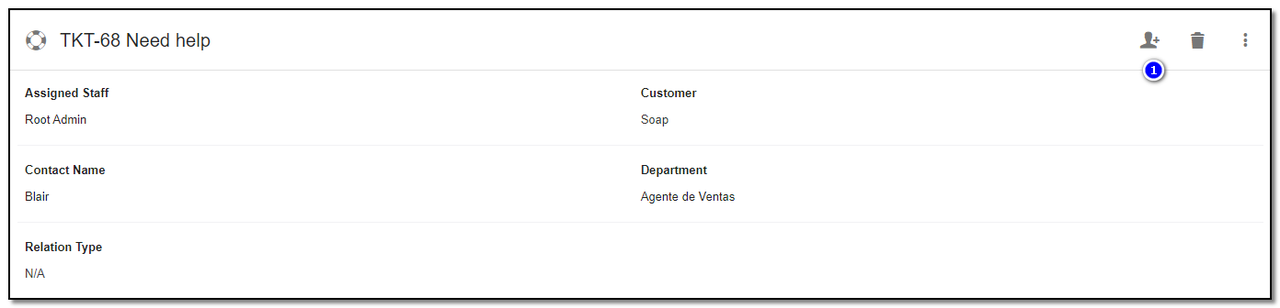
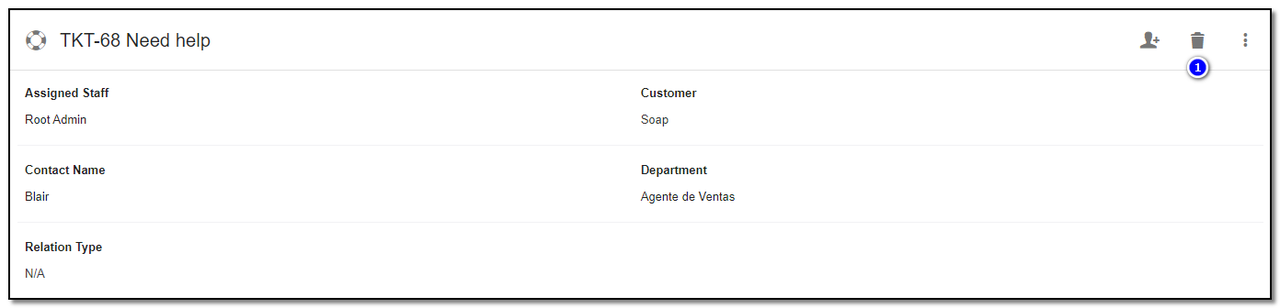
Ticket page details:
1. Click on the ticket you want to see details for.. You can assign the ticket to staff by clicking on the "Add Assignee" button.
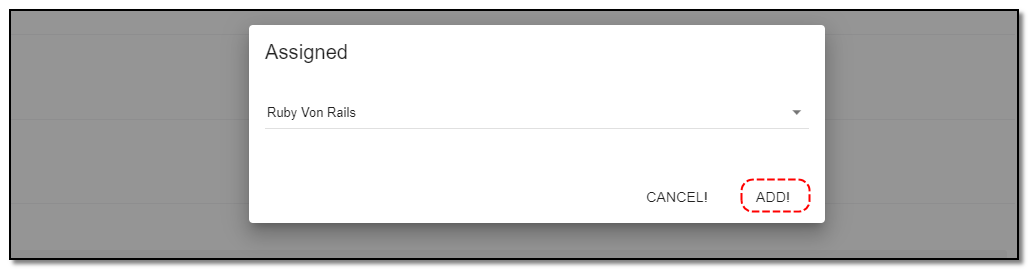
2. A pop-up appears and you can select the staff from the dropdown.
Delete Tickets:
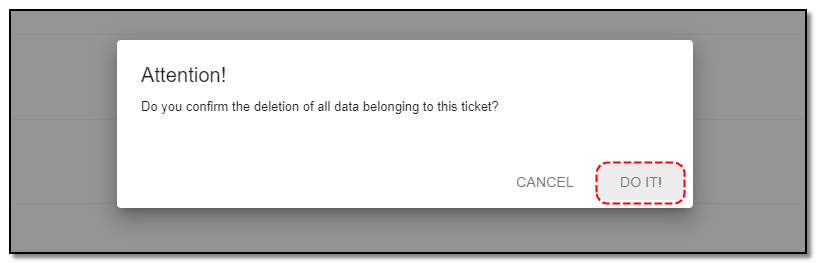
1. To delete the ticket click on "Delete" button from the ticket header.
2. A small pop up appears to confirm the deletion of ticket . Click on "Do it" if you want to delete, else click on "cancel" .
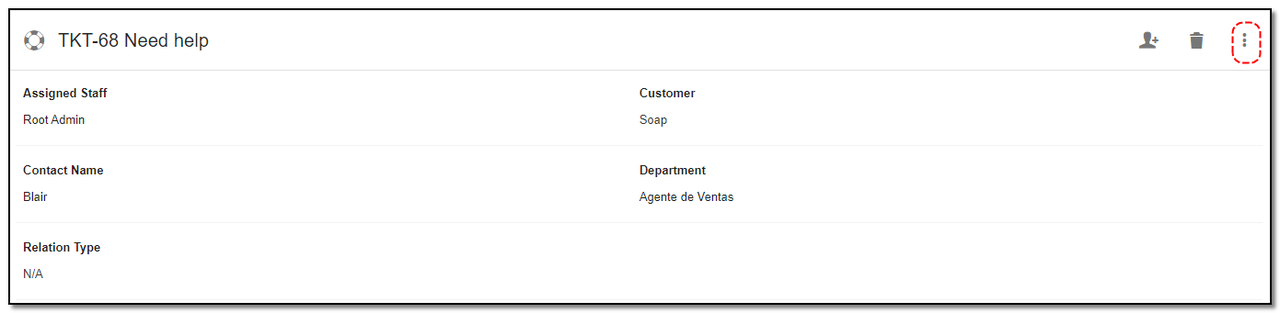
Status Ticket:
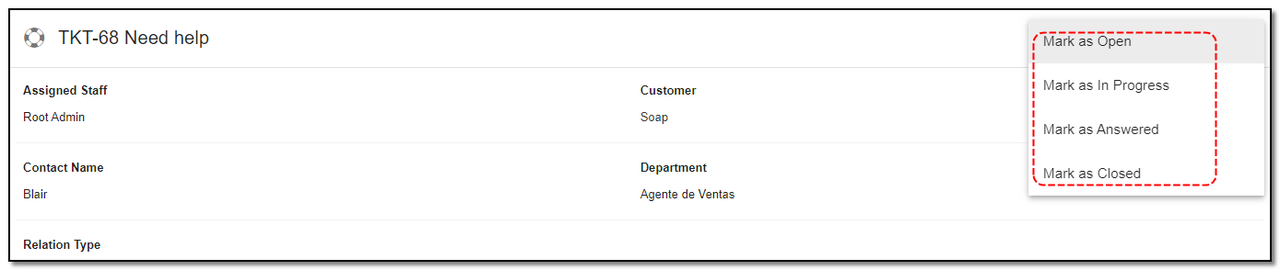
1. To change the status of your ticket from "In-Progress" to "Closed" or or some other click on "More" option .
2. You can change the status of the ticket by given status option. "Mark as open, Mark as in progress, Mark as answered, Mark as closed".
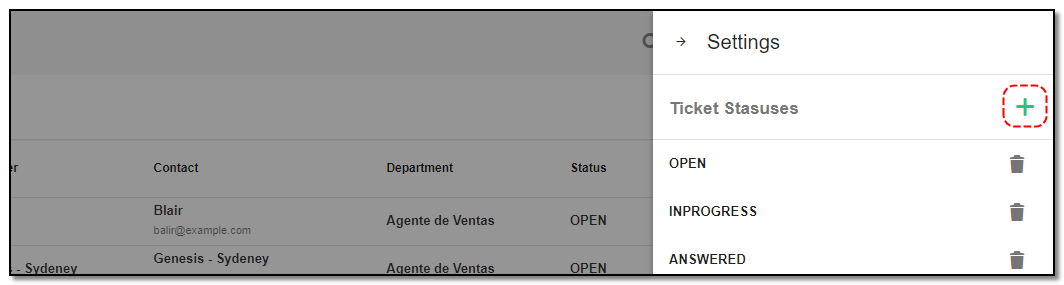
Add Tickets Status:
1. Click on "+" icon to add status.
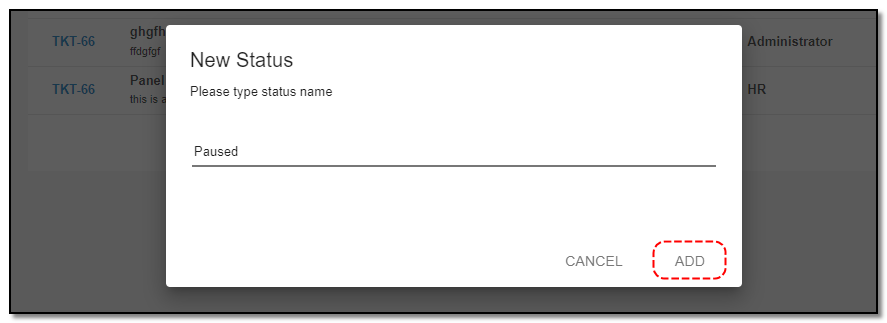
2. A small pop up appears, enter the new status name and click "Add"
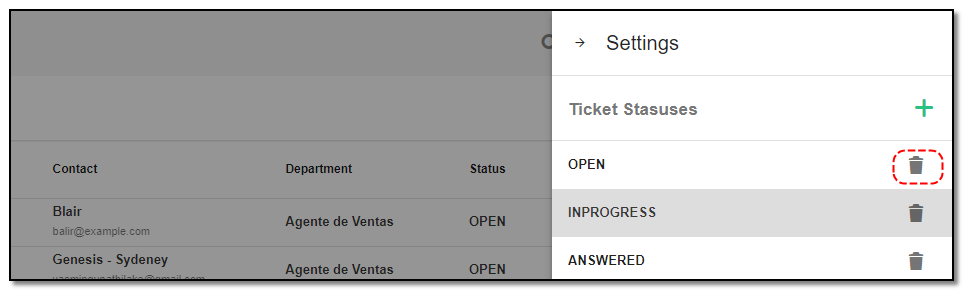
Delete ticket status:
1. To delete the ticket status click on "Delete" button from the ticket header.
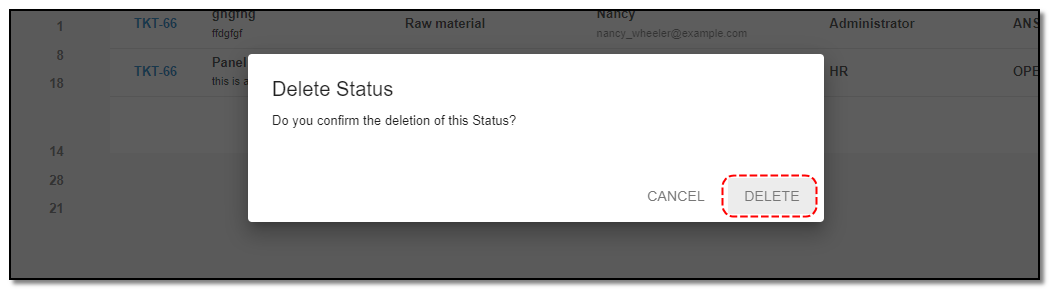
2. A small pop up appears to confirm the deletion of status . Click on "Delete" if you want to delete else click on "cancel"


Project Management ,Task Management , Ticketing
Manage you team task and project including timesheet
Written by Yaroslav M.