CiuisCRM: Sales Leads

Last update: Tuesday, Sep 20, 2022
Lead
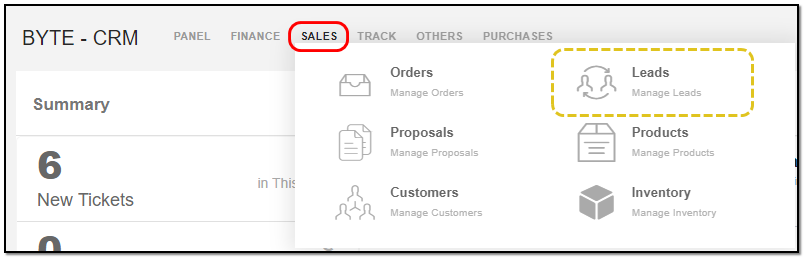
1. You can find the "Leads" menu by hovering over "Sales" from the top header:
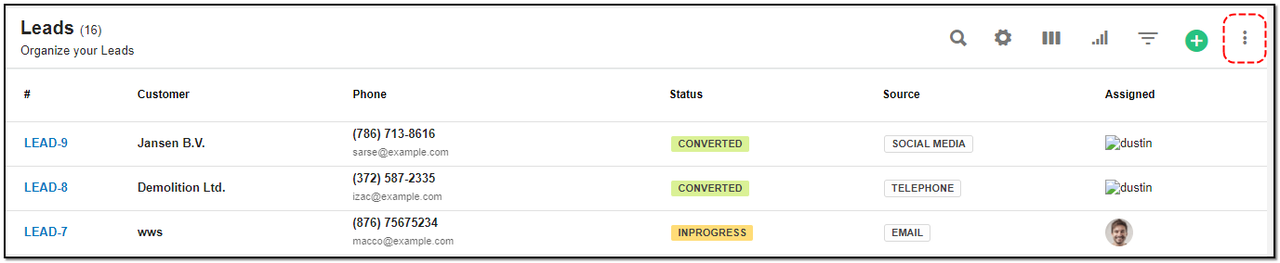
2. From the header of the Lead you have access to many options:
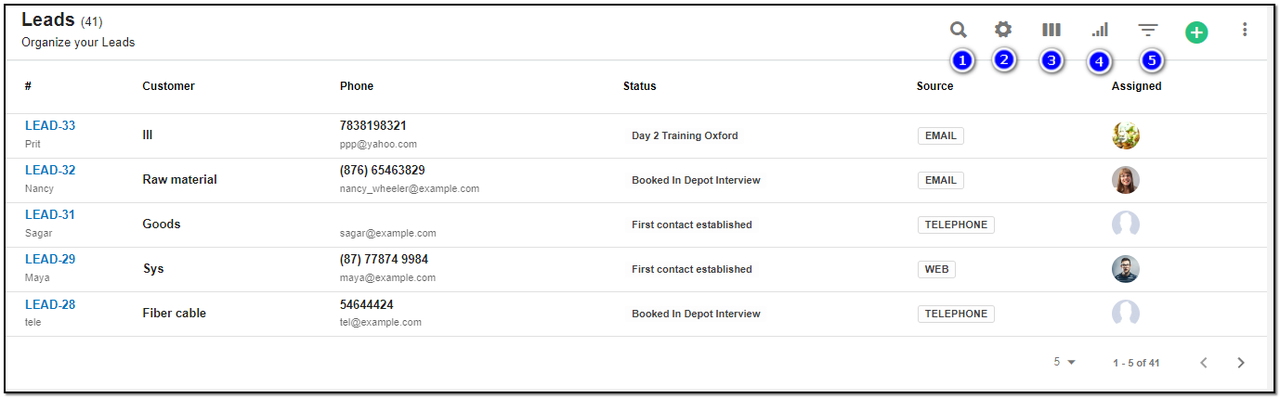
1. Search : This will help you search Leads based on "Lead name , Customer name, Lead Status, and Lead Source".
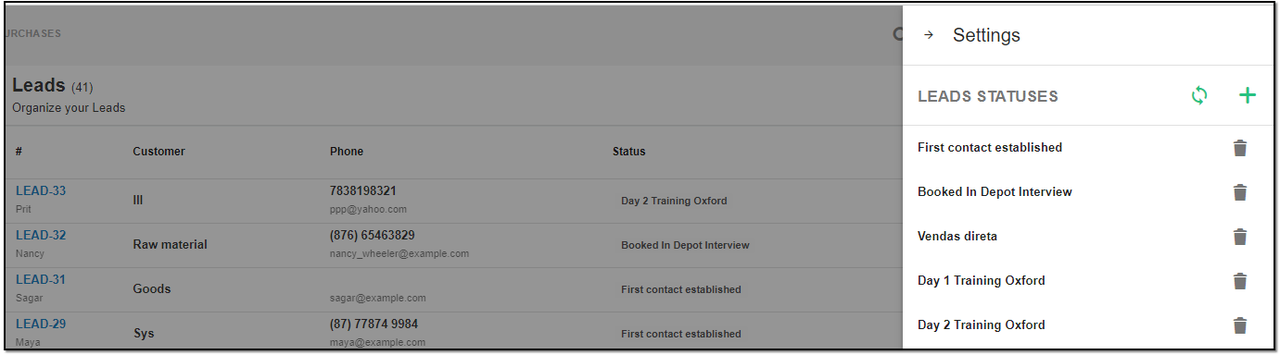
2. Settings icon : Click on "Settings Icon" to Create, Delete, Convert the New lead's status or lead´s source.
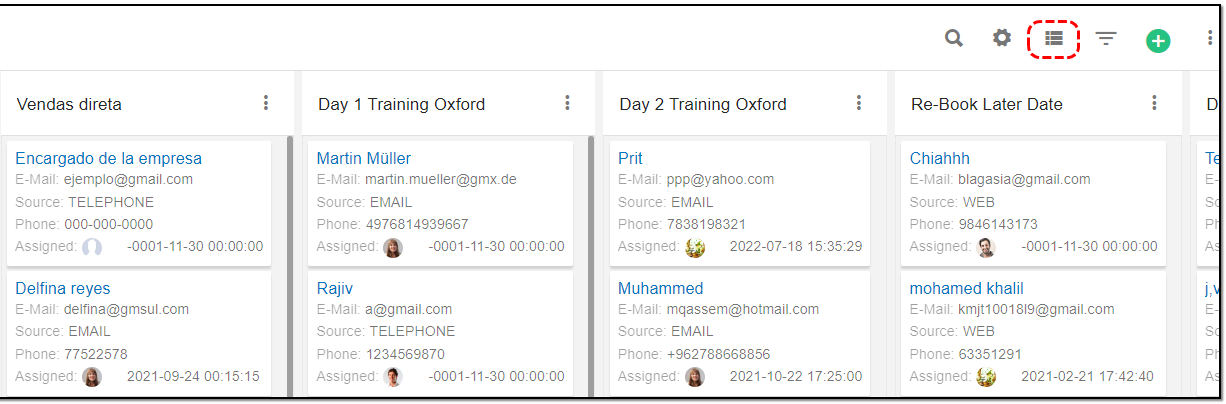
3. See List : To change the view of leads layout from list to kanban and vice-versa click the see-list icon, and change the view. To go back to list view from kanban view click the "List-view" icon
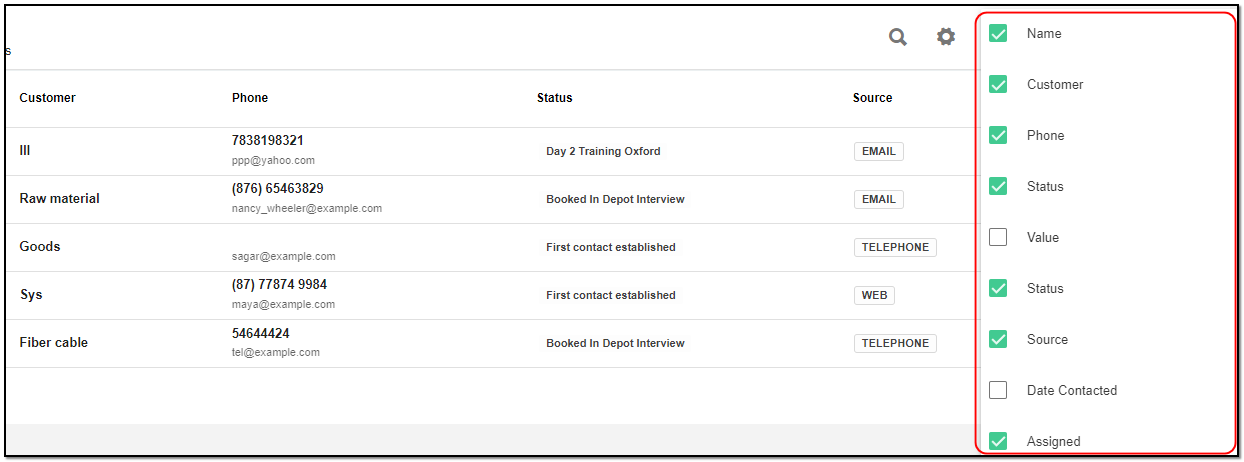
4. Filter by Column : By default, all the columns for the leads table are displayed. To manage what column needs to be displayed, click on the "Filter Column" icon . After you click on the icon a box will appear as shown in the image below . You can "Check" or "Uncheck" the fields you want to display on your Leads page.
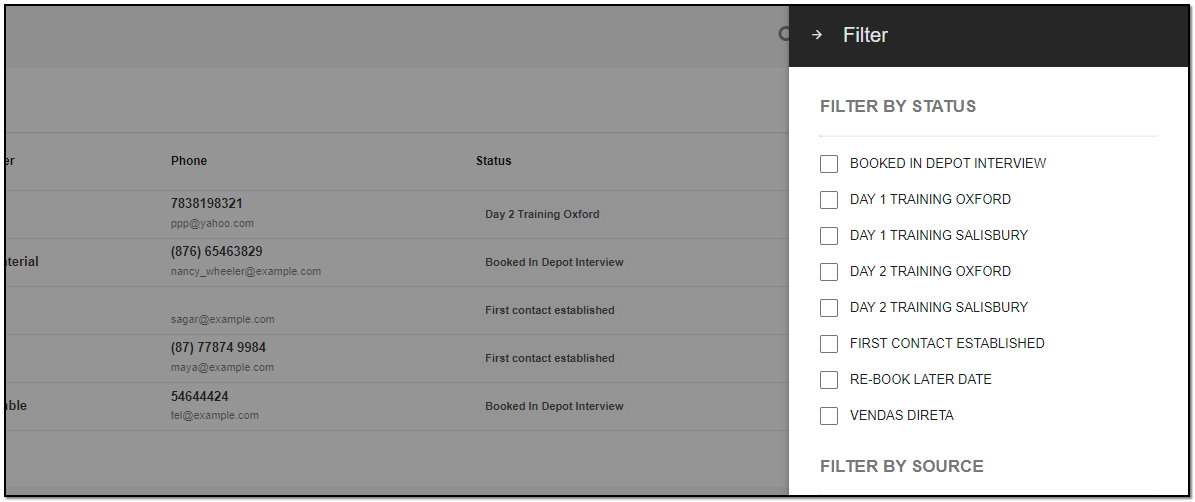
5. Filter: To filter the leads by Status or by source click on the "Filter" icon.
Create Leads:
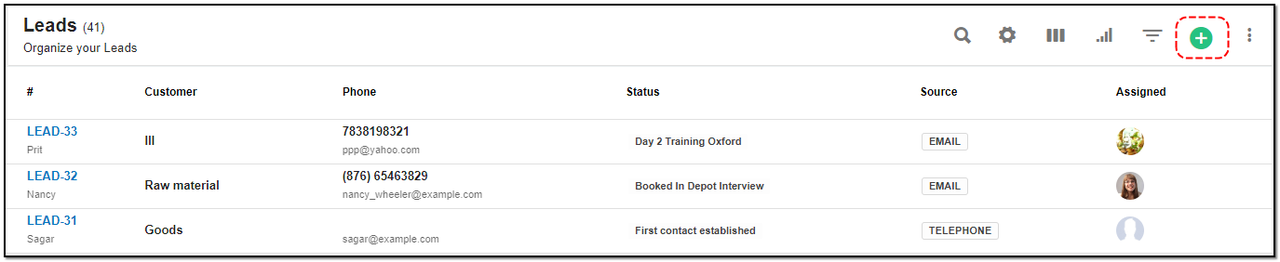
To create a Lead click on the "+" icon from the lead header section.
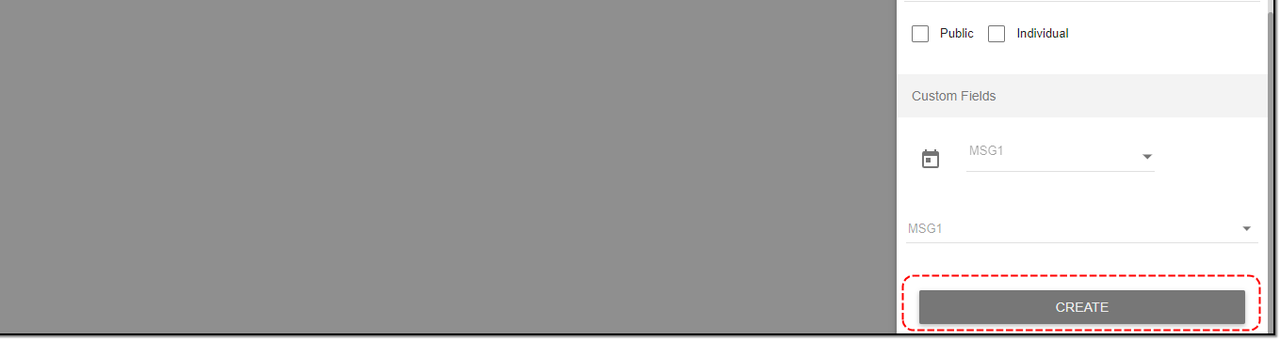
A right slider pops. Enter the lead basic details
1. Title: Title of the lead.
2. Name : Name of the person.
3. Company Name : Name of the company the person works for or own .
4. Assigned : Select the staff you want to assign the lead to.
5. Status : Select the Status from the drop-down.
6. Source : Select the source of the lead . That is how you got that lead contacted you.
7. Email: Enter the email. After filling all the lead details click on "Create" button at the bottom.
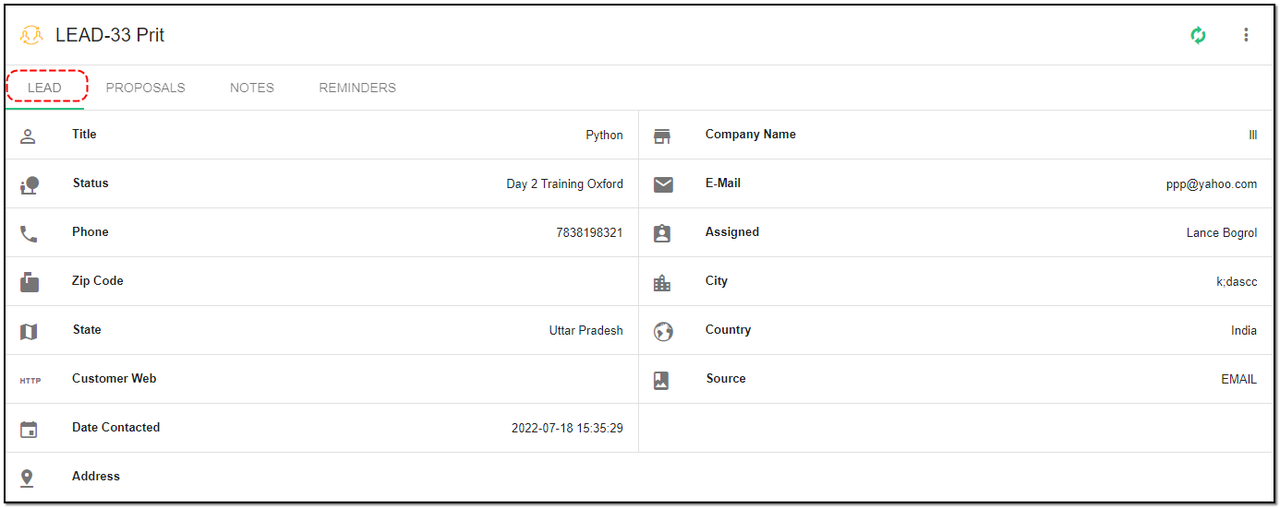
Leads Page Details:
1. All the details you created the lead with , will be displayed here.
Tabs :
1. Leads Tab : You can review all the lead details in this section.
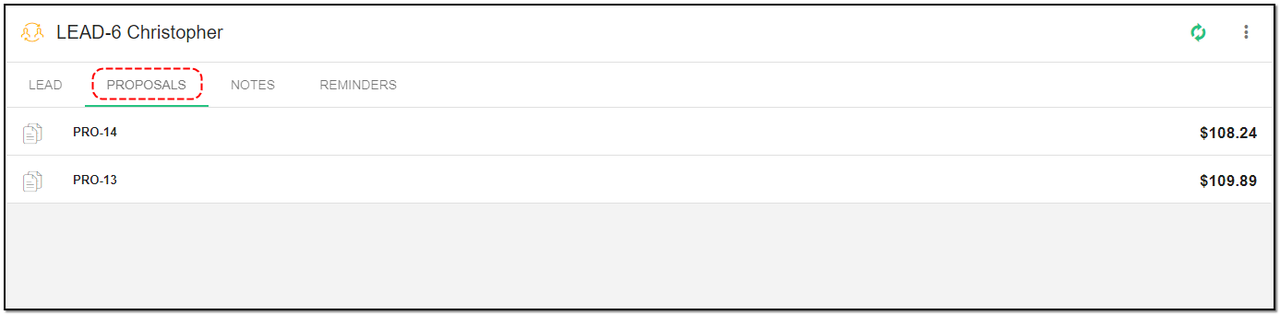
2. Proposal Tab : Any proposal cretead for the lead will be mentioned here.
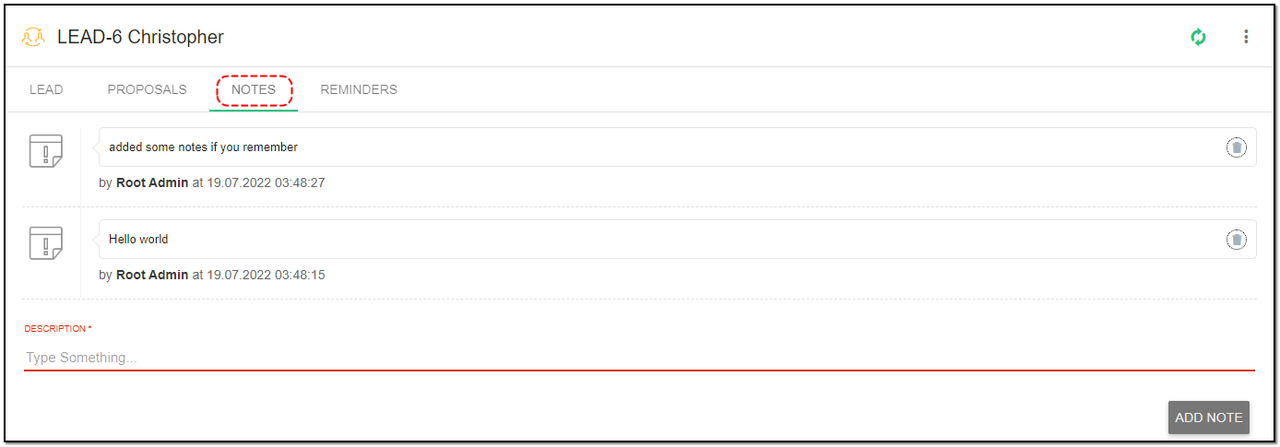
3. Notes Tabs: Enter the Details or small short point in Description section related to lead and click on "Add Note" button.
4. Reminders Tab: This will help set reminders for the lead.
1. Select the date : the date you want to reminder to trigger.
2. Set reminder to : Select from the drop-down to whom you want reminder to trigger.
3. Description : Enter the description for the reminder.
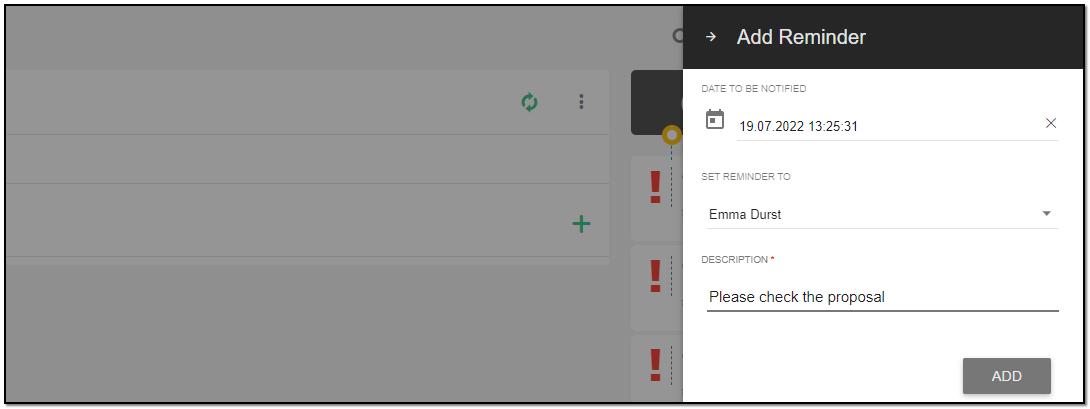
4. Click on "Add" button to add the reminder.
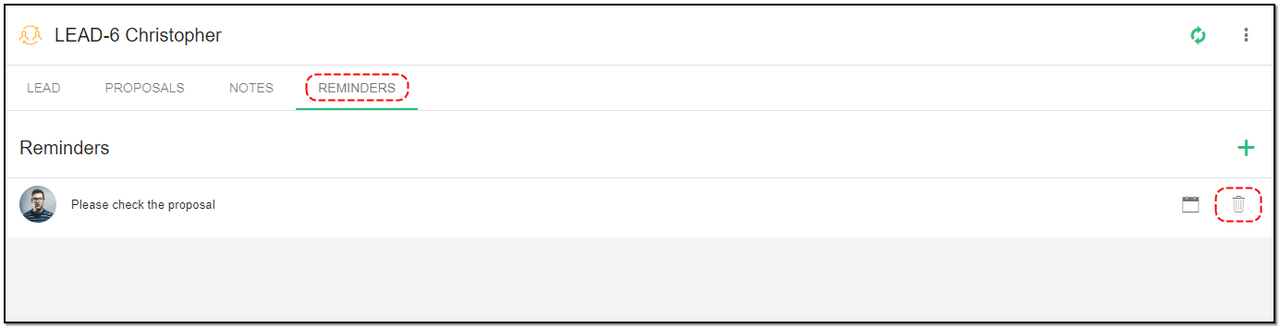
5. Click on "Delete" icon to delete the reminder.
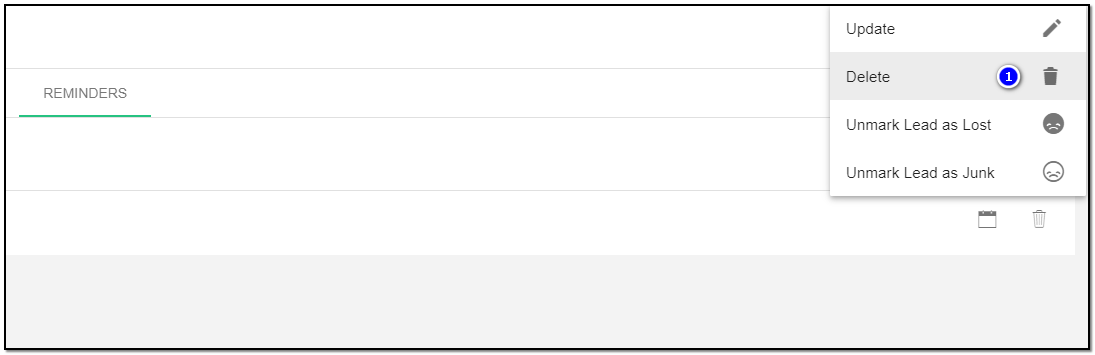
Update Lead :
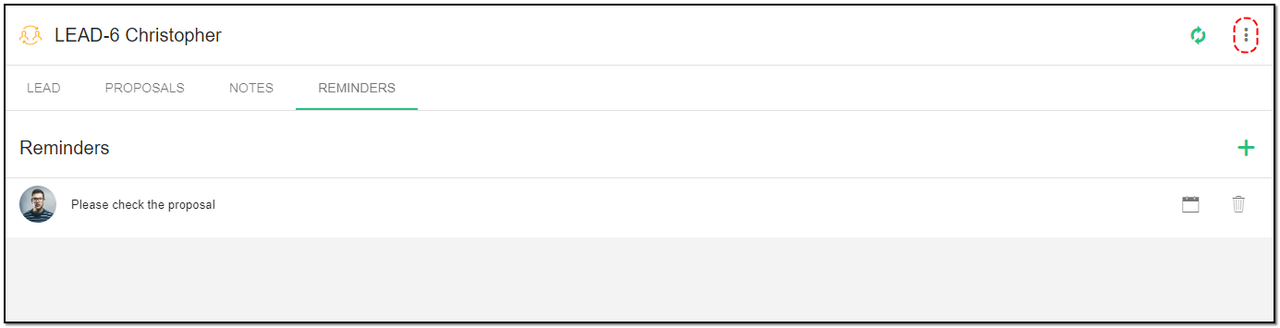
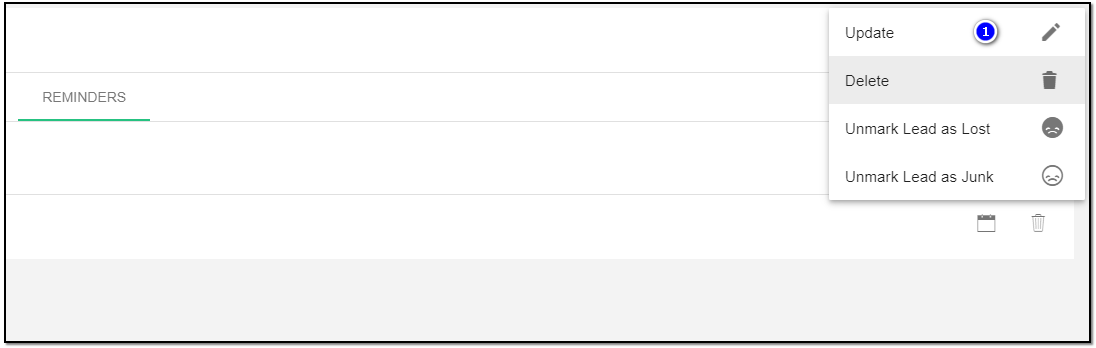
1. To update the lead details click on "More" option from the lead header.
2. Click on "Update" button .
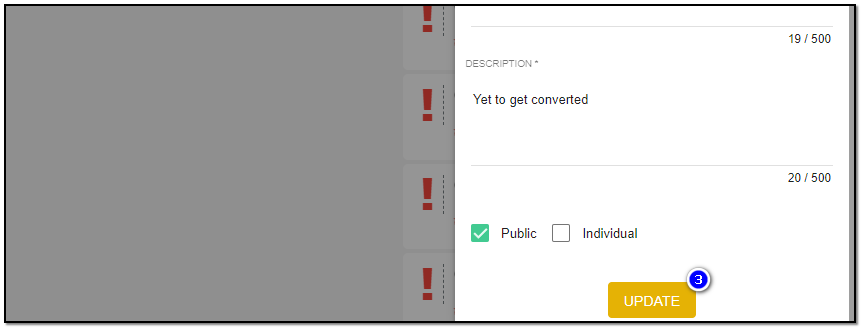
3. A right-slider pops , Update the details of the lead like , changing the status from "Contacted" to "InProgress".
4. Click on "Update" button at the end of right-slider.
Delete Lead :
1. To delete the lead click on "Delete" button from the lead header.
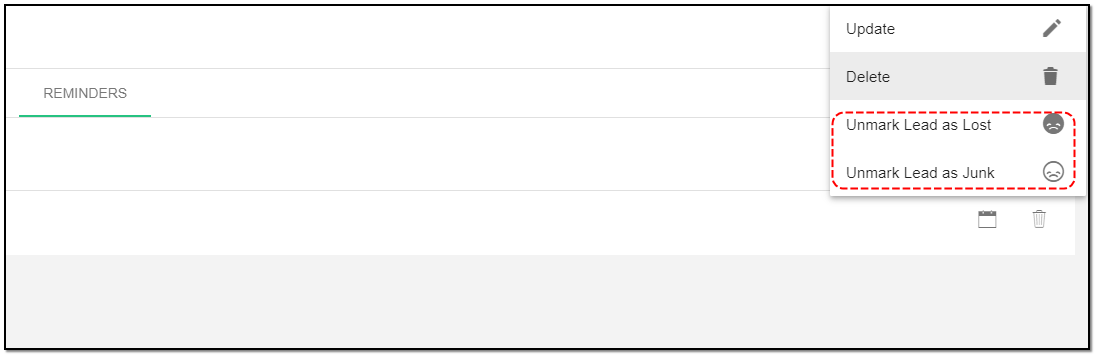
Mark Lead as Junk or Lost :
1. Click on "More" option to find option of "Mark lead as junk" or Mark lead as lost".
Leads Import, Lead Export:
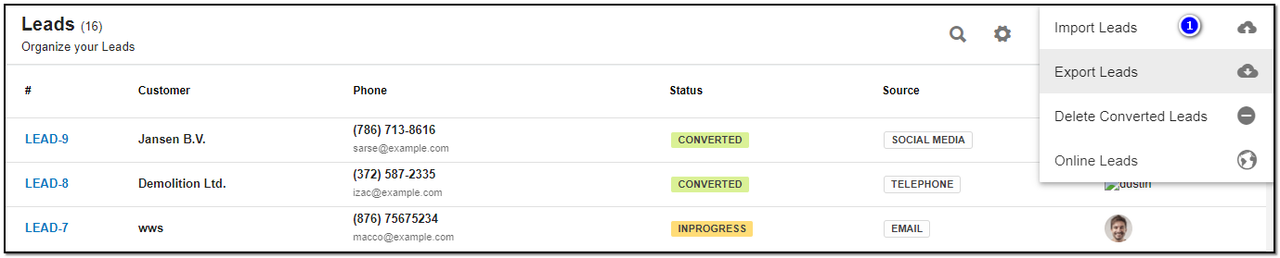
Import Lead :
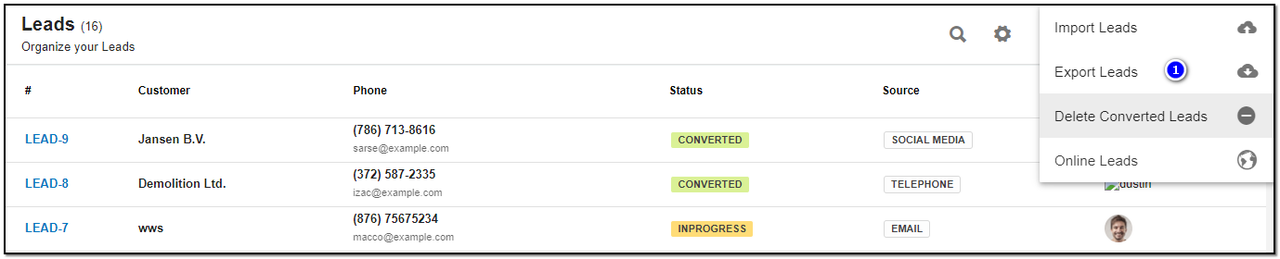
1. Click on "More Option" from the lead index/overview page.
2. Click on "Import Lead" option.
4. A right-slider appears.

1. Drag & drop the file or browse the file to upload.
2. Assigned : Select the staff you want to assign the lead to.
3. Status : Select the Status from the drop-down.
4. Source : Select the source of the lead . That is: how the lead contacted you.
5. Download Sample : To see the format to import kindly download the sample and import the file referring to the sample.
6. Click on "Save" the leads will be imported.
Export Leads :
1. Click on "More Option" from the lead index/overview page.
2. Click on "Export Lead" option.
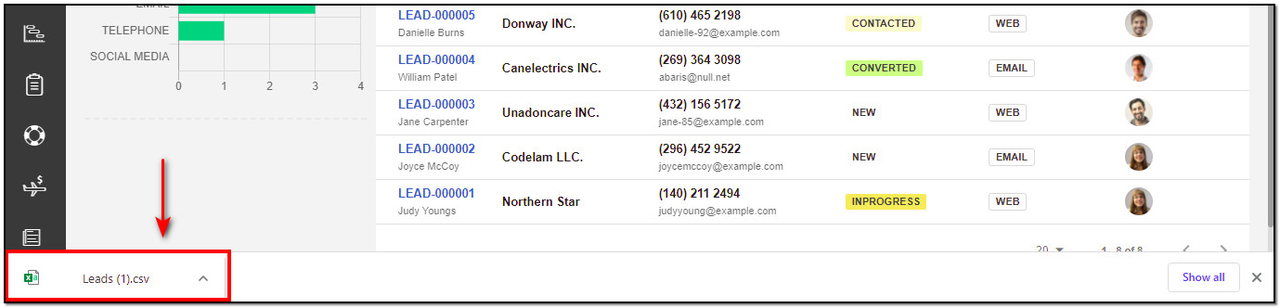
3. The lead is exported in your local PC.
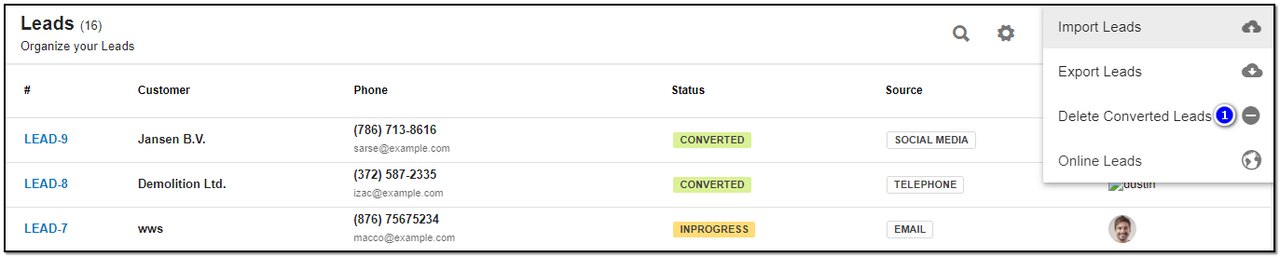
Delete Converted Leads :
1. To delete all converted leads click on the "Delete Converted Leads". the converted leads will be deleted.
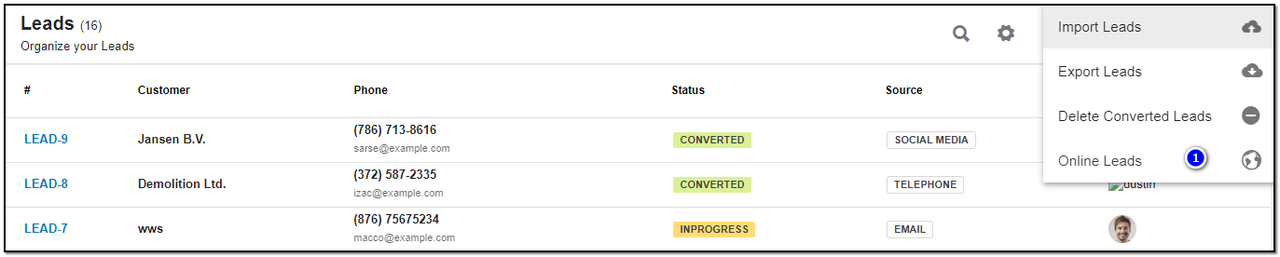
Online Leads :
1. To go to online leads click on the "Options" icon and then on the "Online Leads".
Online lead page view :
1. The online forms created will be listed below .
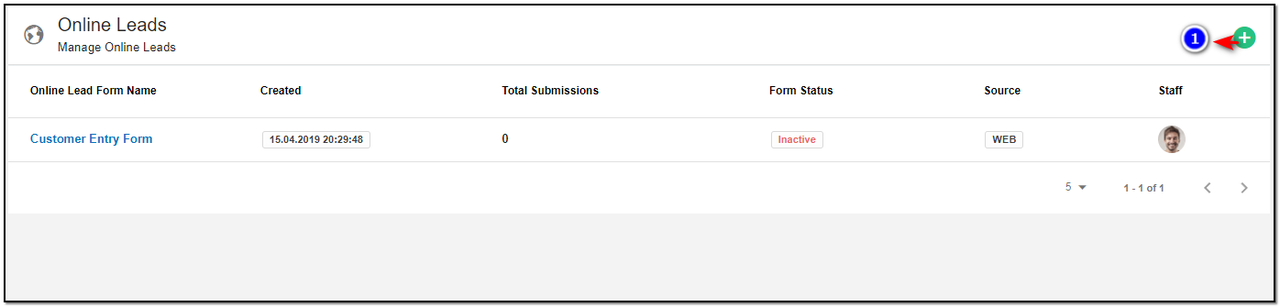
2. Click on "Create" button to Create the online form.
3. A right-slider appears . Fill in the details for Online Lead.
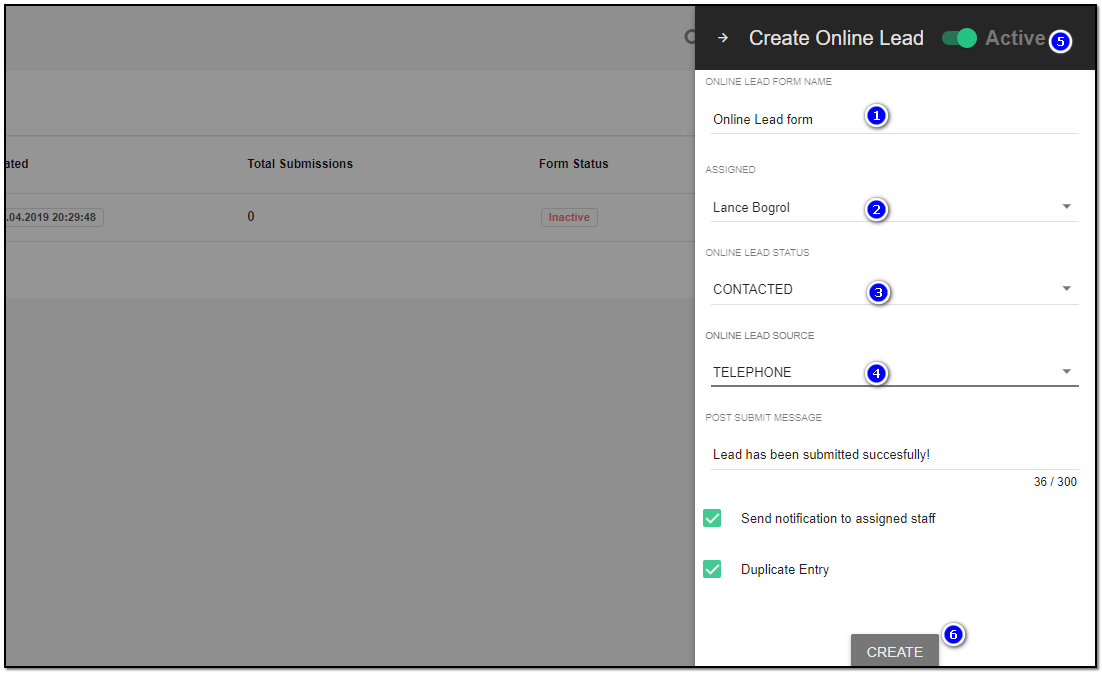
1. Online Lead form name : Enter the name for your online lead form.
2. Assigned: Assigned to a staff member from drop-down.
3. Online Lead Status : Select the Status from the drop-down
4. Online Lead Source :Select the Source from the drop-down.
5. Active Toggle : Click on Active toggle to make the form Active and available to use. Click on "Create" button.
6. After you create a online form you will be redirected to a new page where you are given options to customize your lead form.
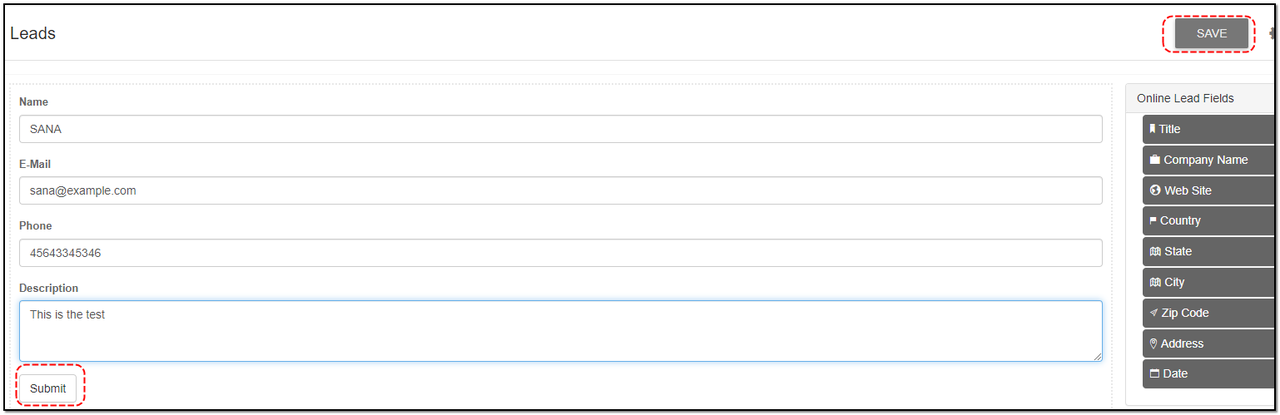
Online Lead form Customization :
1. Drag and drop option: Drag & Drop the required lead form fields from the right to left. A pop-up window appears where you can customize each field.
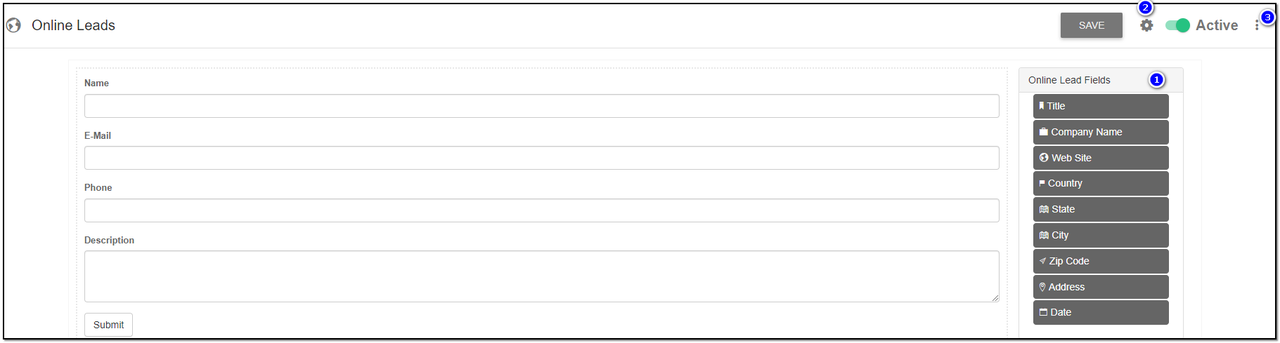
2. Settings icon : To show the code, which you can embed in your site click on the "settings" icon. Copy the code appears on the popup and paste it on your site.
3. More Option : To "Edit" or "Delete" the lead form click on the "More Options" icon.
Preview of the fields :
1. Display : Under Display section your can update the details and the preview is shown on the right side of the screen.
2. Click on "Save" to save the details.
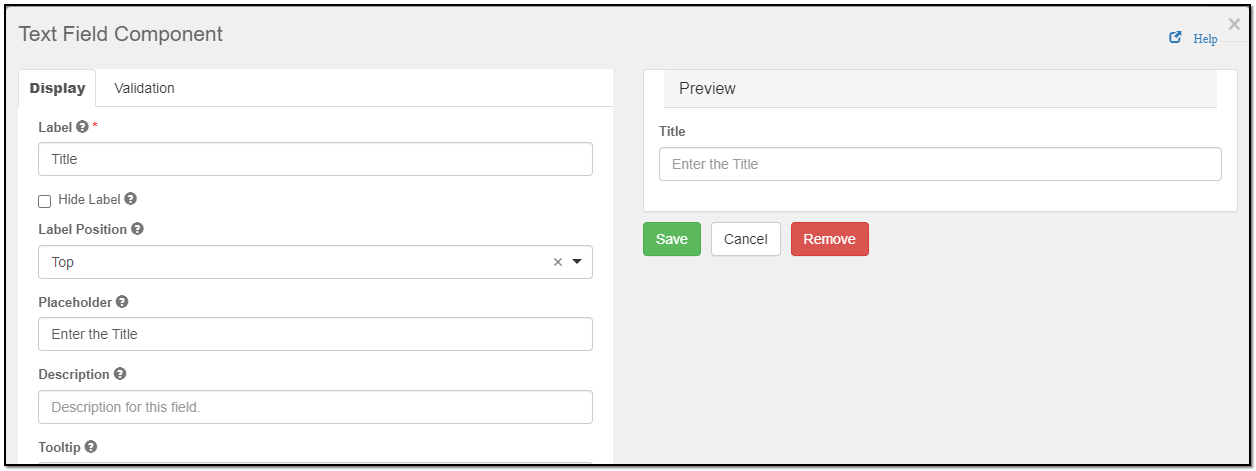
3. Validation : Enter the validation you want to add for the field you added.
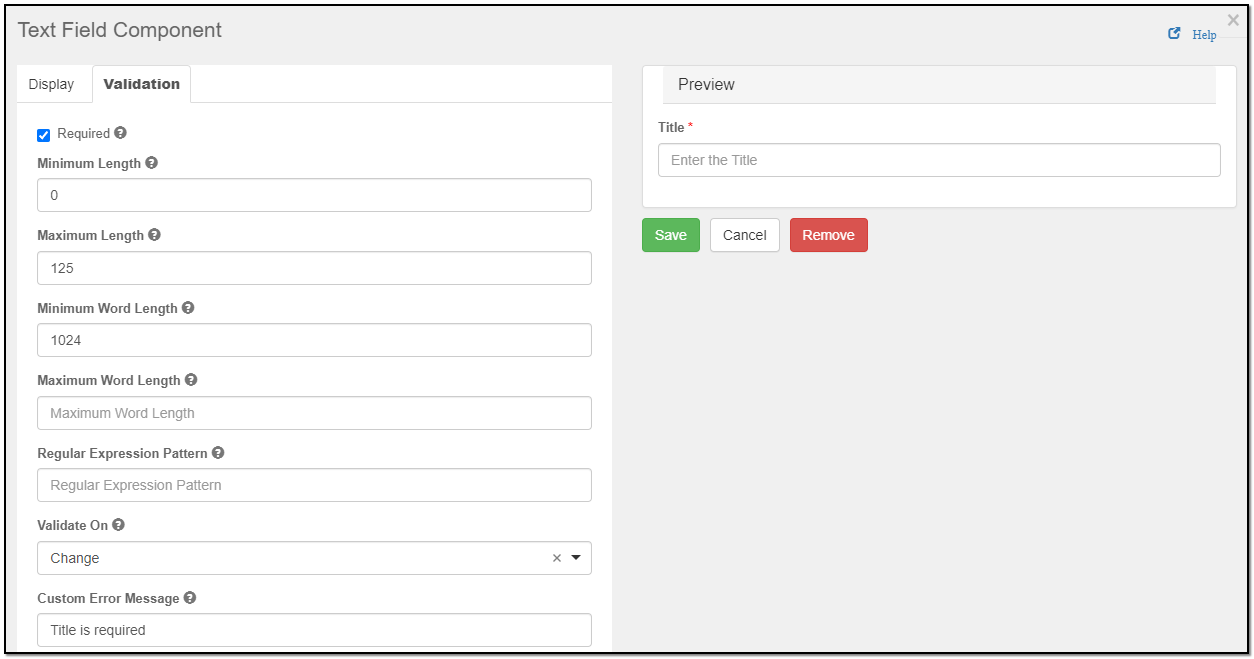
5. Click on "Save" to save the fields data. After customizing the online leads using form options, click "Submit". and click "Save".


Sales Function
Manage sales like leads, orders and proposals
Written by Yaroslav M.